Renesas Electronics RTK9FPG021S00001BJ Fast Prototyping Board
A low-power microcontroller development kit designed for evaluation, prototyping, and development with the R9A02G021 MCUs.
Technical Specifications
| Product | Evaluation Board |
| Core | RISC-V |
| For Evaluation Of | R9A02G021 |
| Interface Type | USB Type C |
| Data Bus Width | 32-bit |
| Operating Supply Voltage | 3.3 V |
| Applications | Consumer Electronics, Home Appliances, Sensor Modules, Health Tracking, Remote Controls, Battery Powered Devices, Detectors, Vehicle Tracking, Intelligent Power Supplies, Inverters |
Overview
The Renesas Electronics RTK9FPG021S00001BJ Fast Prototyping Board is a development tool designed to simplify experimenting and building with the Renesas R9A02G021 MCUs. It features the R9A02G0214CNE MCU, a low-power 48MHz device with 128KB Flash, and 16KB RAM. The board integrates a SEGGER J-Link emulator, eliminating the need for separate debugging tools. It also provides through-hole pins for connecting to breadboards for easy circuit prototyping. Key features include MCU pin access, special MCU features, system control, and compatibility with various industry-standard connectors like Digilent Pmod™, Arduino, and Seeed Studio Grove. This prototyping board is suitable for developing applications in consumer electronics, home appliances, industrial sensors, battery-powered devices, medical sensors, and more.
R9A02G021 Low-Power Microcontroller Development Kit Features
The RTK9FPG021S00001BJ Development Kit is designed to streamline the evaluation and prototyping process for the Renesas R9A02G021 MCUs. This section explores the key functionalities and user interface aspects of the development kit.
The heart of the development kit is the R9A02G0214CNE MCU. This low-power microcontroller operates at 48MHz and comes in a 48-pin HWQFN package. It boasts a memory capacity of 128KB Flash, 16KB RAM, and an additional 4KB data flash memory, providing ample resources for various development projects.
Connectivity and User Interface
The development kit prioritizes user convenience and expandability. It integrates a USB Type-C connector for easy connection to a computer and incorporates standard interfaces like a Pmod connector and an Arduino connector. This compatibility allows users to leverage various peripheral modules, enhancing development flexibility.
The development kit eliminates the need for external tools by featuring an integrated SEGGER J-Link OB emulator for seamless programming and debugging. Additionally, the user interface incorporates a reset button, a user button, two user LEDs, and a yellow debug LED, enabling users to interact with the system and receive visual feedback during the development process.
Getting Started with RTK9FPG021S00001BJ Fast Prototyping Board
Follow these steps to get started with the Fast Prototyping Board:
1. Connect the Board: You can power the board using either a USB-C™ cable connected to your computer or an external power supply via the designated header pins.
2. Optional Peripherals: If you plan to use external modules, explore the Pmod™ and Arduino® connector compatibility to leverage various functionalities.
3. Download Tools: Visit the Renesas website to download the necessary software tools for programming and debugging the MCU. This typically includes a C compiler and IDE compatible with the R9A02G021 MCU.
4. Board Support Package: Locate and install the Board Support Package (BSP) for the RTK9FPG021S00001BJ board. The BSP provides pre-written libraries and functions specific to the board's features, simplifying development.
6. Creating a New Project: Create a new project in your IDE and select the R9A02G021 MCU as the target device. Write your code using the C programming language, leveraging the BSP libraries to access MCU peripherals.
7. Onboard Debugger: Take advantage of the integrated SEGGER J-Link™ emulator for programming and debugging your code directly on the board. This eliminates the need for separate debugging tools.
8. Compile and Download: Compile your code within the IDE and download the program to the MCU on the prototyping board.
9. Testing and Interaction: Use the user buttons, LEDs, and any connected peripherals to test your program's functionality and interact with the system.
Applications
The Renesas Electronics RTK9FPG021S00001BJ Development Kit empowers developers to create various applications. Its focus on low-power operation makes it ideal for battery-powered devices like remote controls, health trackers, and sensor modules. The MCU's processing power and memory capacity are well-suited for consumer electronics applications, home appliances, and industrial sensors.
Furthermore, the development kit's expandability through Pmod and Arduino connectors opens doors for prototyping complex functionalities in areas like medical sensors, bus-powered sensors, and even vehicle tracking systems. With its versatility and ease of use, this development kit caters to a broad spectrum of applications, from simple consumer electronics to intricate industrial sensor networks.
Where to find it

Mouser Electronics
Mouser Electronics is a worldwide leading authorized distributor of semiconductors and electronic components.
References
Mouser Electronics [Internet]
Recommended Specs


Continue Reading
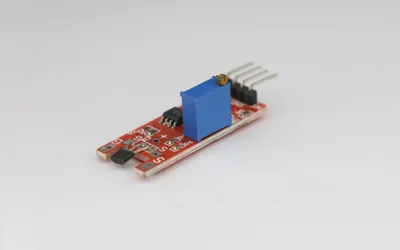
This article presents a comprehensive engineering guide to Hall Effect Sensors, covering theoretical foundations, device structures, sensor types, specifications, applications, and practical integration strategies for modern electronic system design.
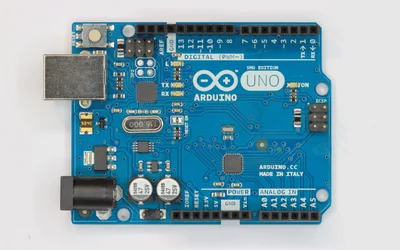
This article covers every aspect of the Arduino UNO pinout, presenting a technical, pin-by-pin explanation to help readers confidently design, analyze, and implement Arduino-based systems.
An In-depth Analysis of Features, Applications, and Selection Criteria for Embedded Systems Design. Discover the Advantages and Limitations of SPI, I2C, and UART for Efficient Data Exchange in Various Scenarios.