PETG Print Settings: Adjusting Temperature, Speed & Retraction to Improve Printing

Last updated on 07 Nov, 2023
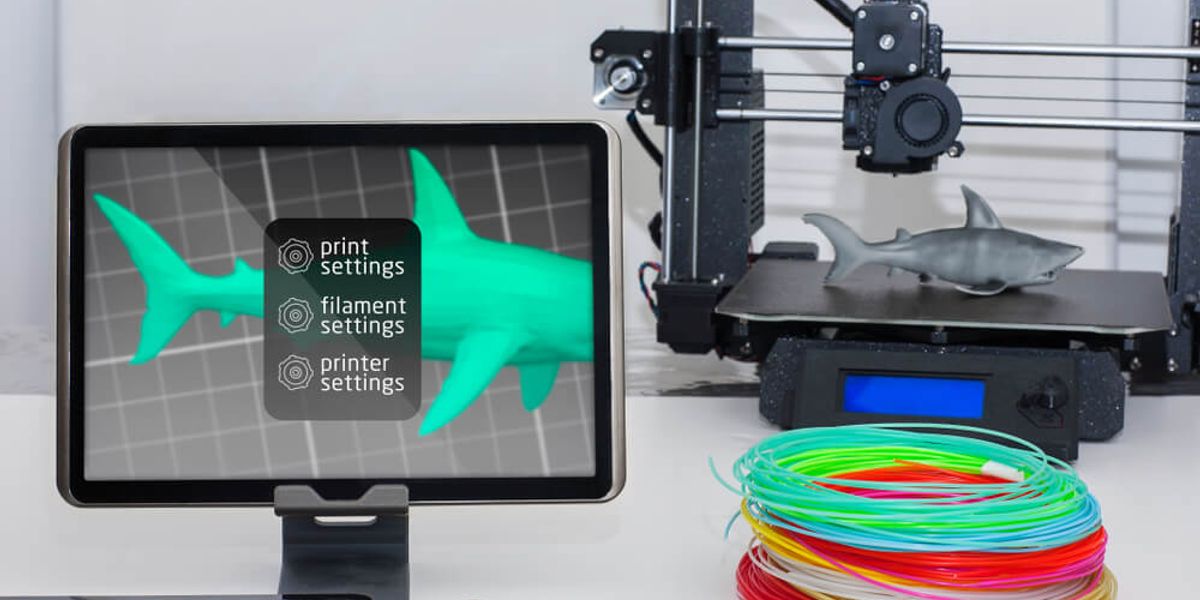
Adjusting your print settings can lead to better PETG prints
Thanks to its durability, chemical resistance, and low shrinkage, PETG filament is fast gaining popularity. However, it can be difficult to print without careful preparation and adjustment of 3D printer settings.
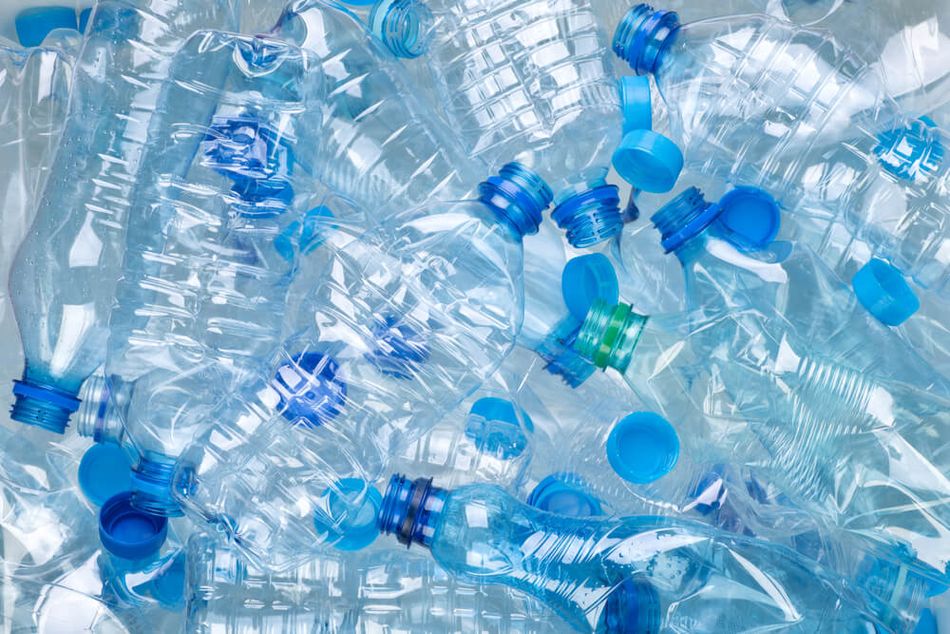
PET or polyethylene terephthalate is one of the world’s most widely used plastics. Found in synthetic textiles, bottles, and packaging, PET has many desirable characteristics, such as strength, transparency, and lightness.[1]
Because of these characteristics and others, PET has become a go-to material in FDM 3D printing. In filament form, PETG (glycol modified PET) offers some notable advantages over PLA, such as excellent layer adhesion, good impact resistance, and a low level of shrinkage. It’s affordable too: a spool of cheap PETG filament only costs about $5 more per kilogram than PLA from an equivalent filament brand.
Finding the perfect PETG print settings can be tricky, however. When melted, PETG has a low level of viscosity, which — while great for fast extrusion — can cause issues like oozing and stringing. Furthermore, its excellent bed adhesion can be both a blessing and a curse, with parts sometimes remaining stuck to the print bed after printing.
With that in mind, it is essential to properly prepare your 3D printer when printing PETG. And while many slicers provide default settings for individual materials like PETG, it helps to understand what these PETG print settings are actually doing so that you can carry out fine-tuning to achieve even better prints. This article gives a rundown of the correct PETG print settings for most situations — though different printers have their own unique requirements — in addition to general advice such as print bed preparation.
The Basics of PET Filament
PETG, or Polyethylene Terephthalate Glycol, is a type of filament widely used in 3D printing. It's a variant of the standard PET (Polyethylene Terephthalate) material, with the 'G' standing for 'Glycol'. Glycol is added to the material composition to prevent crystallization and increase the material's durability. This results in a filament that combines the strength and printability of PLA with the flexibility and durability of ABS, making it an ideal choice for a wide range of 3D printing applications.
One of the key advantages of PETG is its balance of strength and flexibility. It's stronger and more durable than PLA, yet not as brittle as ABS. This makes it a popular choice for parts that need to withstand stress or impact, such as mechanical parts or protective components.
PETG also has excellent layer adhesion. This means that the layers of a 3D printed object stick together very well, resulting in strong and solid prints. This is particularly beneficial for printing large objects or parts that need to withstand significant stress.
However, PETG is not without its challenges. It's more prone to stringing and oozing than other filaments, which can affect the finish of the printed object, and getting the right slicer settings can be trickier than it is for PLA.
Build Surface & Bed Temperature
Compared to ABS and other low-adhesion materials, getting the first layer of PETG onto your build surface is a breeze. PETG will stick to most surfaces without too much trouble — in fact, steps should be taken to stop the material adhering too well and becoming stuck to the build plate.
Choosing the right type of build surface is important when dealing with PETG. Very smooth surfaces like a glass bed can lead to over-adhesion, and such surfaces should be coated with glue stick or hairspray — which can function as a separator rather than an adhesive — to prevent damage to the build and the print bed.[2] Blue painter’s tape is a suitable surface for most PETG prints. However, a better solution is to use a textured build surface such as a powder-coated PEI sheet. Bear in mind that a textured print surface will leave a shallow patterned imprint on the bottom of the part, but this is a small price to pay for easy part removal.
PETG prints best onto a heated print bed with a temperature of 65–90 °C. As a rule, if good first-layer adhesion can be achieved at the lower end of that range, then stick with that temperature.
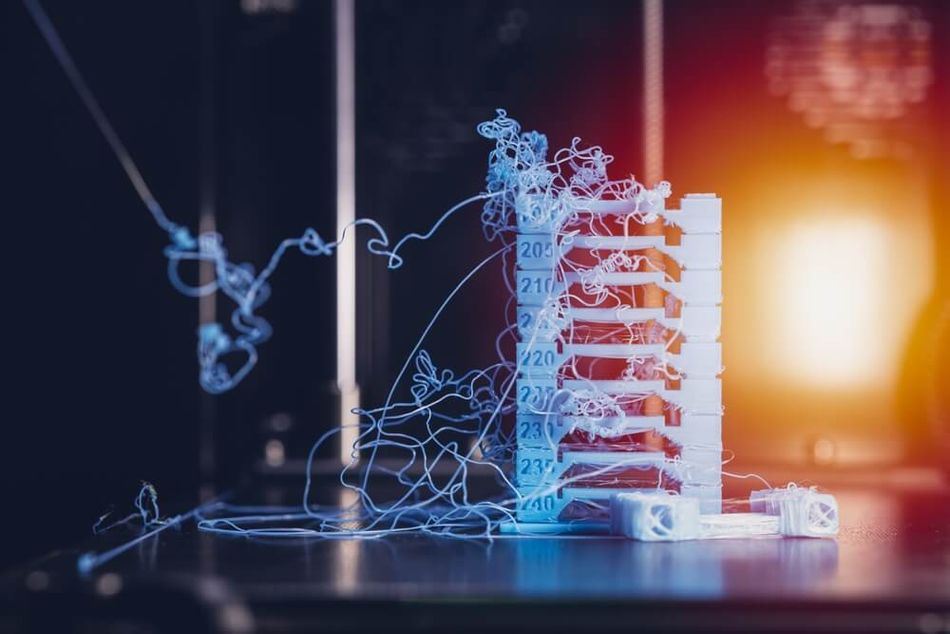
Nozzle Temperature
PETG usually prints best in the temperature range of 220–260 °C. 3D printer company Prusa suggests a printing temperature of 230 °C for the first layer and a slightly higher temperature of 240 °C for the rest of the build.[3] Filament company MatterHackers recommends 245 °C throughout.[4] If good results can be achieved at a lower temperature, stick with it, as a high temperature can lead to issues with bridging and overhangs.
Bed leveling and nozzle calibration is another important step when adjusting PETG print settings. The distance between nozzle and print bed should be greater than it is with PLA, ideally around 0.1 mm. This is due to the low viscosity of PETG: as the material flows freely, it can “drop” from the nozzle onto the bed without having to be forced vigorously.
Recommended reading: PETG Temperature Considerations: Nozzle Temperature, Heated Bed & Cooling
Print Speed
Print speed is one of the simpler PETG print settings to configure. In general, the material is best printed at a moderate speed, ideally no more than around 60 mm/s. This leads to improved bonding and cooling, and consequently better print quality. Researchers have shown that the mechanical properties of PETG parts improve at slower speeds, as opposed to PLA parts, whose mechanical properties improve at faster speeds.[5]
Perhaps more important, however, is the travel speed: the speed at which the printhead moves along the X and Y axes when it isn’t depositing material. Travel speed should be fast — around double the print speed, i.e. 120 mm/s — in order to mitigate the potentially damaging effects of oozing and stringing: if the hot end moves slowly across the print area, it has more time to drip excess material onto the part, causing imperfections and potentially leading to print failure.
Retraction
Most PETG users would agree that the single biggest disadvantage of the printing material is its tendency toward oozing (when material seeps from the nozzle) and stringing (when the seeping material forms a weblike mess across the part) — undesirable phenomena caused by the low viscosity of the plastic.
The best way to counter oozing and stringing is to adjust retraction settings. Retraction is a feature of FDM extruders wherein the nozzle pulls back a small amount of filament before it travels along the X and Y axes. By doing so, the printer can prevent unwanted leakage of the material and improve print quality. If stringing occurs during PETG printing, the following retraction print settings should be adjusted:
Set retraction distance to 3–7 mm, increasing it in increments of 1 mm until the stringing stops. The distance should be slightly higher for Bowden extruders than direct drive extruders.
Set retraction speed to around 20 mm/s, increasing it in increments of 5 mm/s if necessary.
Reduce or remove the minimum travel distance for retraction.
Disable any vertical lift feature (such Z-Hop in Cura, a popular slicer).
Recommended reading: PETG Stringing: What It Is & How To Prevent It During 3D Printing
Fan & Cooling
When adjusting PETG print settings, the 3D printer’s fan should be taken into account. In general, cooling a part during printing — bringing the temperature down to below the material’s glass transition temperature — can reduce issues like warping and sinking, leading to better parts.
Overall, using PETG can be advantageous because it exhibits a very low level of shrinkage as it cools, which means that parts — even very large ones — tend to maintain their shape as they are being printed. This means the plastic is less dependent on the printer’s cooling fan than a material like PLA; some users choose not to use their fan at all when using PETG 3D printing filament, though this might be considered risky.
For most prints, using a fan speed of 30–60% should suffice to prevent issues like oozing and stringing. However, only use the fan after the first few layers of the printing, as this will help to prevent warping, and remember that too high a fan speed will prevent interlayer bonding and result in a weaker PETG part.
Infill
Infill density and pattern are important print settings to consider when printing with PETG filament. For PETG prints, an infill density of 20% to 30% is typical, but the optimal density varies depending on the requirements of the object being printed.
Infill pattern, the geometric pattern used to fill the internal volume of the print, is perhaps more important when it comes to printing PETG. Because of the viscosity of the material, infill patterns that require the nozzle to cross over previously printed areas within a single layer can create unwanted blobs of material. Patterns that avoid this issue include rectilinear, honeycomb, and gyroid.
Other Factors to Consider
Beyond build surface preparation and key slicer settings, PETG users may want to consider a few other factors in order to achieve successful prints.
PETG filament storage and handling is one aspect to consider. Because the material is fairly hygroscopic — not as much as nylon, but still enough to take on water in moderately humid environments — it needs to be kept dry. Storing spools of filament with a desiccant can reduce moisture levels, and users may want to heat their filament with a filament dryer or an oven before printing.
Another important consideration is support structures. Because PETG exhibits very good interlayer adhesion, PETG supports can be difficult to remove. Users without a multi-material 3D printer may therefore need to tweak their support settings to ensure they can easily remove their supports without damaging the build.
The most important parameter here is the support Z distance, which is a multiple of the chosen layer height. Setting the value to at least twice the layer height can help with support removal.
Conclusion
PETG is a valuable 3D printing material due to its strength, impact resistance, affordability, and resilience against shrinkage and warping. With careful consideration of build surface, retraction settings, and other printing parameters, it is possible to achieve high-quality PETG prints on most FDM printers.
3D printer users should stick closely to the following PETG print settings:
Use a textured build surface
Use a heated bed with a temperature of 65–90 °C
Use a printing temperature of 220–260 °C
Keep nozzle height at around 0.1 mm
Print slowly at no more than 60 mm/s
Use a fast travel speed of around 120 mm/s
Increase retraction distance and speed
Use a moderate fan speed
By doing so, printed PETG parts should have good layer adhesion and a good surface finish while exhibiting minimal oozing or stringing.
Frequently Asked Questions (FAQs)
What is the optimal print temperature for PETG?
The optimal print temperature for PETG is typically around 220 to 260 degrees Celsius. However, the exact temperature can vary depending on the specific filament and printer being used.
Why is my PETG print stringing?
Stringing in PETG prints can be mitigated by adjusting the retraction settings or lowering the print temperature.
How can I improve bed adhesion when printing with PETG?
Improving bed adhesion with PETG can be achieved by increasing the bed temperature and ensuring the bed is level and clean. However, PETG generally adheres well to most surfaces, and users should be careful not to create too much adhesion between the print and the build surface, especially when printing directly onto glass.
What infill density and pattern should I use for PETG prints?
The optimal infill density and pattern for PETG prints can vary depending on the specific requirements of the object being printed. However, a typical infill density for PETG is around 20% to 30%, and common infill patterns include rectilinear, honeycomb, and gyroid.
References
[1] The Science Behind PET [Internet]. PET Resin Association. 2015 [cited 2022Mar14]. Available from: http://www.petresin.org/science_behindpet.asp
[2] How to Get Perfect PETG Prints on Ender-3: Correct Settings [Internet]. Creality. 2020 [cited 2022Mar14]. Available from: https://www.creality.com/blog-detail/how-to-get-perfect-petg-prints-on-creality-ender-3
[3] PETG [Internet]. Prusa Knowledge Base. 2020 [cited 2022Mar14]. Available from: https://help.prusa3d.com/en/article/petg_2059
[4] Black MH Build Series PETG Filament [Internet]. MatterHackers. 2016 [cited 2022Mar14]. Available from: https://www.matterhackers.com/store/l/petg-black-high-strength-filament-1.75mm/sk/M3MY2VQG
[5] Hsueh MH, Lai CJ, Wang SH, Zeng YS, Hsieh CH, Pan CY, Huang WC. Effect of printing parameters on the thermal and mechanical properties of 3d-printed pla and petg, using fused deposition modeling. Polymers. 2021 May 27;13(11):1758.
Search for articles and topics on Wevolver
More by Benedict O'Neill
Educated at King's College London and the University of Amsterdam, Benedict has been a freelance writer in the 3D printing industry since 2015. He is a contributing editor at Aniwaa and a senior writer at 3dpbm.

You Want Me to Eat What? The Rise of 3D Printed Food
6 minutes read

Reducing the carbon footprint of additive manufacturing
5 minutes read