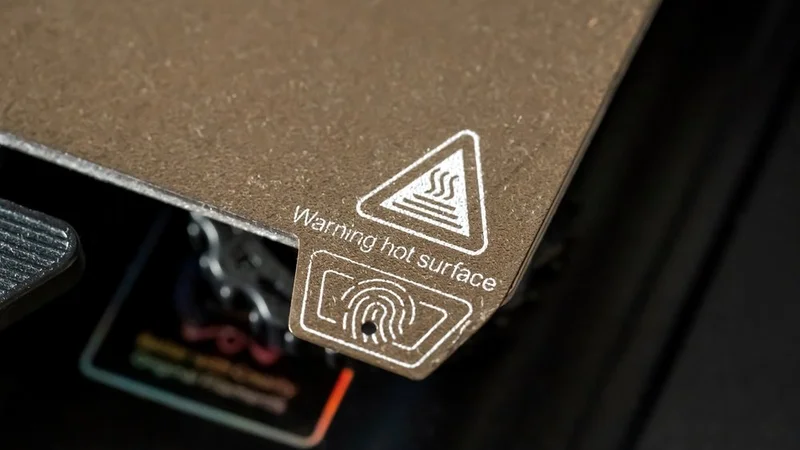
PETG Bed Temperature, Nozzle Temperature & Cooling Settings
Durable, flexible, and chemically resistant, PETG is a valuable 3D printing filament with a small price tag. However, the ideal PETG bed temperature is higher than other materials.

Last updated on 02 Feb, 2024. 8 minutes read
The ideal PETG bed temperature is 70–90 °C
PET (polyethylene terephthalate) is an extremely popular thermoplastic polymer resin most commonly used as a material for plastic bottles and synthetic fibers.[1] And in a slightly modified form known as PETG or PET-G, it becomes an excellent 3D printing filament with good durability, impact resistance, chemical resistance, and layer adhesion.
Glycol modification — the chemical process that puts the “G” in PETG — helps to lower the melting point of the thermoplastic, which makes it easier to print. However, PETG users should familiarize themselves with the ideal PETG bed temperature, printing temperature, heated chamber temperature, and cooling settings before attempting to print with it.
This article goes over the key PETG bed temperature considerations and other settings, providing tips that will prevent warping, stringing, and other common printing issues.
Properties of PETG
PETG is a modified form of PET. It is created when some ethylene glycol groups in PET are replaced with cyclohexanedimethanol (CHDM) groups.[2] Because CHDM has extra carbon atoms, it is less stable, which prevents crystallization and ultimately lowers the melting point of the plastic — without compromising its other material characteristics.
In this modified form, PETG is slightly easier to manipulate using thermal manufacturing techniques like FDM 3D printing, injection molding, and thermoforming.
PETG has many advantages, but a high level of temperature resistance is not one of them. In fact, with a glass transition temperature of around 80 °C, PETG is only slightly better than PLA at maintaining rigidity at higher temperatures. In other words, you don’t want to leave PETG parts in very warm environments, as they might soften up and lose their functionality. That being said, it will take some serious heat for PETG to turn fully liquid: the plastic has a melting point of around 210 °C.
So 3D printed PETG parts are only fractionally more heat-resistant than PLA parts. However, this doesn’t mean that PETG filament can be printed at very low temperatures like PLA. In fact, the ideal printing temperature for PETG is closer to what you would use for ABS, a plastic with excellent thermal resistance.
That being said, PETG has other desirable properties that make it an attractive choice for 3D printing enthusiasts and professionals alike. Some of the key advantages of PETG include:
- Strength and durability: PETG has a fairly high tensile strength, making it more resistant to breakage and deformation under stress. This strength makes PETG suitable for functional parts and prototypes that require durability and resistance to wear.
- Flexibility: PETG has a fairly high degree of flexibility compared to brittle materials like PLA, allowing it to withstand moderate bending and twisting without breaking. This flexibility makes PETG an excellent choice for parts that need to be slightly flexible, such as snap-fit components or living hinges.
- Chemical resistance: PETG is resistant to many chemicals, including water, alcohols, and some acids. This resistance makes it suitable for applications such as containers or lab equipment.
- Transparency: PETG can be printed with a high degree of transparency, making it an ideal material for applications that require see-through parts, such as light diffusers or display cases.
- Food-safe: PETG is considered food-safe, which means it can be used for applications that involve direct contact with food, such as kitchen utensils or food storage containers. However, the 3D printing process itself may introduce contaminants, so additional precautions should be taken to ensure food safety.
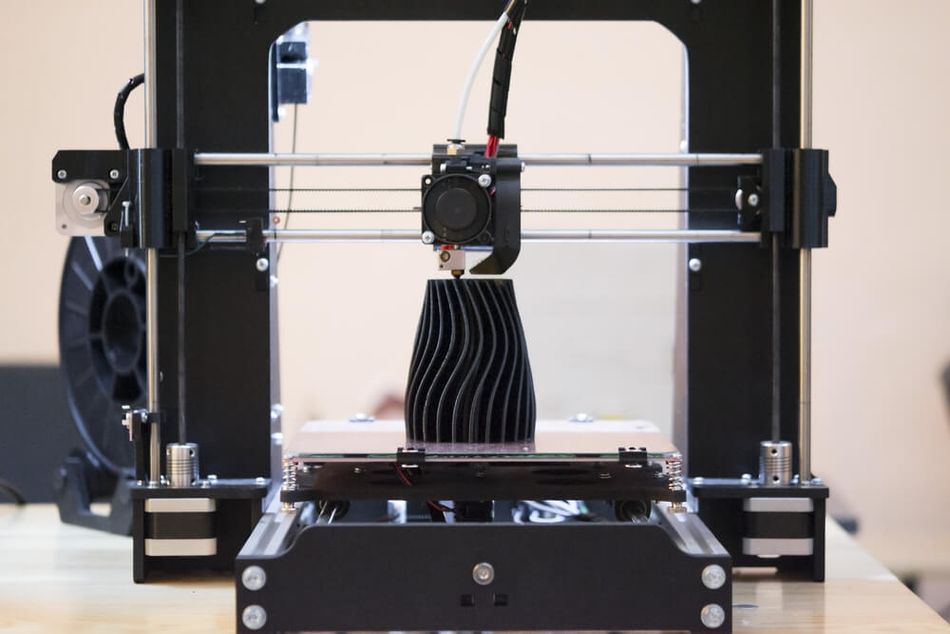
PETG Temperature Settings
3D printing software applications usually have printing profiles for different 3D printing materials, including PETG, that contain preset parameters suitable for the particular 3D printer filament. Nonetheless, it is useful to become familiar with the ideal PETG temperature settings in order to understand exactly what your 3D printer is doing (and to be able to fine-tune the settings whenever print quality issues occur).
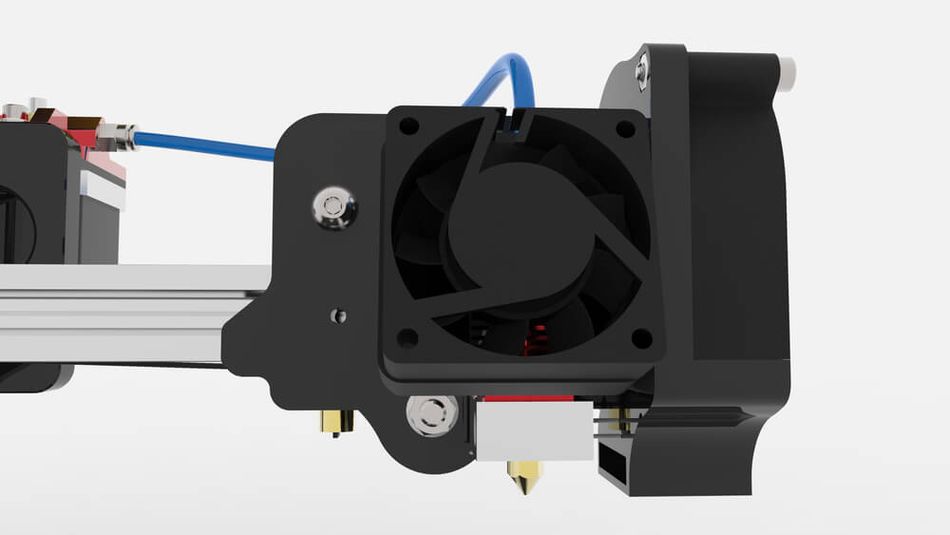
PETG 3D Printing Temperature
Using the right 3D printer nozzle temperature is vital for getting good prints. Too low a temperature will cause under-extrusion and potential jamming, while too high can cause oozing and stringing, with filament leaking onto areas it isn’t supposed to go.
The ideal PETG hot end temperature (nozzle temperature) is 220–260 °C, with the exact sweet spot varying depending on the 3D printer hardware, filament type, and requirements for the specific print job. Prusa recommends a printing temperature of 230 °C for the first layer of the print and 240 °C for the remainder.[3]
For high-strength parts, a temperature nearer 260 °C may be preferable, because the extra heat will improve bonding between layers. Lower temperatures may be suitable for visual parts where surface finish is important.
Recommended reading: Nozzle diameter and layer height explained
PETG Bed Temperature
A heated build plate can prevent warping and help with bed adhesion and part removal. PETG filament prints well with a heated print bed set to a temperature near the glass transition temperature of the material. However, a heated bed is not absolutely necessary as long as a suitable build surface is used, such as powder-coated PEI sheet, blue painter’s tape, or another surface coated with glue stick or hairspray.
A heated bed temperature of 70–90 °C should lead to good bed adhesion of PETG parts to the build surface and minimize the chances of warping. However, various factors can influence the ideal bed temperature, including the specific printer model, bed surface, and environmental conditions.
Glass surfaces typically require a higher bed temperature, around 80 °C to 90 °C, while PEI surfaces may work well with slightly lower temperatures, around 70 °C to 80 °C. Ambient temperature can also impact the optimal bed temperature settings for PETG. In colder environments, the bed temperature may need to be increased to compensate for heat loss and ensure proper adhesion. Conversely, in warmer environments, the bed temperature may need to be slightly reduced to prevent the material from becoming too soft and losing definition.
Bed temperature too high | Bed temperature too low |
Evidence of elephant’s foot — lowest layers spreading out | Insufficient adhesion to the build surface |
Over-adhesion to the build surface |
PETG Heated Chamber
Heated enclosures (chambers) are a feature of some 3D printers, helping maintain an even temperature around the part during the FDM 3D printing process. Heated chambers are useful for moderately high-temperature materials like ABS and are essential for high-performance materials like PEEK, where temperatures need to be kept extremely high and at a consistent level.
A heated chamber is not required for PETG, since the material is not prone to warping or shrinkage. Likewise, a simple unheated enclosure is not required either, though it is unlikely to have an adverse effect on printing unless the ambient temperature reaches a very high level.
PETG Cooling
If a printed layer remains soft and malleable for too long after being extruded, it can cause warping of the part. A good way to prevent such warping is to use a 3D printer’s cooling fan, which helps the printed sections to harden faster. It is especially useful when printing overhangs.
PETG users should deploy their cooling fan at a fan speed of 30–60%, bearing in mind that a higher fan speed will also have the negative effect of reducing adhesion between layers.
Other PETG Printing Tips
To get the most out of a spool of PETG filament and make high-quality parts, you’ll have to do more than adjust temperature settings.
An important early step to take is to properly prepare the print surface on the build plate. PETG offers excellent first-layer adhesion, but this means the plastic can also become overly stuck to the build surface. Because of this, it can be helpful to use a textured build surface such as powder-coated PEI sheet to facilitate part removal.[4] Alternatively, you can use a more common surface like blue painter’s tape or a separating agent like glue stick on whatever surface you currently use.
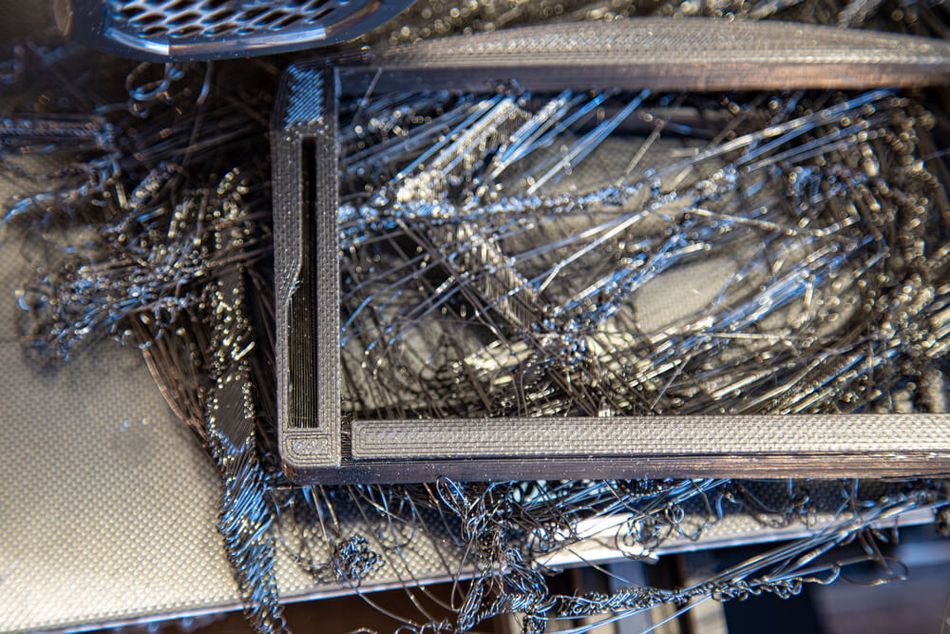
Another key part of PETG printing is retraction settings. When the hot end of the extruder heats up filament, it can make the material overly runny, which causes blobs to form in the nozzle and allows excess material to leak out onto the printed part. This is called oozing, and when the escaped material forms a weblike pattern over the part, it is called stringing. By increasing retraction speed and retraction distance, these PETG printing problems can be avoided.
Storage is also important when using PETG filament. The material is fairly hygroscopic — less so than nylon but more so than PLA — which means it easily absorbs moisture from the atmosphere that can lead to potential printing issues. Spools of PETG should be stored in an airtight container with a dessiccant, and ideally dried out before use.
Finally, PETG likes to be printed at a slow print speed. Around 60 mm/s at most will provide good results. On the other hand, a fast travel speed should be utilized — making the hot end move quickly when it is not depositing material — to prevent oozing and stringing. For a more comprehensive list of PETG printing tips, see our PETG print settings article.
Recommended reading: ABS print temperature considerations: Nozzle, bed, enclosure
Conclusion
PETG is not a difficult material to print, but it requires a different set of printing parameters to PLA or ABS. And among the most important of those parameters are temperature settings like the PETG bed temperature and nozzle temperature. By tailoring these settings to meet PETG’s unique needs, FDM users should have no problem achieving high-quality prints with this versatile printing material.
Frequently Asked Questions (FAQs)
What is the recommended bed temperature range for PETG?
The recommended bed temperature range for PETG is between 70 °C and 90 °C. However, the optimal temperature may vary depending on the specific printer model, bed surface, and environmental conditions.
How does bed temperature affect print adhesion and quality?
Bed temperature plays a role in print adhesion and overall print quality. Proper bed temperature ensures that the first layer of the printed material adheres well to the print surface, preventing issues such as warping and detachment. Bed temperature can also affect interlayer adhesion.
How can I improve bed adhesion when printing with PETG?
To improve bed adhesion, you can adjust the bed temperature, clean the bed surface, use adhesion aids such as glue stick or hairspray, and ensure that the print bed is properly leveled and the nozzle height is correctly set.
Can I use an enclosure when printing with PETG?
Using an enclosure is possible but not necessary when printing PETG.
How does humidity affect PETG printing?
High humidity can cause moisture to be absorbed by the PETG filament, leading to issues such as bubbling, stringing, and poor layer adhesion. In high-humidity environments, it helps to store PETG filament in a dry, sealed container with desiccants to minimize moisture absorption.
References
[1] The Science Behind PET [Internet]. PET Resin Association. 2015 [cited 2022Mar20].
[2] Feng YC, Zhao H, Hao TH, Hu GH, Jiang T, Zhang QC. Effects of poly (cyclohexanedimethylene terephthalate) on microstructures, crystallization behavior and properties of the poly (ester ether) elastomers. Materials. 2017 Jul;10(7):694.
[3] PETG [Internet]. Prusa Knowledge Base. 2020 [cited 2022Mar20]. Available from: https://help.prusa3d.com/en/article/petg_2059
[4] How to Succeed with LayerLock Powder Coated PEI Build Plates [Internet]. MatterHackers. 2019 [cited 2022Mar20]. Available from: https://www.matterhackers.com/articles/how-to-succeed-with-layerlock-powder-coated-pei-build-plates