Best Ender 3 (V2,Pro) Cura Slicer Settings: Temperature, Speed, Retraction, More
Creality Ender 3 printers and Cura are a perfect match. But you might have to tweak a few Ender 3 Pro Cura settings to get the right results on your 3D printer.

Last updated on 06 May, 2024. 12 minutes read
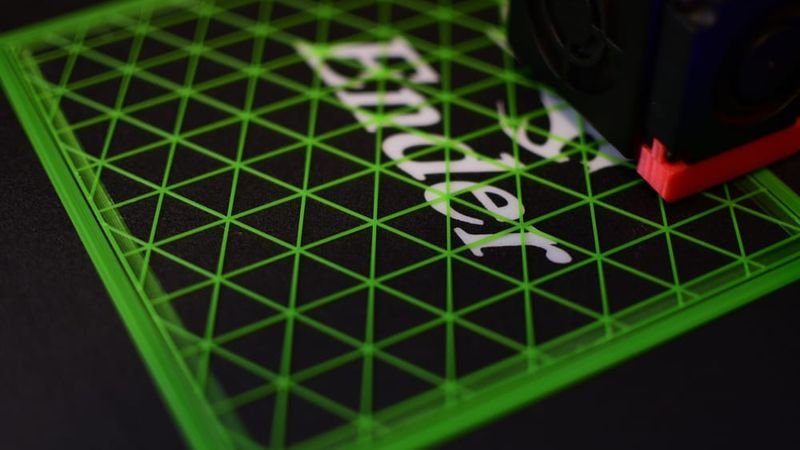
Many Creality Ender 3 users choose Cura as their slicer
The Creality Ender 3, in addition to its variants such as the Ender 3 Pro and Ender 3 V2, is one of the most popular entry-level 3D printers out there. Its low price, easy assembly, and high level of community support have made it the first port of call for many beginners and experienced users alike.
Another advantage of the Ender 3 is its compatibility with a range of slicers. Creality actually provides its own slicing software, Creality Slicer, but users tend to prefer a more established and feature-packed application such as Simplify3D, PrusaSlicer, or Ultimaker Cura. Though all slicers have their advantages, Cura remains the frontrunner for use with the Ender 3. In fact, Creality built its own slicer on Cura architecture, which goes to show how the software and hardware can work hand in hand when the right Ender 3 Pro Cura settings are used.
Because the Ender 3 and Ender 3 Pro are both common 3D printers, each has its own default Cura profile, which should allow users to get up and running with the slicer without much trouble. However, sometimes individual Ender 3 Pro Cura settings will need tweaking to get the best results. This article looks at the best Ender 3 Pro Cura settings, starting with the default machine settings then exploring a few adjustable parameters.
Why Use Cura with the Ender 3?
3D printing beginners might wonder why so many Ender 3 users have chosen to use software developed by another company when the Creality Slicer is included with the Ender 3 (Pro) and ready to use. Of course, Creality Slicer can work well for many prints, and some users swear by it. However, it has some significant limitations, leading most users to turn to a more established application like Cura.
As mentioned in the introduction, Creality Slicer is based on Cura, so the two applications look and feel relatively similar. However, Cura retains a greater number of features and is updated regularly, giving users regular bug fixes, a greater number of printing options, and a better slicing experience overall.
Cura is also free, so besides the extra few minutes required to download it, there is basically no drawback to installing it over Creality Slicer.
Cura Software Overview
Cura is a powerful slicing application developed by Ultimaker, a leading 3D printer manufacturer. Cura is compatible with a wide range of 3D printers, including the Ender 3 (Pro), and offers an intuitive interface that makes it easy for users to configure and optimize their print settings.
One of the main features of Cura is its extensive library of pre-configured profiles for various 3D printers and materials. These profiles provide a solid starting point for users, allowing them to achieve good print quality with minimal effort. Additionally, Cura offers a high level of customization, enabling users to fine-tune settings such as layer height, print speed, and temperature to optimize their prints further.
Another advantage of using Cura is its active and supportive community. Users can easily find resources, tutorials, and troubleshooting tips online, making it an excellent choice for both beginners and experienced 3D printing enthusiasts.
List of Creality Ender Printers With Cura Profiles
Cura provide profiles for many popular 3D printers, including those from Creality. As of May 2024, users can select preconfigured profiles for the following Ender models:
- Creality Ender 2
- Creality Ender 3
- Creality Ender 3 Max
- Creality Ender 3 Pro
- Creality Ender 3 S1
- Creality Ender 3 S1 Plus
- Creality Ender 3 S1 Pro
- Creality Ender 3 V2 Neo
- Creality Ender 3 V3 SE
- Creality Ender 4
- Creality Ender 5
- Creality Ender 5 Plus
- Creality Ender 5 S1
- Creality Ender 6
While that might seem like an exhaustive list, there are still a handful of Creality Ender printers without official Cura profiles, such as the Ender 3 V3 KE. Owners of unsupported Ender printers can either wait for an official Cura profile, use the slightly inferior Creality Slicer, or search for a user-created profile.
Cura Printer Settings vs Material Settings: Which Takes Precedent?
Cura uses what it calls a stacked profile system that determines the final settings used by the printer in a given situation. What does this mean? In the slicer, you can assign a profile for the printer, for the specific filament, for quality requirements, and for any other specific user-adjusted parameters. However, these different profiles contain different values for the same parameter. For example, there can be a default print speed for the Ender 3 and a (different) default print speed for the material PETG.
So which parameter ultimately gets used? Cura's stack works hierarchically. Custom user profiles override quality profiles, which override material profiles, which in turn override default printer profiles. Bear this in mind when making changes, especially regarding different filaments.
For more information on the Cura stacked profile system, see this page.
Ender 3 Pro vs. Ender 3
While the Ender 3 Pro shares many similarities with its predecessor, the Ender 3, there are several key differences and improvements that set it apart. One of the most notable upgrades is the redesigned power supply unit (PSU). The Ender 3 Pro features a Mean Well PSU, which is known for its reliability and safety. This upgraded PSU provides more stable power delivery and reduces the risk of electrical issues.
Another significant improvement in the Ender 3 Pro is the enhanced build plate. The Ender 3 Pro comes with a removable, magnetic build plate that allows for easier removal of completed prints. This feature not only improves print quality but also reduces the risk of damage to the build surface during print removal.
The Ender 3 Pro also features a wider Y-axis rail, which increases the stability of the printer's base and improves overall print quality. Additionally, the extruder assembly on the Ender 3 Pro has been upgraded with a metal bracket, providing better tension on the filament and reducing the likelihood of filament slipping or under-extrusion.
Cura Ender 3 (Pro) Settings
This article focuses on the best Ender 3 (Pro) Cura settings regardless of filament, while noting settings that are filament-dependent. It focuses on common parameters like temperature, speed, and resolution.
Printer Profiles
The first step in setting up Cura for the Ender or Ender 3 Pro is to add the machine as a new printer within the software. To do this, open Cura and navigate to the "Settings" menu, then select "Printer" and "Add Printer." From the list of available printers, choose "Creality3D" and then "Ender-3 Pro." This will load the pre-configured profile for the Ender 3 Pro, which includes the best Cura settings for the printer's hardware.
In addition to the pre-configured profile included with Cura, there are numerous custom profiles available online that have been created by experienced Ender 3 Pro users. These profiles can provide further optimization and improvements to print quality, as they often include settings that have been fine-tuned through trial and error.
To import a custom Ender 3 Pro profile into Cura, first, download the profile file, which should have a ".curaprofile" extension. Next, open Cura and navigate to the "Settings" menu, then select "Profile" and "Manage Profiles." In the "Profiles" window, click the "Import" button and locate the downloaded profile file on your computer. Once the file has been selected, click "Open" to import the profile into Cura.
Machine Settings
The Cura machine settings for the Ender 3 and Ender 3 Pro are not user-defined parameters to play around with, but are rather definitions of the machine that ensures the slicer is giving the 3D printer instructions that are relevant to its physical setup — ensuring it doesn’t print over the boundaries of the print bed, for example.
Note that the Ender 3 Pro Cura settings for Printer Settings and Printhead Settings are identical to those for the classic Ender 3. As discussed in the previous section, the main differences between the two printers are the power supply, removable built plate, and bed leveling features, but the build area and gantry are more or less identical.[1]
Ender 3
Printer Settings
X: 220 mm
Y: 220 mm
Z: 250 mm
Build plate shape: Rectangular
Origin at center: ☐
Heated bed: ☑
Heated build volume: ☐
G-code flavor: Marlin
Printhead Settings
X min: -26 mm
Y min: -32 mm
X max: 32 mm
Y max: 34 mm
Gantry height: 25 mm
Number of extruders: 1
Ender 3 Pro
Printer Settings
X: 220 mm
Y: 220 mm
Z: 250 mm
Build plate shape: Rectangular
Origin at center: ☐
Heated bed: ☑
Heated build volume: ☐
G-code flavor: Marlin
Printhead Settings
X min: -26 mm
Y min: -32 mm
X max: 32 mm
Y max: 34 mm
Gantry height: 25 mm
Number of extruders: 1
Temperature Settings
Some of the most important print settings for achieving high-quality prints are those related to temperature. Thermoplastics have different thermal properties from one another, so Ender 3 users must sometimes alter the temperature parameters in Cura to get the right results with different filaments.
Hot End Temperature
The Ender 3 has a maximum hot end temperature (nozzle temperature) of 260 °C, which is sufficient for common filaments like PLA, ABS, and PETG but insufficient for high-temp materials like PC and certain nylons.
Choosing a printing temperature depends on the filament being used, as thermoplastics have different glass transition temperatures and melting points. Ender 3 extrusion temperatures for common filaments are:
PLA: 190–210 °C
ABS: 220–240 °C
PETG: 230–245 °C
TPU: 220–230 °C
To find the ideal temperature for a filament, users can also print a temperature tower. This is a kind of test print with individual sections to be printed at differing temperatures, providing a visual aid for determining the ideal temperature.
Bed Temperature
The heated bed of the Ender 3 (Pro) can be raised to a maximum of 110 °C, which is sufficient for common materials but insufficient for certain high-temp materials like PC.
Ender 3 print bed temperatures for common filaments are:
PLA: 50 °C
ABS: 110 °C
PETG: 70 °C
TPU: 50 °C
Speed Settings
When it comes to print speed, Ender 3 users might wish to adjust the default settings in Cura to achieve shorter print times or higher-quality parts. Faster speeds reduce overall print time but can lead to issues like under-extrusion.
Printing Speed
According to Creality, the Ender 3 and related models like the Ender 3 Pro can print at a maximum rate of 200 mm/s. However, this is not feasible for most materials and scenarios, as the material would not have time to be extruded.
Although travel speeds can get close to that maximum speed, actual printing speeds tend to be between 20 mm/s and 100 mm/s, depending on the filament being used and the type of parts being printed. Prototypes can generally be printed faster, as any resulting imperfections are not important, whereas high-value items should be printed slower to ensure good quality.
Ender 3 printing speeds for common filaments are:
PLA: 60 mm/s (max 150 mm/s)
ABS: 60 mm/s
PETG: 40 mm/s
TPU: 20 mm/s
Initial Layer Speed
Printing the first layer(s) of a print at a slower speed can improve bed adhesion, leading to better print quality and reducing the chances of print failure on the Ender 3. A speed of 30 mm/s works well for most filaments, with the exception of flexible filaments like TPU, which should generally be printed even slower, i.e. 20 mm/s.
Recommended reading: 3D print speed: What it is and why it matters
Infill Settings
When using Cura with the Ender 3 (Pro), users have a great deal of flexibility when it comes to infill, with 14 different infill patterns available, in addition to advanced settings like infill line direction and XY offset. The most important settings, however, are infill density (expressed as a percentage) and infill pattern.
Infill Density
Infill affects the density of printed parts. In most cases, parts can be mostly hollow, with just enough material arranged in an ordered pattern on the inside.
The Ender 3 infill density should be set depending on the purpose of the printed parts:
Visual-only prints: 0–15% infill density
Standard prints: 15–50% infill density
Functional prints: 50–100% infill density
Infill Pattern
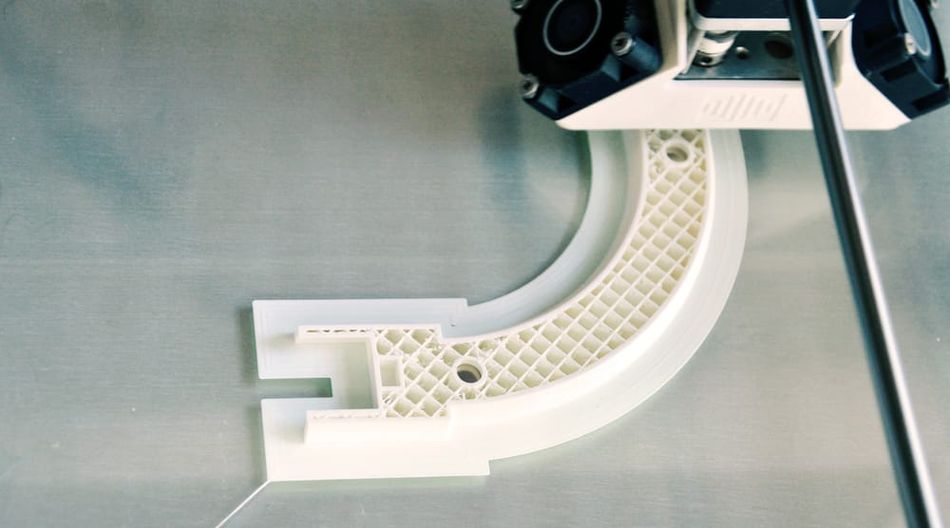
Cura offers a wide variety of preset infill patterns, all of which can be realized on the Ender 3 and related models. These patterns affect the mechanical properties of the final parts.[2]
As with infill density, choosing an infill pattern generally depends on the purpose of the parts: some patterns are better for fast printing, some are better for achieving high strength, while some are best for making flexible parts.
Recommended reading: Cura infill patterns: What they are and when to use them
Resolution Settings
When printing parts on the Ender 3 (Pro), achieving a high level of detail, resolution, and dimensional accuracy depends on a few different factors, such as the layer height (which affects Z resolution), the line width (which affects XY resolution), and the accuracy of the Ender 3. The first two factors are user-determined parameters, while the third is determined by the quality of the machine.
Layer Height
Setting a layer height in Cura determines the level of Z-axis resolution that the Ender 3 will achieve when printing parts. A greater layer height means the part will print faster but with lower resolution on the Z axis, while a smaller layer height means slower prints and better detail.
When setting the layer height on your Ender 3, it is important to remember how the printer physically achieves a certain layer height. On the Ender 3, the shortest distance the printhead can move along the Z-axis is 0.04 mm, as this is equivalent to one “step” on the stepper motor. It therefore makes sense to set a layer height in a multiple of 0.04, e.g. 0.16 mm, 0.2 mm, 0.24 mm, and so forth…
The Ender 3 layer height should be chosen depending on the desired resolution and printing time:
0.12 mm (good detail, slower)
0.2 mm (average detail, faster)
0.28 mm (average–poor detail, fast)
Initial Layer Height
Laying down a thick first layer — as well as printing at a slightly reduced speed — can help with bed adhesion on the Ender 3. An initial layer height of around 0.24 mm (keeping the value in multiples of 0.04 mm) works well.
Line Width
The line width setting is to a great extent determined by the nozzle diameter. On the Ender 3, the standard nozzle has a diameter of 0.4 mm (although there are various Ender 3 nozzle sizes to choose from).
Good layer adhesion can be achieved by using a line width slightly greater than the nozzle diameter. So with the standard Ender 3 nozzle, this may be around 0.44–0.48 mm.
Retraction Settings
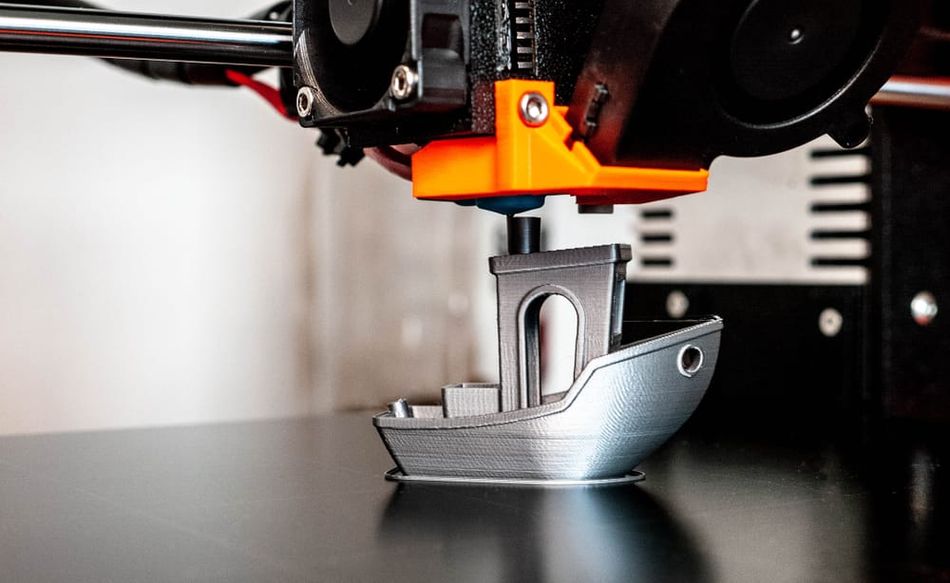
Retraction is when the extruder gears go into reverse to relieve pressure in the nozzle during travel movements. This action helps to prevent oozing and stringing as the printhead moves from one area of the build area to another.
In 2020, researchers using an Ender 3 Pro with PLA found that a retraction distance of 5–6.5 mm, a retraction speed of 25–20 mm/s, a print speed of 40–50 mm/s, and extruder temperature of 200 °C worked well to minimize stringing issues.[3]
Some materials are more prone to oozing and stringing than others. PETG, for example, can be particularly difficult to work with.
Retraction Speed
Retraction speed is the rate at which the material is pulled back by the extruder gears. Faster speeds are more likely to prevent oozing but are also more likely to cause material grinding. A value of 30–50 mm/s is ideal, keeping to the lower end of the range of filament grinding occurs.
Retraction Distance
Retraction distance is the length of filament pulled back during retraction. Longer retractions are more likely to prevent oozing but take longer to perform and can put strain on the filament. On the Ender 3, a value of around 5 mm/s works well, though this value can be increased in increments of 1 mm/s if oozing and stringing persists.
Recommended reading: The Best Ender 3 Retraction Settings
Conclusion
The Creality Ender 3 and Ender 3 Pro both work exceptionally well with Ultimaker Cura, and the slicer’s default settings for the 3D printers work well in most situations when combined with regular calibration of the 3D printer and occasional test prints. Additionally, using the predefined material profiles on Cura typically yields good results, with tweaks to the Ender 3 Pro Cura settings only needed when experiencing diagnosable printing issues.
Frequently Asked Questions
What is the optimal layer height for the Ender 3 Pro?
The optimal layer height depends on the nozzle size and the desired balance between print quality and print time. With the standard 0.4 mm nozzle, a layer height of 0.2 mm is a good starting point.
What is the recommended print speed for the Ender 3 Pro?
A print speed of around 60 mm/s is generally recommended for the Ender 3 Pro when using PLA filament. However, the optimal print speed may vary depending on the material and the specific requirements of your project.
What is the best Cura infill pattern for the Ender 3 Pro?
The optimal infill pattern depends on the specific requirements of your print and the material being used. Common infill patterns include grid, lines, triangles, and gyroid. Experiment with different infill patterns to find the best option for your project.
How do I prevent warping on my Ender 3 Pro prints?
To minimize warping, ensure that your build plate is properly leveled, verify that your temperature settings are correct for the material being used, improve bed adhesion using an adhesive solution or a brim/raft, and consider using an enclosure for materials that are particularly susceptible to warping, such as ABS.
References
[1] Ender-3 vs Ender-3 Pro [Internet]. Creality 3D. [cited 2022Oct31].
[2] Lalegani Dezaki M, Mohd Ariffin MK. The effects of combined infill patterns on mechanical properties in fdm process. Polymers. 2020 Nov 26;12(12):2792.
[3] Haque MS. Minimizing Stringing Issues In FDM Printing. ResearchGate [online]. 2020;2:8.
in this article
1. Why Use Cura with the Ender 3?Ender 3 Pro vs. Ender 33. Cura Ender 3 (Pro) Settings4. Printer Profiles5. Machine Settings6. Temperature Settings7. Speed Settings8. Infill Settings9. Resolution Settings10. Retraction Settings11. Conclusion12. Frequently Asked Questions13. References