Arduino Quadcopter
This project is not the simple one. You need some basic knowledge of Arduino programming, PCB's, and electronics to make it.
Overview
You may ask why did you write your own program for it? Why did you make a custom pilot and PCB's? Basically, because I can :) I like making things on my own and learning how they work. Thanks to this type of thinking, I've learned a lot about quadcopters and how they work, and I hope you do too.
- Code
The biggest problems I had were with the code for stabilization, it wasn't hard to write it but it was very hard to adjust and remove the bugs. It's still not perfect but it works well enough. Once my code was ready, I started to adjust the PID regulators, which was a terrible idea, I almost destroyed my room because of a bug in my code. For some reasons my code was decrementing int infinitely and when it reached the minimum value it immediately went to the maximum value of int and my drone turned on motors 100% and crashed into everything in sight. For a long time, my PID regulator was adjusted very badly but every day I moved a step closer to making it as perfect as possible. During this adjustment phase, I broke my 3D printed frame 4 times :(
- Frame
At the beginning, I thought that it can be very useful to make a 3D printed frame but after seven broken frames I decided to buy one, mainly because it was much stronger and more rigid than its 3D printed counterpart.
- Pilot
The main reason was money. If you want to buy a pilot for your drone you need to spend at least $50, which is quite a lot for a single part. So I build my own for like $20. And the good thing about it is that I can create as many channels as I want :)
- PCB's
Because I'm running my own code and my own pilot, I have to make custom PCB's. I made three of them. The first one is a power distributor for the motors, the second one is the pilot and the third one is of course the flight controller. All of them use through hole components to make it easier to solder. In my final version, I am not using a power distribution board because my frame already has that.

## My Drone Making Journey
I want to write this quick story of building of this drone, if you don't want to read it just go to next step. I started the project in June 2016. It took me over 9 months to make it. Mainly because of bad weather, rain, snow, and windy days.
The first thing that I bought was the motors, ESC's, and battery. Then I designed my 3D printed frame, printed it, and started prototyping. I mounted an Aruino UNO with a breadboard to my frame to connect with the MPU-6050 (gyroscope and accelerometer).

My "controller" was essentially just a breadboard with a potentiometer connected with five meter long cables to an Arduino Uno on my quadcopter. It looked pretty funny and it wasn't very safe but it provided me with the opportunity to test my drone and iterate quickly without dealing with the complexities of radio.
I also created a holder for my drone to test it at home without the possibility of destroying something (including me by drone). By testing it and flying in bad conditions, or with bugs in my code, I broke my 3D printed frame seven times. After 9 months of building, breaking, and experimenting, it is finally ready.
However, this is not the final version. I still want to make some improvements, and I hope that you, the makers, will help me achieve that.
Recommended Specs
Continue Reading
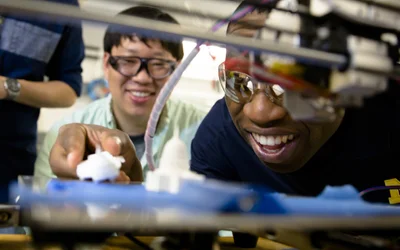
Algorithm allows 3-D printers to “read ahead” of their programming to boost speeds.

3 minutes read

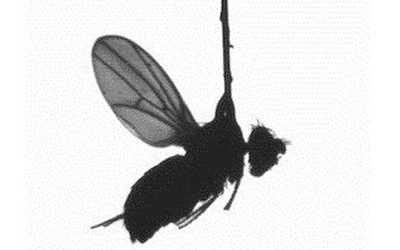
The next step in machine learning, how 3D printing will change the airline industry, and why flies hold the secret to robotic flight.


Hyperganic, a company based in Munich, Germany, develops a software platform that uses artificial intelligence for the advanced design and engineering of highly complex components, structures and entire machines.