How to Fix Under Extrusion: Maintenance and Print Settings
One of the most common issues with FDM 3D printing is under-extrusion, which manifests itself as thin or missing layers or visible holes in the structure of the part.

Last updated on 27 Oct, 2023. 8 minutes read
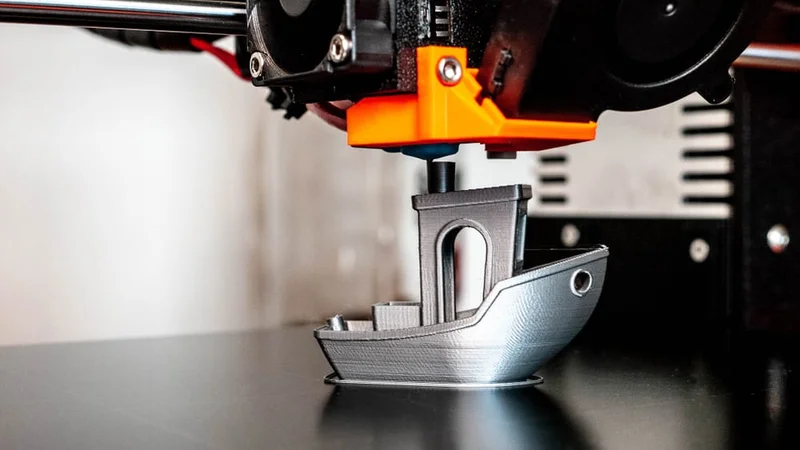
Under-extrusion can be fixed with maintenance and optimized print settings
When an FDM 3D printer works properly, it extrudes thermoplastic filament and deposits it in a sequence of two-dimensional layers. Sometimes, however, the 3D printer is unable to extrude the right amount of material, leading to noticeable issues like thin layers, missing layers, gaps, holes, and weakness of the printed part.
The problem of a 3D printer failing to supply adequate material is called under extrusion, and it happens to all printer users from time to time. Generally, under-extrusion is not a sign of any major hardware problem with the 3D printer, but the phenomenon can have a range of causes, which makes it tricky to diagnose the underlying issue. Under-extrusion can usually be solved by printer maintenance — cleaning the nozzle, for instance — or by adjustment of print settings.
This article examines what can cause under-extrusion and offers solutions for how to fix under-extrusion problems, both through physical maintenance of the 3D printer and adjustment of print parameters.
Under-Extrusion or Over-Extrusion?
In 3D printing, both over-extrusion and under-extrusion are problems related to the amount of filament extruded by the printer, but they manifest in different ways, affecting the print quality and structural integrity of the object being printed.
Under-extrusion occurs when the 3D printer doesn't supply enough filament to create the intended layers of the object. This can result in gaps, weak structures, and a rough surface finish. Under-extrusion can happen due to various factors such as a partially clogged nozzle, improper slicing settings, insufficient filament tension, or a worn-out drive gear. It's akin to a pen running out of ink while drawing; the printer doesn't have enough material to complete the designated paths, leading to incomplete prints with visible defects.
Over-extrusion, on the other hand, happens when the printer supplies more filament than necessary for the specified print. This excess material can cause issues like blobbing, stringing between printed parts, and a loss of fine details. Over-extrusion often occurs due to incorrect slicer settings, where the printer is instructed to extrude more material than required. It can also be caused by a misaligned printer, incorrect nozzle diameter settings, or a too-high printing temperature. Over-extrusion is comparable to using a pen that leaks blotches of ink.
Recommended reading: Dealing with Over Extrusion in 3D Printing
Fixing Under-Extrusion with Printer Maintenance
There are several potential causes of under-extrusion, and many of these relate to the condition and cleanliness of the 3D printer. Clogs, dirtiness, and incorrect calibration can all lead to extrusion problems, so learning how to identify these basic issues is an easy way to prevent under-extrusion.
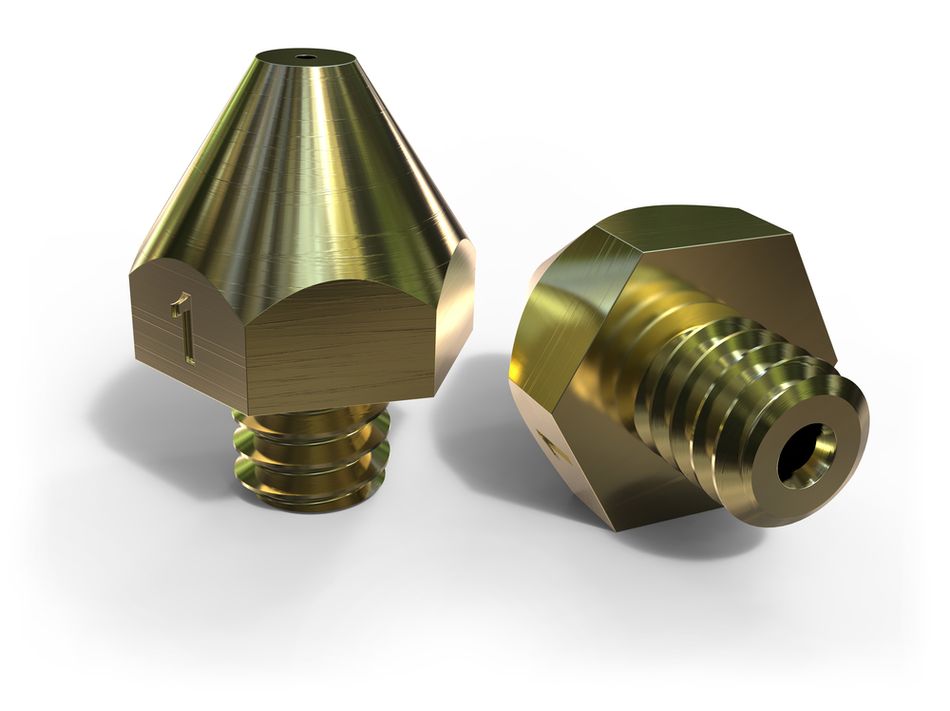
Nozzle
FDM printers must feed a spool of thermoplastic filament through various parts of the machine, and there are a few areas where the material can leave a buildup of residue and cause clogging.
If under-extrusion starts happening suddenly (and you haven’t made any changes to the print setup) then a clogged nozzle is a likely culprit. There are few ways to clean and remove blockages from a 3D printer nozzle, including:
Using a brass wire brush (not steel) to remove debris
Using a needle to remove internal debris
Running a special cleaning filament through the printer and performing a cold pull (letting the filament cool while it is in the nozzle, then pulling it out)[1]
Removing the nozzle and immersing it in a chemical such as acetone (best for ABS)
Removing the nozzle and using a heat gun to melt any filament left inside
Another hot end issue that can cause under-extrusion is a worn-out PTFE coupler — a component found on common FDM machines like the Creality Ender 3 and Ultimaker 2. The coupler should be replaced if it becomes deformed by heat.
Bowden tube
The hot end isn’t the only place where clogs can occur. Bowden tubes can also get clogged up with filament, and this can equally cause under-extrusion, as not enough filament is able to pass through.
A clogged Bowden tube is often the result of heat creep: when the tube gets hotter than it’s supposed to be and melts the filament before it reaches the hot end. To clean the tube, first remove it, then push a small piece of sponge or cloth through it using a piece of filament.
Drive gears and motor
Drive gears are responsible for gripping the filament and pushing it into the hot end where it melts and forms the print layers. Over time, these gears can accumulate debris, such as dust or leftover filament particles, causing the grip on the filament to weaken. Regular cleaning and inspection of the drive gear can prevent this. Additionally, the gear's teeth might wear out, reducing their effectiveness. Replacing worn-out gears ensures a proper grip on the filament, enhancing the extrusion process.
One reason why debris might accumulate in the extruder gears is incorrect tension on the filament. The tension must be great enough to cause small marks in the filament but not so great that the gears strip chunks out of the material, resulting in thin and weak layers.
Cooling fan
Bowden tubes can get clogged when filament melts too early on its journey to the nozzle. This is sometimes caused by issues with the printer’s cooling apparatus: if the fan is not able to regulate temperature, the material can overheat, leading to under-extrusion. The cooling fan may cease to function properly if it is installed improperly or if jamming has occurred. Check it for stray pieces of filament or other debris, and remove these items with a brush.
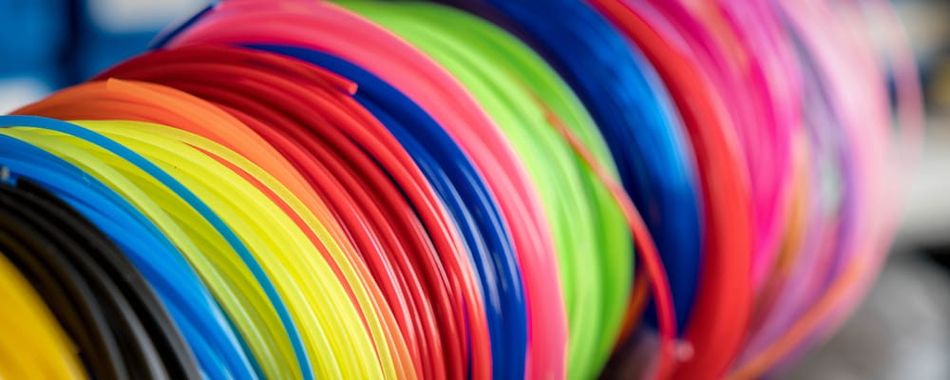
Filament
Problems with the 3D printing material can cause under-extrusion. These problems can include damp filament, knots in the filament, and incorrect material settings (discussed in the print settings section).
Damp filament can indirectly cause under-extrusion. This is because filament expands when it absorbs too much moisture, and a bloated strand of filament can cause clogging within the nozzle. Fortunately, it is easy to keep filament dry by storing it correctly and, if necessary, drying it out thoroughly before use. The link between moist filament and under-extrusion is particularly noticeable with flexible filaments like TPU.[2]
Filament can also become tangled or knotted, especially when it is regularly removed from the 3D printer and replaced. Using a filament clip can help to prevent this issue.
Recommended reading: How to dry filament
Firmware and software updates
Under-extrusion and myriad other issues can be caused by minor technical bugs, which tend to pop up when using outdated 3D printer firmware and slicer software. Install updates when they become available.
Fixing Under-Extrusion with Print Settings
Cleaning, maintenance, calibration, and firmware updates can all help to prevent under-extrusion and related issues. Sometimes, however, adjustment of print settings (in slicer software like Cura, for example) is all it takes to fix under-extrusion.
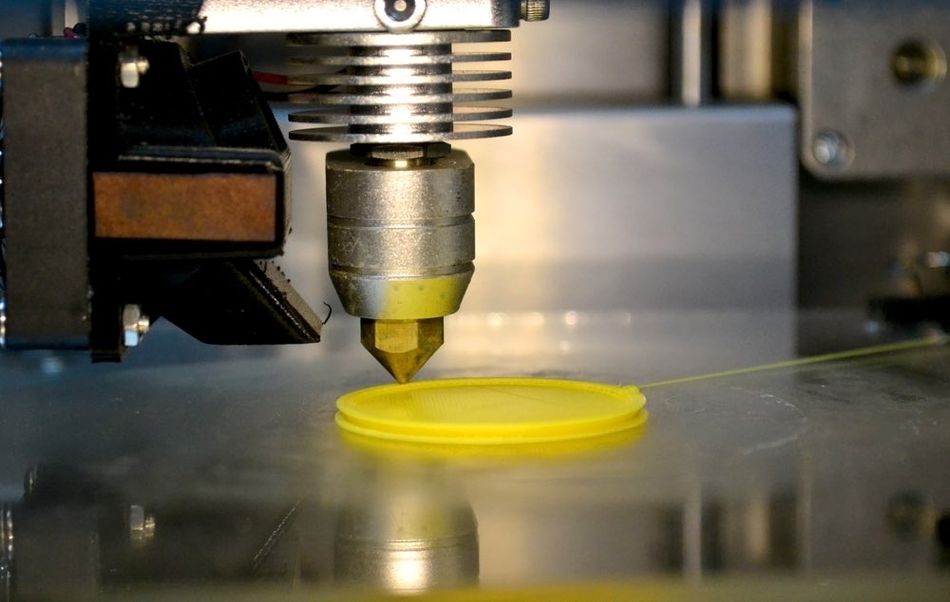
Nozzle temperature
A common and easily resolvable cause of under-extrusion is insufficient nozzle temperature. If the hot end does not melt the material enough, it can struggle to push enough of it through the nozzle.
Slicers usually have default printing profiles for certain filaments. But it may be necessary to adjust the printing temperature by 5 or 10 °C to achieve the best results. Also note that non-brass nozzles such as hardened steel nozzles require higher temperatures, as they do not retain heat well.
Flow rate
Flow rate, the amount of plastic extruded per second, can be a cause of under-extrusion. When the set flow rate is higher than the actual capabilities of the printer, parts may come out under-extruded. Flow rate is defined by layer height, nozzle diameter, and printing speed.
In slicers such as Cura and Simplify3D, flow rate can be most easily adjusted via the extrusion multiplier parameter, which is usually set at around 90% (or 0.9) for PLA and 100% (or 1.0) for ABS.[3] When under-extrusion occurs, this value can be increased in small increments until the problem goes away.
Note that the default flow rate will be incorrect if the filament diameter has not been set properly. For example, if you are using 2.85 mm filament but the slicer thinks you are using 1.75 mm, the printer will not feed through enough material at once. For the highest level of accuracy, you can use calipers to measure the exact diameter of your material.
First-layer calibration
Under-extrusion can be caused by printing the first layer too close to the build surface. Users sometimes calibrate the first layer very close to the build surface in order to improve adhesion, but this can have the negative effect of actually obstructing the nozzle and preventing the natural flow of filament [4]
First-layer calibration should strike a balance between adhesion and flow. If the print does not stick to the print bed, then a change in build surface material or use of an adhesive should be considered instead.
Recommended reading: How to clean 3D printer beds: Glass, PEI, adhesive
Retraction
Retraction is when the printer nozzle pulls back a bit of filament before it travels. Retraction can prevent issues like oozing and stringing, but incorrect retraction settings can cause under-extrusion issues.
When using significant retraction, under-extrusion may occur immediately after travel (when the printhead hops from one part of the print to another without depositing material), as the interruption of material deposition causes a loss of pressure. Under-extrusion may be mitigated by increasing the retraction extra prime amount, which increases pressure in the nozzle after retraction.
Troubleshooting Under-Extrusion Checklist
Although under-extrusion is difficult to stamp out altogether, carrying out regular maintenance can help to prevent the issue in most cases. And even if the problem turns out to be a slicer-related issue rather than a hardware issue, it never hurts to clean your nozzle and other hardware components anyway.
If under-extrusion occurs, attempt the following:
Check nozzle and Bowden tube for clogs
Clean gears, motor, and cooling fan
Store filament in a secure, dry place and check the spool for knots and overlap
Update printer firmware
Try increasing nozzle temperature
Try increasing flow rate
Try printing first layer further from print surface
Try adjusting retraction settings
Conclusion
In summary, resolving under-extrusion issues in 3D printing demands a multi-faceted approach. Regular nozzle maintenance, involving clearing clogs and debris, ensures a consistent filament flow. Proper filament drying, especially for moisture-sensitive materials, preserves filament integrity and prevents irregular extrusion. And adjusting settings like printing temperature according to the filament type can prevent overheating and nozzle jams. By performing the necessary maintenance and adjustments, enthusiasts and professionals can significantly enhance the quality of their prints.
Frequently Asked Questions
What is under-extrusion?
Under-extrusion is a 3D printing issue where the printer doesn't supply enough filament, resulting in incomplete layers, weak structures, and rough surface finishes in printed objects.
How can I diagnose under-extrusion?
Diagnosing under-extrusion involves examining the print for gaps between lines, inconsistent layer adhesion, or a visibly weak structure. It often manifests as visible spaces or irregular patterns in the printed layers.
How does flow rate affect under-extrusion?
Flow rate, which determines the amount of filament extruded per second, directly influences under-extrusion. If the flow rate is too low, insufficient filament is supplied, leading to under-extruded prints; if it's too high, it can cause over-extrusion issues.
Why does wet filament cause under-extrusion?
Wet filament absorbs moisture from the air, leading to its physical properties changing. When this filament is extruded, the moisture turns into steam, causing irregular flow and nozzle blockages, resulting in under-extrusion during printing.
References
[1] How to perform a hot and cold pull [Internet]. Ultimaker. 2020 [cited 2022 Apr 19].
[2] Bruère VM, Lion A, Holtmannspoetter J, Johlitz M. Under-extrusion challenges for elastic filaments: The influence of moisture on additive manufacturing. Progress in Additive Manufacturing. 2022 Jun;7(3):445-52.
[3] Under-Extrusion [Internet]. Simplify3D. 2019 [cited 2022 Apr 19].
[4] Under-extrusion [Internet]. Prusa Knowledge Base. 2021 [cited 2022 Apr 19].