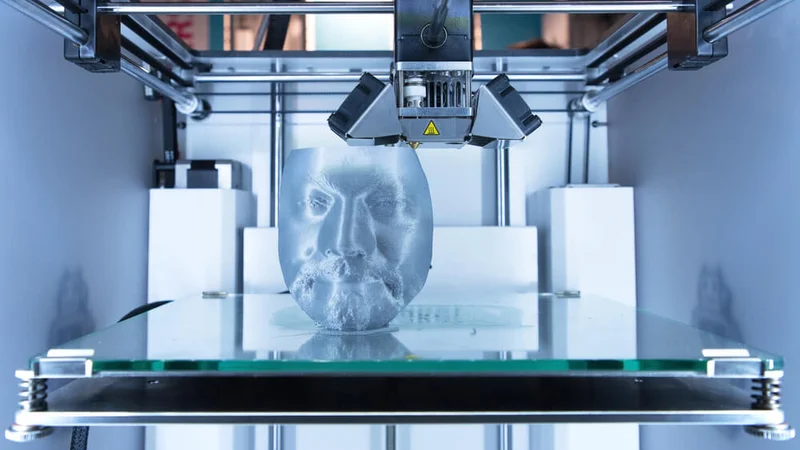
How to Clean 3D Printer Beds: Glass, PEI, Adhesive
Whether you use a glass plate, PEI sheet, or something else, cleaning your build surface is essential to getting good prints. But how do you do it quickly and effectively, and without damaging the bed?

Last updated on 04 Jul, 2024. 11 minutes read
How to clean 3D printer bed surfaces? Chemicals and tools both help
In the world of FDM 3D printing, the first layer of printing is often the most important. Poor first-layer adhesion, which can be caused by incorrect calibration, too-fast print speeds, or a badly prepared build surface, is the cause of many failed prints.
One of the best ways to prevent bed adhesion problems is to maintain a clean build surface. Over time, residues such as leftover filament, dust, and oils from handling can accumulate on the print bed, leading to poor adhesion and print defects like warping. By taking good care of the surface, the extruded thermoplastic has a better chance of sticking to it, and the odds of print failure are significantly reduced.
However, it’s not always clear how to clean 3D printer beds or their build surfaces. Different print surfaces are made from different materials, which react in different ways to certain cleaning solutions. This article goes over the basics of how to clean 3D printer beds, looking at the supplies you’ll need and the different methods you can use.
Print Bed Cleaning Supplies
To properly clean your print bed or build surface, you will need cleaning agents instead of just water alone. The best type depends on your build surface material and, to some extent, the types of filament you have been using. Fortunately, all of these supplies are affordable and easy to obtain.
Isopropyl Alcohol
Isopropyl alcohol (IPA) is a colorless chemical compound that is often found in antiseptics, detergents, and disinfectants. It is sometimes called “rubbing alcohol” due to its former use as a topical preparation for massages.
FDM users can use IPA (containing 70–90% alcohol) as a cleaning product on print surfaces like glass and PEI. The chemical substance is strong enough to remove grease and residue but is unlikely to damage these surfaces.
Acetone
Another compound used to clean 3D printer beds and build surfaces is acetone, which is found in products like nail varnish remover and paint thinner. The solvent is also used as a smoothing agent for ABS prints, as it is able to dissolve the plastic (though it won’t cut through PLA).
Acetone can be used to clean glass beds, working well against dirt, grease, and some types of plastic filament residue — notably ABS. It may also be used to clean PEI and other surfaces, though it can damage a plastic surface if used too frequently.
Window Cleaner
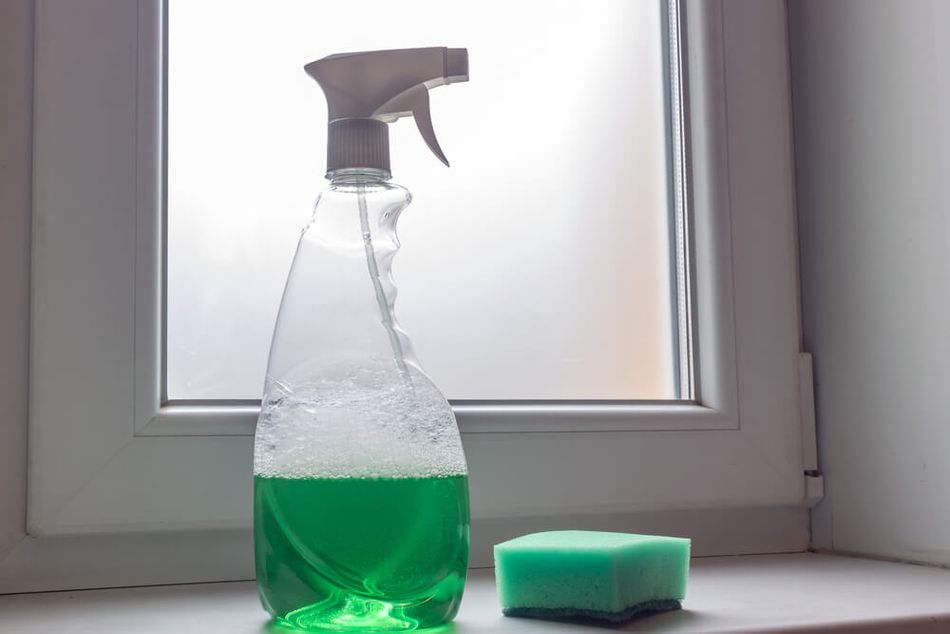
Spray-bottle window cleaners typically contain a form of alcohol such as ethanol or isopropanol, in addition to other grease-dissolving agents. They may also contain additives such as perfumes, though products with fewer additives are better for print bed cleaning.
Window cleaning sprays are formulated for the cleaning of glass and can therefore work well for cleaning glass print beds and surfaces.
Soap
Ordinary dishwashing soap mixed with warm water is a cheap and effective solution for cleaning print surfaces of various kinds. Unscented products with minimal additives work best.
Print Bed Cleaning Equipment
In addition to chemical substances, a few pieces of equipment are needed to clean a printing surface. It is useful to have the following on hand:
Scraper: A flat-blade scraper is used to remove residue without damaging the print bed or build surface
Sandpaper: More abrasive than a scraper or cloth, sandpaper can help maintain an even surface but should be used with care to avoid damaging the build surface
Cloth: A soft microfiber cloth can be used to apply various substances to the print bed or build surface
Paper towels: Paper towels are suitable for applying mild cleaning agents like soapy water and window cleaner
Recommended reading: PLA Bed Temperature & Print Temperature Settings
How to Clean 3D Printer Beds
Maintaining a clean 3D printer bed is not a one-time task but an ongoing process that should be integrated into your routine maintenance schedule. Regular cleaning ensures optimal print quality and extends the life of your printer bed and build surface, whether it is made of glass, PEI, or BuildTak.
How to clean 3D printer beds depends on the type and material of the bed or build surface, so we have provided the basic steps for four different surfaces below. However, basics steps to follow regardless of the bed type include gathering chemical and equipment in advance, letting the print bed cool down to room temperature, and removing any extra-large chunks of residue with a scraper.
Glass
Glass is one of the most popular and effective build surfaces, since it distributes heat evenly and is relatively easy to clean. Some printers have glass print beds, while some users affix a removable glass sheet (usually borosilicate glass) to a metal print bed.
While glass provides a flat printing surface, its smoothness can actually prevent good first-layer adhesion. Because of this, users often apply glue or another adhesive to the glass surface before printing. This naturally creates a buildup of residue, which should be cleaned between prints.
How to clean glass 3D printing beds:
If possible, remove the glass plate from the print bed to avoid getting cleaning solution in the printer’s mechanical parts.
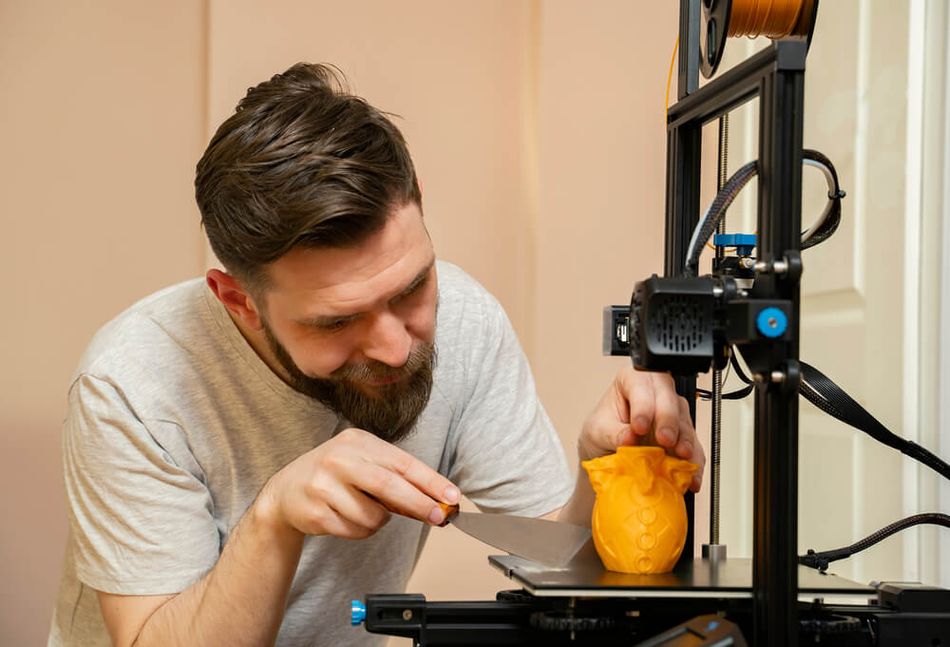
Scrape away any large pieces of glue or filament residue with a dry scraper, applying firm and even pressure.
Use a cleaning cloth soaked with warm soapy water to clean grease and other residue from the glass about once a month or when required (but only if the surface can be removed from the printer). Alternatively, use window cleaner.
While wearing protective gloves, soak a cloth with a small amount of IPA and wipe the surface before each print.
Avoid getting fingerprints on the glass where possible.
PEI
Polyetherimide (PEI) is a chemically stable thermoplastic that is used as a printing surface due to its good material characteristics such as heat resistance. Low-cost PEI sheets can be attached to a build plate and last many print cycles.
An advantage of using a PEI sheet over glass is its superior adhesion, particularly with materials like ABS. Typically, no extra adhesive like glue is used on the surface, which reduces buildup of residue. However, regular cleaning is required to maintain good adhesion.
How to clean PEI 3D printing beds:
If possible, remove the PEI surface from the print bed to avoid getting cleaning solution in the printer’s mechanical parts.
Soak a dry cloth in IPA and wipe the PEI bed surface to remove gunk and residue. Repeat this procedure between prints. Alternatively, use dish soap and warm water.
Apply acetone with a cloth around once a month to smooth down and further clean the plastic surface.
If the surface is scratched, use a fine-grit sandpaper to smooth it down. If the imperfections are too severe to be fixed, replace the PEI sheet.
Avoid getting fingerprints on the PEI where possible.
Adhesive Tape

Blue painter’s tape — a kind of masking tape — and NASA-developed Kapton tape are common build surfaces for FDM 3D printers that do not have heated beds.[2] (A heated bed could melt the glue on the adhesive side of the tape.) Despite the improvised look of a taped print bed, the material works well and can easily be replaced.
The obvious disadvantage of using adhesive tape is that there will be small seams between each strip, which can leave a visible line on the base of a print. However, this problem can be mitigated to some extent by using thicker tape. Furthermore, the cleaning process for tape is trickier than with solid surfaces like glass, as tape cannot be treated with solvents or other wet cleaning solutions.
How to clean adhesive tape 3D printing beds:
Use a dry scraper to remove residue and leftover filament.
Replace damaged sections of tape. If possible, try to keep the surface level and even to avoid issues with future prints.
Avoid getting fingerprints on the tape where possible.
Replace the entire tape bed when it is visibly worn, torn, or uneven. Clean the bed underneath with IPA or acetone to remove glue residue before applying the new layer.
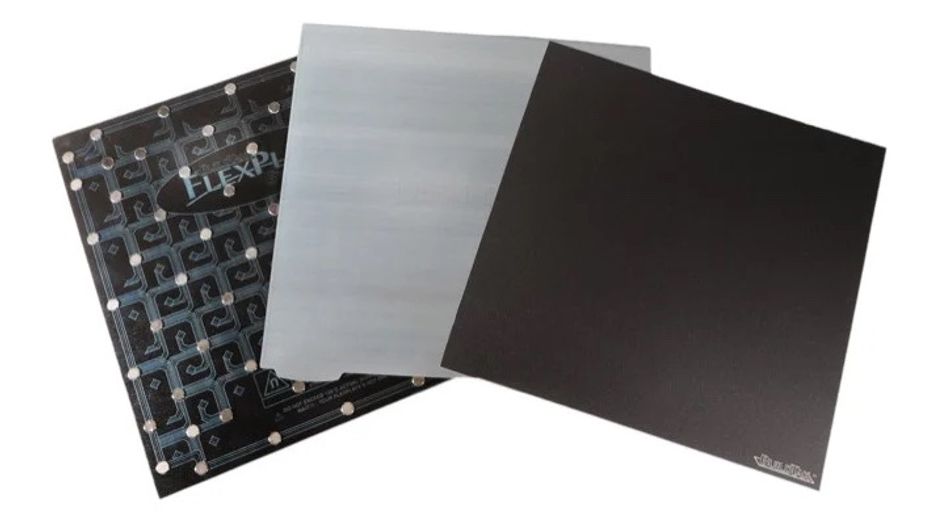
BuildTak
One of the most popular branded printing surfaces is BuildTak, a low-cost, heat-resistant adhesive sheet that is easy to clean and replace. Although its material is not disclosed, users suggest it may be a mixture of PEI and glass.
How to clean BuildTak 3D printing beds:
Soak a dry cloth in IPA and wipe the BuildTak surface to remove gunk and residue. Repeat this procedure between prints.
Try using warm water if the IPA is unsuccessful.[3]
Avoid getting fingerprints on the BuildTak surface where possible.
Replace the BuildTak surface when it is worn and parts no longer adhere to the bed.
What Is a 3D Printer Bed?
An FDM 3D printer is made of many parts, but the (literal) foundation of a good print is the print bed. Usually made of glass or aluminum, the print bed is a solid, flat surface upon which the printed part gets made. In Cartesian-style printers, these beds are square or rectangular, while on Delta-style printers they are circular. Sometimes called a build plate, the print bed can be heated or unheated: a heated bed helps improve first-layer adhesion and makes it easier to remove the finished print.[1]
Somewhat confusingly, not all FDM users use their built-in print bed as their build surface. The build surface is whatever substrate the nozzle deposits the first layer of plastic onto; it can be the print bed itself, or it can be something else like a removable glass plate, a rigid plastic sheet, or strips of masking tape. Furthermore, printer users often treat their build surface with additives like glue stick or hairspray to improve adhesion.
Why 3D Printer Bed Cleaning Is Important
When we talk about 3D printer bed cleaning, we may be talking about cleaning the print bed or cleaning the build surface — or both! Cleaning the build surface is important because a dirty surface with filament buildup can negatively affect adhesion and lead to failed prints. But it is also important to clean the print bed even if it is not used as the build surface, as it will ensure a longer lifespan and better adhesion to removable surfaces like tape and BuildTak.
Common print bed contaminants include:
Leftover filament
Dust
Oils from hands
Grease
Adhesive residues
At a microscopic level, residues interfere with the bed or build surface texture, reducing its ability to form a strong bond with the filament. For example, dust particles can create tiny gaps between the filament and the bed, while oils can create a slick surface that filament struggles to adhere to. By keeping the bed clean, engineers and professionals can ensure that their prints have the best possible foundation, leading to better printing outcomes.
Recommended reading: 3D Print Stuck to Bed: What to Do?
How Often Should You Clean the Print Bed?
Although it might seem like a chore, print bed cleaning is an important part of 3D printing and needs to be carried out regularly. As a rule of thumb, perform a gentle wipe down of the build surface after every print (or before a print if you haven't used the printer for a while and it may have accumulated dust). If there is visible filament residue on the surface, this will need to be scraped away before any subsequent prints. Perform a more thorough chemical clean of the bed or surface about once a week or every few prints.
3D Printer Bed Cleaning Challenges
Cleaning a print bed or build surface is not an exact science, and it may take practice before seeing optimal results. Some of the most common difficulties encountered during print bed cleaning are outlined below.
Stubborn Residue: Filament residues can harden and bond strongly to the bed surface. Isopropyl alcohol is effective for dissolving most residues, while acetone works on more resistant materials like ABS. Regular cleaning prevents these bonds from becoming too strong.
Scratching the Surface: Different bed materials have varying hardness levels. PEI and BuildTak are softer and more susceptible to scratches, thus requiring gentler tools like plastic scrapers. Glass, being harder, can handle metal scrapers but still requires careful handling. Use abrasive equipment like sandpaper with caution, using a very fine grit.
Residual Oils and Contaminants: Oils from fingers or airborne contaminants create a barrier between the bed and the filament, reducing adhesion. Unfortunately, it is easy to accidentally touch the build surface while attempting to clean it. Isopropyl alcohol dissolves these oils, restoring the bed’s ability to bond with the filament.
Inconsistent Cleaning: Uneven cleaning can leave patches of residue, leading to uneven print adhesion. Consistent cleaning techniques ensure the entire bed surface is uniformly clean, providing a stable foundation for prints.
Conclusion
There are many print bed surfaces to choose from, and different surfaces suit different print jobs. ABS filament works best on surfaces like PEI sheet or BuildTak, but struggles when printed onto a very smooth surface like glass. PLA offers more options, working well on a heated bed with a glass surface. Whatever surface you choose for your 3D print bed, cleaning and maintenance is vitally important — both for the longevity of the surface and for ensuring good first-layer adhesion that will prevent failed prints.
To get the most out of your FDM printer, always have a selection of cleaning supplies on hand, always wipe down hard print surfaces between prints, and carry out a thorough deep clean every few weeks or months.
Frequently Asked Questions (FAQ)
What is the best cleaner for a 3D printer bed?
The best cleaner for your 3D printer bed depends on the material of the bed or build surface. For glass, PEI, and BuilTak, isopropyl alcohol (IPA) is highly effective. IPA is great for regular cleaning due to its quick evaporation and ability to remove oils and light residues. Acetone can also be used sparingly on tough surfaces like glass and PEI, while ordinary window cleaner works well on glass.
How often should I clean my 3D printer bed?
The frequency of cleaning your 3D printer bed depends on how often you use it and the type of material you print with. If you print daily, it's advisable to clean the bed after each print to prevent residue buildup. Regular cleaning helps maintain print quality and extends the life of the bed by preventing the accumulation of contaminants.
Can I use household cleaners on my 3D printer bed?
Some household cleaners such as window cleaner and dish soap are useful for cleaning print beds, while others contain chemicals that are too harsh for certain bed materials. For example, ammonia-based cleaners can leave residues that interfere with print adhesion and potentially damage the bed surface.
What should I avoid when cleaning my 3D printer bed?
Abrasive Cleaners: Avoid using cleaners with abrasive particles that can scratch the bed surface.
Ammonia-based Cleaners: These can leave residues and damage certain bed materials.
Metal Scrapers on Soft Surfaces: Using metal scrapers on PEI or BuildTak surfaces can cause scratches and damage.
Excessive Force: Applying too much pressure when cleaning can damage the bed surface.
How do I know if my 3D printer bed needs cleaning?
Signs that your 3D printer bed needs cleaning include prints not sticking to the bed properly and filament residue or other contaminants visible on the bed surface.
References
[1] Nazan MA, Ramli FR, Alkahari MR, Abdullah MA, Sudin MN. An exploration of polymer adhesion on 3D printer bed. InIOP Conference Series: Materials Science and Engineering 2017 Jun 1 (Vol. 210, No. 1, p. 012062). IOP Publishing.
[2] Teliskova M, Torek J, Cmorej T, Kocisko M, Petrus J. Adjustments of RepRap type printer workbench. In2017 4th International Conference on Industrial Engineering and Applications (ICIEA) 2017 Apr 21 (pp. 15-19). IEEE.
[3] How to Clean a 3D Printer BuildTak Surface on the E2 [Internet]. Raise3D Academy. 2021 [cited 2022Mar8].