TPU print settings explained
Thermoplastic polyurethane is one of the best flexible 3D printing materials, but TPU print settings differ greatly from rigid material settings and can be difficult to configure.

09 May, 2022. 9 minutes read
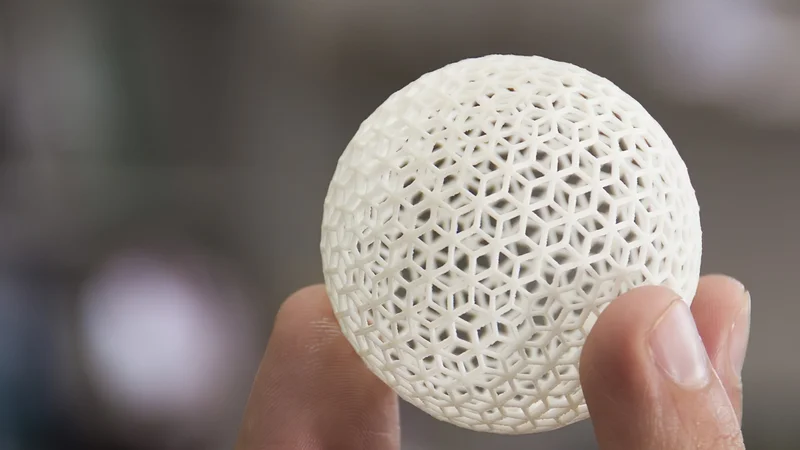
TPU is one of the most popular flexible filaments
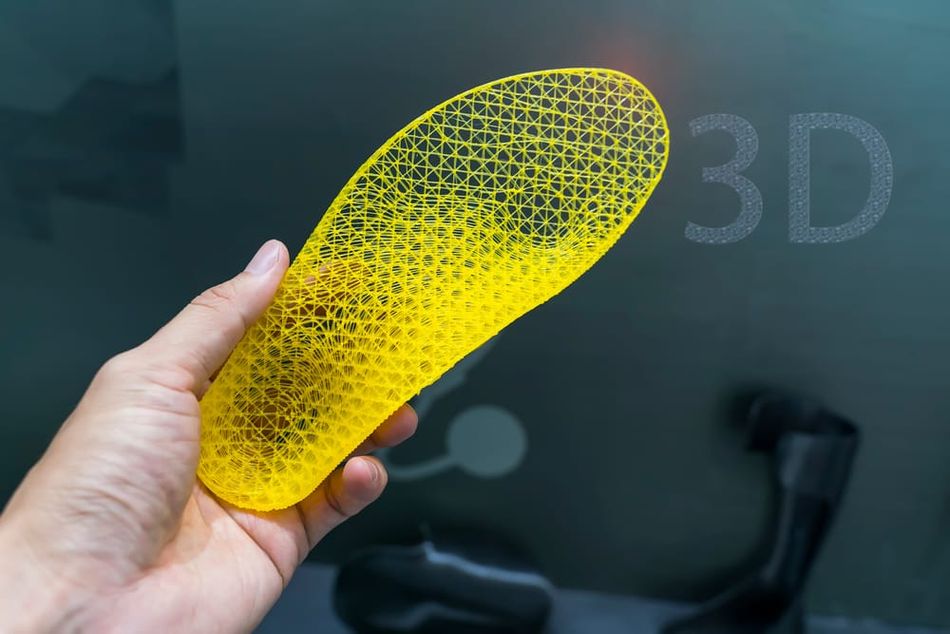
Flexible materials open up a world of 3D printing possibilities. While rigid materials like PLA, ABS, and PETG can be used for a diverse range of printed parts, flexible materials like TPU and TPE provide a wholly unique set of material properties like shock absorption, vibration dampening, and impact resistance.
With these qualities, rubber-like 3D printing materials can be used for parts like soft-grip handles, protective enclosures for electronic devices, sports equipment, and even medical devices.[1] Better still, flexible filaments are now widely available, with several brands offering low-cost products that are suitable for most fused deposition modeling (FDM) 3D printers.
Of course, printing with flexible filaments comes with its fair share of obstacles to overcome. When using flexible filament for the first time, many FDM users run into the same issues: blobs, oozing and stringing, and coiled or jammed filament.
Fortunately, these issues can usually be prevented with adequate preparation of the print bed and proper calibration of print settings. This article discusses the best TPU print settings for slicers like Cura, explaining how key parameters affect the printing of flexible parts.
What is TPU?
Thermoplastic polyurethane (TPU) is a material in the thermoplastic elastomer (TPE) family. Like other TPEs, it exhibits characteristics of both plastic and rubber, namely the strength of plastic and the elasticity of rubber.
TPU is very important in the world of FDM 3D printing because it is a thermoplastic — which means it can be melted and extruded — that nonetheless behaves a bit like rubber or silicone, neither of which can be printed on an extrusion-style machine. It is one of just a handful of materials in this category.
This special thermoplastic is a block copolymer consisting of alternating sequences of hard segments (isocyanates) and soft segments (reacted polyol). Specific formulations of TPU can have varying amounts of hard and soft segments, with firmer materials having more hard segments and elastic materials having more soft ones.
This means that one spool of TPU filament can potentially behave very differently to another. The hardest TPUs can have a shore hardness similar to nylons. At the other end of the scale, very elastic TPUs can have a shore hardness closer to mild silicones.[2] Material developers can adjust the material at a chemical level to determine how firm or elastic they want it to be. Bear in mind, however, that highly elastic 3D printing filaments tend to be more difficult to print.
Popular brands of TPU filament include NinjaTek’s NinjaFlex, MatterHackers’ Pro Series TPU, and Polymaker’s PolyFlex.
Recommended reading: What is TPU material in 3D printing: material properties, applications, and technologies
TPU print preparation
Print settings are one way to optimize your 3D printer for TPU, but finding the right printing hardware — and setting it up correctly — is just as important.
In practice, this means using the right kind of extruder and laying down a build surface that, when deployed alongside the correct heated bed temperature, will ensure proper first-layer bed adhesion even with flexible filament.
Filament condition
Flexible filaments like TPU are more hygroscopic than many rigid materials, which means they absorb a lot of moisture from the air.
This is bad news for users of TPU filament. If the printing material becomes too damp, it can cause practical issues like stringing, holes, and popping or sizzling sounds as the material prints. There are scientific reasons behind these issues. According to chemical company Lubrizol, moisture in TPU can cause “polymer rearrangement, molecular weight reduction, and significant loss of physical properties.”[3]
To prevent humidity becoming a big problem, TPU should be kept in an airtight container with a desiccant such as a sachet of silica gel. The filament can also be dried out in an oven or a filament dryer immediately before printing.
Recommended reading: How to dry filament
Bowden or direct-drive extruder
FDM extruders fall into two categories: Bowden extruders, where the extrusion mechanism is located separate from the printhead and connected to it via a tube, and direct-drive extruders, where the extrusion mechanism is located on the printhead itself.
In the early days of flexible filament 3D printing, users were warned against using Bowden extruders altogether, due to the possibility of the material coiling up or tangling inside the Bowden tube and leading to printing errors.Direct-drive extruders eliminate the possibility of such problems when printing TPU, but many Bowden extruders are still capable of processing the material, especially varieties with a greater shore hardness.
If in doubt about using a Bowden extruder to print TPU, check the guidelines provided by the hardware manufacturer.
Build surface
When printing TPU, the first layer is often the most important. And the first step to getting a good first layer is bed leveling, which users should carry out regardless of the material type.
Similarly critical is the build surface: the layer of material on top of the print bed onto which the first layer of TPU will be printed. One suitable TPU build surface is blue painter’s tape, which can be applied in strips onto a bare print bed. Advantages of painter’s tape include its low cost and low bed temperature requirements, though the tape will need to be replaced regularly, and care is required to line up each strip of tape without gaps.
Another excellent TPU build surface is glass coated with an adhesive such as glue stick, with the heated bed set to a warm temperature.
Surfaces to avoid include PEI sheet and BuildTak, as the adhesion can be too great, potentially causing permanent adhesion of the part to the build surface.
TPU print settings
Setting up the physical elements of the 3D printer is one way to prepare for TPU 3D printing. Another is to configure slicer settings, adjusting key parameters like printing speed and retraction speed in a way that suits the flexible material.
Note that some of these recommended print settings (temperature, speed, etc.) relate to the elimination of printing problems, while others (infill, wall thickness) relate to the maximization of TPU’s flexibility.
Printing temperature
Not all TPU filaments are the same, so the ideal print temperature settings can vary slightly. However, most TPU filaments print best with a nozzle temperature of around 230 °C. NinjaTek suggests a range of 225–250 °C for its NinjaFlex TPU, MatterHackers suggests 220–240 °C for its PRO Series TPU, and Polymaker recommends 210–230 ˚C for its PolyFlex TPU.
Higher temperatures than this can lead to issues like oozing and stringing, while low temperatures can prevent adequate layer adhesion, leading to weak parts.
In most cases, a cooling fan is not required, as TPU is not especially prone to warping. It is only really required when printing at temperatures or speeds above the recommended range. Enclosures are generally not required either.
Bed temperature
TPU prints best with a heated bed set to a moderate temperature of 40–60 °C. This helps with first-layer adhesion. As mentioned before, suitable build surfaces include blue painter’s tape and adhesive-coated glass.
Printing speed
As a rule of thumb, flexible filaments like TPU print better at slower print speeds, with higher speeds potentially leading to under-extrusion or compression of the filament that can cause jams. A slow and consistent speed of 15–20 mm/s is recommended.
Layer height
Typically, users will select a layer height based on the level of Z-axis resolution required for their print. However, keep in mind that a lower layer height (0.2 mm or below) works hand in hand with a slower printing speed, as the extruder doesn’t need to push as much material and can therefore use a lower feed rate.
First layer settings
Bed leveling and use of a suitable build surface can help create a good first layer. Another trick is to include skirts in your TPU settings.
Skirts are disposable loops of filament printed around the build, and they enable the nozzle to become fully primed — with filament pushed right to the nozzle opening — before printing the actual parts.
Rafts, on the other hand, are not needed for TPU printing. These disposable surfaces are primarily used to prevent warping, which is rarely an issue with TPU.
Retraction settings
Retraction — when the extruder goes into reverse gear and pulls back a small section of filament to prevent oozing — can affect the print quality of TPU parts.
Finding suitable retraction settings for flexible TPU depends on the age and style of the extruder. Older models are often not suited to retraction, because they do not have a “constrained filament path” — a tight channel through which the filament passes without being able to veer off its path. Without the constrained path, flexible filament can bend and get bunched up, especially if it is continually instructed to change directions.
Newer extruders are usually capable of making retractions with TPU, and this is useful for preventing issues like oozing and stringing. However, retraction speed and the number of retractions should be kept low to reduce stress on the material.
Recommended reading: 3D printer stringing: How to fix it
Travel settings
With retractions kept to a minimum, one way to mitigate the potential problem of oozing and stringing is to use optimized travel movements such as combing. Combing instructs the printhead to only make travel movements within the perimeter of the build, so that any accidental oozing or stringing is kept within the part and is not visible on the surface.
Infill settings
Infill has a significant effect on the flexibility of printed TPU. Firstly, infill density (infill percentage) can be adjusted to control the rigidity of the part: a lower density will result in a very malleable, stretchy part, while a higher density will produce a firmer part.
Secondly, there are several infill patterns designed specifically for flexible filaments like TPU. On Cura, these patterns include the Concentric, Cross, and Cross 3D patterns, which use a minimum number of straight lines and are intentionally weak to allow for maximum bend. Cross 3D is particularly effective, as it permits flexibility in all directions.
Recommended reading: Cura infill patterns: What they are and when to use them
Wall thickness
Wall thickness, typically defined by the number of shells or perimeters around the build, affects the flexibility of parts printed in TPU. Using a greater number of shells results in a firmer, less flexible part, while a smaller number results in a squishier, more flexible part.
Other ways to print TPU
Not all FDM users enjoy printing with flexible filaments like TPU. The printing process can be more labor-intensive than it is with rigid materials like PLA, and a good amount of trial and error may be required to discover the best TPU print settings.
Fortunately, FDM is not the only 3D printing technology suitable for TPU. Selective laser sintering (SLS), a powder bed fusion additive manufacturing technology primarily used in a professional or industrial context, is capable of printing TPU powders. Advantages of SLS over FDM include better mechanical properties, greater geometrical freedom, and freedom from support structures. Additionally, the material is more suited to the SLS printing process than it is to FDM, as it does not need to be pushed and pulled.
Since SLS hardware is prohibitively expensive for most consumers, a 3D printing bureau is a good way to obtain SLS TPU parts. The bureau will typically allow for certain user-defined parameters while optimizing other print settings based on its own expertise.
Key takeaways
TPU print settings are not the same as print settings for rigid materials. Fortunately, most slicers offer a printing profile for TPU (or flexible filaments generally) complete with optimized default settings.
That being said, it is important to understand why certain parameters work well for TPU, as users may need to make small adjustments to the default settings in order to fine-tune their prints and achieve the best results.
Here is a summary of key TPU print settings:
Filament should be stored carefully and ideally dried out before printing
Direct-drive extruders typically outperform Bowden extruders
Painter’s tape or adhesive-coated glass are suitable build surfaces
Print temperature should be in the range of 210–250 °C
Bed temperature should be in the range of 40–60 °C
Print speeds should be limited to 15–20 mm/s
Layer heights of 0.2 mm or less help minimize the feed rate
Skirts can help to prime the nozzle but rafts are not necessary
Retraction should be disabled if possible or performed at a slow speed
Combing can compensate for a lack of retraction
A lower infill density can increase flexibility
Concentric or cross-shaped infill patterns can increase flexibility
Fewer shells can increase flexibility
References
[1] Xiao J, Gao Y. The manufacture of 3D printing of medical grade TPU. Progress in Additive Manufacturing. 2017 Sep;2(3):117-23.
[2] Thermoplastic polyurethanes bridge the gap between rubber and plastics [Internet]. American Chemistry Council. 2002 [cited 2022May06]. Available from: https://prod.americanchemistry.com/industry-groups/center-for-the-polyurethanes-industry-cpi/resources2/library/thermoplastic-polyurethanes-bridge-the-gap-between-rubber-and-plastics
[3] TPU Drying Guide [Internet]. Lubrizol. 2017 [cited 2022May06]. Available from: https://www.lubrizol.com/-/media/Lubrizol/Health/Literature/TPU-Drying-Guide.pdf