How to diagnose, and fix, PLA stringing in 3D printing
If you're seeing wispy "hairs" when printing with PLA filament, follow these troubleshooting steps to fix the problem.

20 Jun, 2022. 8 minutes read
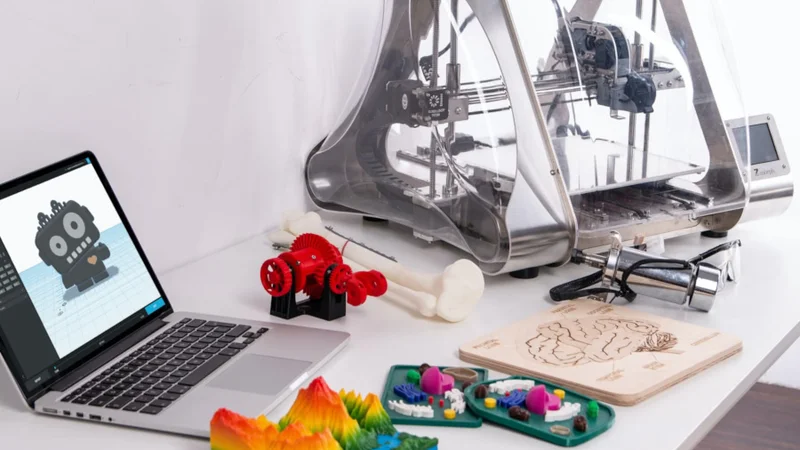
3D printing is a fantastic way to prototype or even produce physical objects, but there's an undeniable learning curve.
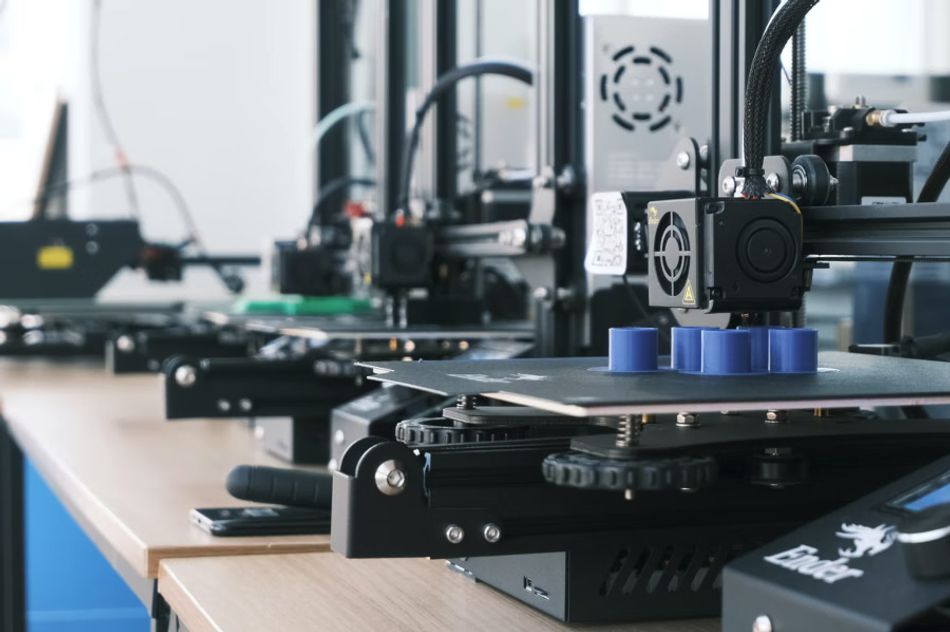
3D printing is revolutionizing everything from rapid prototyping to small-scale and hyper-local manufacturing. As the prices and quality of commercial and hobbyist 3D printing hardware continues to drop, its popularity grows - but 3D printing has challenges above and beyond those found in 2D printing.
It’s common for a 3D printer fresh out of the box to deliver disappointing prints. Poor bed adhesion, layer splitting, blobs of filament, oozing, and stringing will be problems familiar to any 3D printing enthusiast. But they’re problems which can usually be resolved, with a little troubleshooting.
What is PLA stringing?
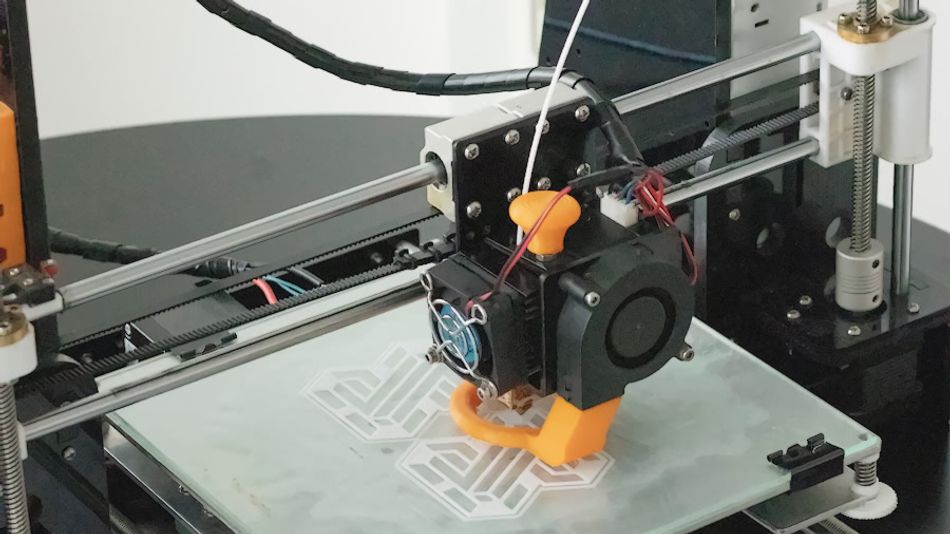
Polylactic acid filament (PLA filament) is one of the most common materials for 3D printing, thanks to a relatively low melting point and its high strength once printed. It’s typically delivered as a reel of thin spaghetti-like filament, which is heated and extruded by the printer to create the desired object.
Recommended reading: Food-grade 3D printing: Is PLA Food-Safe?
PLA stringing, the wispy strands of melted plastic which can appear outside the printed part, is a common problem. The strings’ appearance can vary from short spikes to thicker hairs and even blobs of material, but they’re all caused by the same thing: PLA oozing from the extruder even when extrusion shouldn’t be taking place.
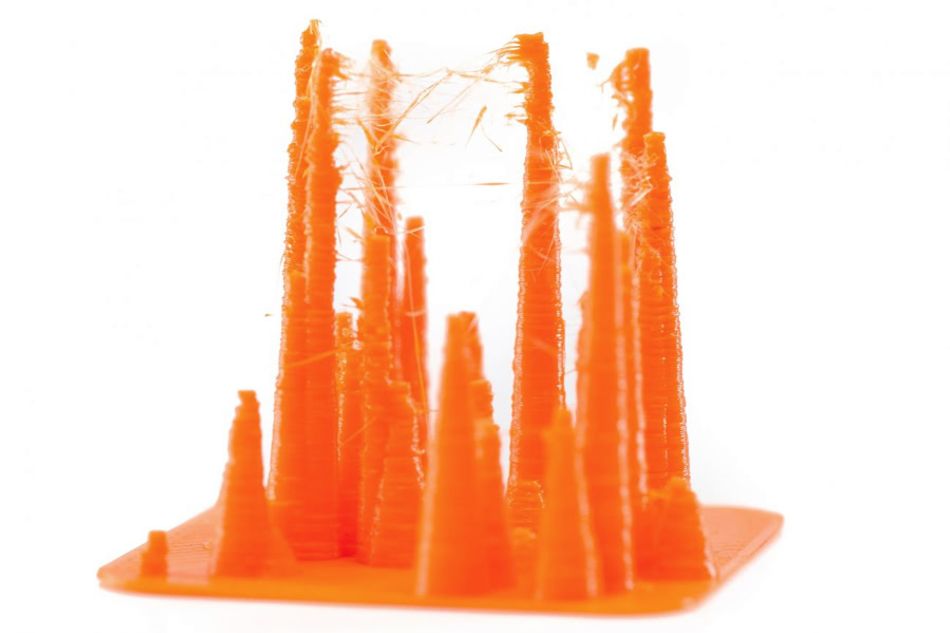
It’s usually possible to remove the strings during post-processing and finishing. To save time and improve print quality, though, it’s better to get to the root cause of the problem and prevent the strings from forming in the first place.
Adjusting Retraction Settings
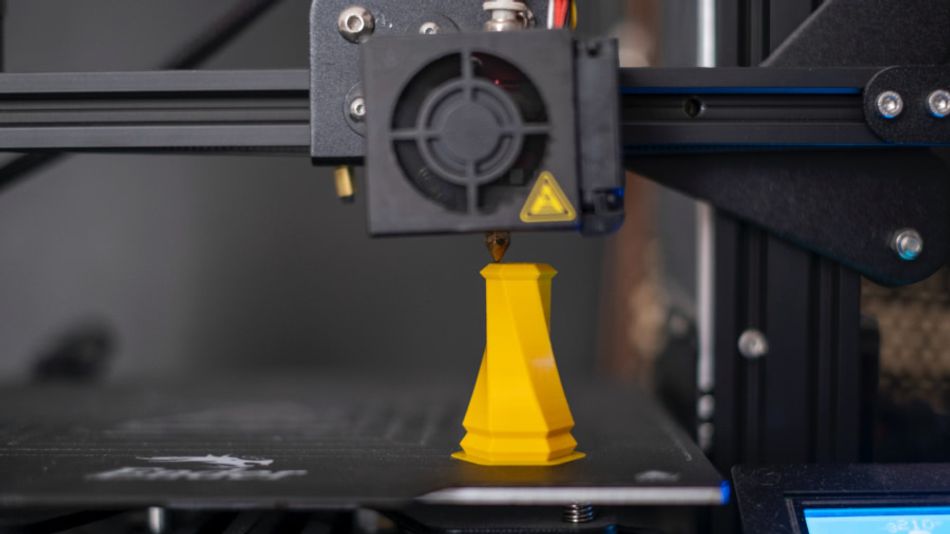
The print head on a fused deposition 3D printer works by pushing the filament through a heater and then out of the nozzle. In theory, when the filament isn’t being pushed nothing should appear from the nozzle; in practice, just stopping pushing isn’t enough to prevent some material from leaking through.
The answer is retraction, commonly overlooked in the print settings: Pulling the filament back by a few millimeters after each extrusion, to “suck” material back from the nozzle and prevent it from oozing out as strings or blobs. Retraction is usually controlled in your model slicing software: In Ultimaker’s Cura, for example, retraction settings are found in the Travel menu. In some cases you’ll also need to specifically enable retraction; check your software’s documentation if you’re unsure.
Some 3D printers override retraction settings set in slicing software. If that’s the case with your printer, consult its documentation to find out how to set it on the printer itself. Also look into coasting, if your software supports it: It can help reduce stringing by stopping the extrusion of filament slightly earlier than usual.
Recommended reading: What Is FDM 3D Printing?
Retraction Distance
The retraction distance is how far the filament is pulled back. A retraction distance of 0mm means that there’s no retraction at all, and stringing is all-but guaranteed. Setting too high a retraction distance, however, can result in clogs forming - or even pop the filament right out of the hot end, derailing the whole print.
Most 3D printing software uses a default retraction distance of around 6mm. This may not be the best setting for your particular combination of printer and filament, though. If you’re seeing PLA stringing, try increasing the distance in 0.5mm or 1mm increments.
Recommended reading: Z Banding: Rooting out the Cause and Fixing the 3D Printing Defect.
Retraction Speed
The distance the filament is retracted is only part of the equation: You also have control over how quickly it’s retracted. Too high a speed, measured in millimeters per second (mm/s), and the filament can snap inside the hot-end; too low a speed and the pressure isn’t relieved quickly enough to prevent oozing.
There’s another reason to dial in the perfect retraction speed, too: Print time. The slower the retraction speed, the longer your print will take to finish. This is particularly true for models where the hot-end spends a lot of time swapping between extrusion and non-extrusion travel.
Recommended reading: People of 3D Printing: Fabien Bruning.
Minimum Travel
The minimum travel setting isn’t found in all slicers, but can help balance the risk of clogging against stringing: It controls how far the extruder should travel without extruding before it considers it worth retracting at all.
If you’re happy with the retraction distance and speed settings but are suffering clogs, try setting a slightly larger minimum travel distance. If the strings reappear, tweak the retraction distance and speed settings again until you’ve found the perfect balance.
How to choose the right settings?
If you’re using a common model of printer, like the Creality Ender 3 or Prusa Mini, your best resource for retraction settings is the community. Find other 3D printing enthusiasts with the same printer and compare notes; chances are more than a few people will have had the same problems and found a solution.
Recommended reading: 8 best 3D printing tips you need to know.
If you have a less-common 3D printer, or one which has been extensively modified, you’re going to have to experiment. While you could download a test print from Thingiverse or similar and try out each adjustment in turn, there’s an alternative: The Calibration Generator.
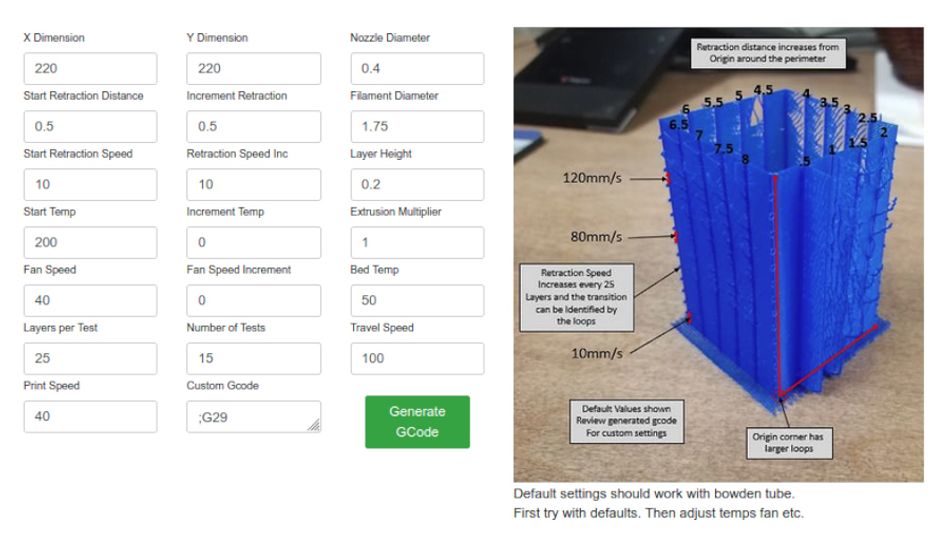
Developed by Karl Johnson, the Calibration Generator is designed to generate the code for a retraction test print. This print walks through a range of retraction distances and speeds in order to find the perfect setting for your printer. The tool’s default settings are tailored for a Bowden tube extruder with separate heat block; for direct-drive printers the retraction distance increment should be lowered to 0.25 for best results.
When the print has finished, inspect it for stringing - and, more importantly, where the stringing stops. By comparing it to the diagram on the website you’ll find the retraction speed and distance you need for perfect prints.
Temperature Settings
Filament retraction isn’t the only thing responsible for preventing stringing issues in your prints: Getting the right temperature is equally important. If your printer’s hot-end is set to a too low temperature, pressure builds up in the extruder. As the pressure builds, clogs and jams become likely. A too high temperature, though, can result in oozing and stringing as the filament's viscosity drops.
The best way to find the optimum print temperature is by consulting your filament manufacturer. Most manufacturers will be able to provide a recommended print temperature which eliminates oozing. If your filament manufacturer can’t, or you’re not sure exactly who made that half-finished roll of filament you’re working through, there are some simple rules of thumb.
Printing in PLA allows you to get away with a lower temperature than other materials. A setting of 210°C (410°F) is typically enough to avoid clogging without overheating the filament. If your printer has a heated bed, keep it below 60°C (140°F).
Recommended reading: PLA bed temperature & print temperature settings.
These temperatures are only a guide. You’ll need to experiment to find the sweet spot for your particular printer and filament. Try setting a lower temperature in five-degree decrements, and if you see no improvement set a higher temperature instead. If you find that you’re going more than around 30 degrees outside the recommended temperatures, though, your problem likely lies elsewhere.
If you want to automate the testing process, Karl Johnson’s Calibration Generator includes the ability to increment hot-end temperature and fan speed as well as retraction distance and speed.
Print and Travel Speed Settings
It’s tempting to set your 3D printer to the fastest speed possible. The printing process is slow enough, after all. Setting too high a speed, though, is a sure-fire way to see stringing - particularly if you’re printing at lower temperatures.
Recommended reading: What software to use for 3D printing?
The travel speed, which is the rate at which the print head moves while not the material is not actively under extrusion, has the opposite effect: A higher travel speed reduces the time the print head spends not extruding material. With less time traveling between extrusion jobs, there's less time for oozing to occur.
As with other settings, finding the perfect print and travel speeds for your printer and filament combination will require trial and error. If you’ve adjusted the settings above with no success, try dialing down the print speed and increasing the travel speed.
Recommended reading: Improving your 3D printing success rate with Ultimaker Cura.
Cleaning the Nozzle Before Printing
Sometimes the simplest solutions are the best. Proper maintenance is vital to a 3D printer, and cleaning the nozzle is one of the most overlooked steps. With a dirty nozzle, you’re more likely to see oozing owing to increased pressure. It can also result in other printing problems, like blobs and lumps in the print or a too-thin extrusion.
Brush the exterior of the nozzle with a brass wire brush to clear external material and keep the surface clean. In some cases, that’s all that’s required. In others, particularly if there’s a clog, you’ll need to heat the nozzle and push a small pin through - making sure the diameter of the pin is not larger than the diameter of the nozzle. If you’d rather not poke around with a pin, you can buy cleaning filament: Just manually run a small quantity of this through the hot-end to clear out old filament residue.
Recommended reading: Essential tools for every 3D printing professional.
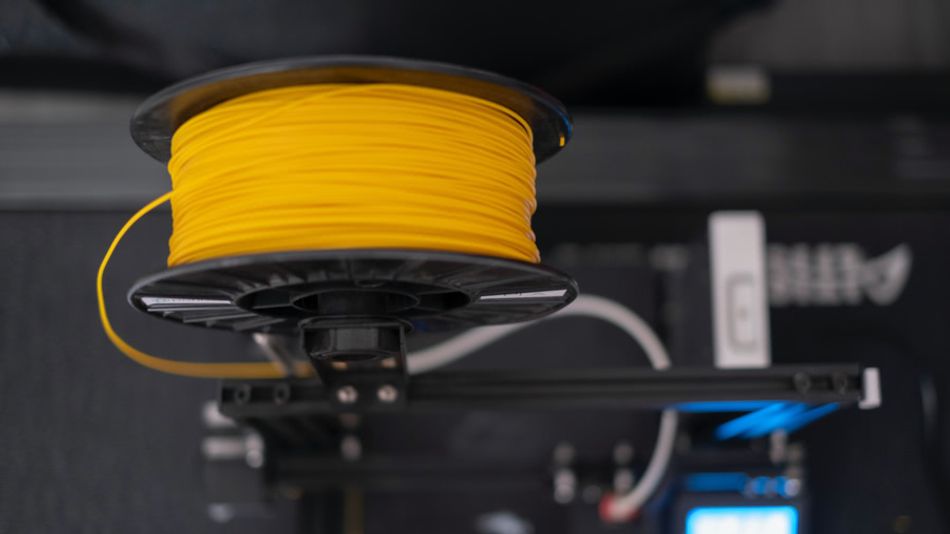
Keep Your Filaments Dry
Finally, the filament itself can be the cause of print failures. If you’ve tried everything above and are still having stringing problems, try switching to a different brand of filament.
Recommended reading: What is the strongest 3D printing material?
Another common cause of print failures is improperly stored filament. PLA, and many other 3D printing materials, readily absorbs moisture - and as it does it swells. Swollen PLA increases the pressure at the printer nozzle, making oozing more likely. As the material is heated, the water is turned to steam - which can cause sputtering, increasing the risk of oozing still further.
Recommended reading: Dealing with Over Extrusion in 3D printing.
Key Takeaways
It’s easy to get discouraged when your first prints don’t come out perfect. PLA stringing is a common problem but easily solved, and following the above should improve things dramatically.
Remember to approach the problem scientifically. Use test print solutions like Karl Johnson’s calibrator to reduce the time you spend experimenting. Keep your nozzle clean and your filament dry, and check your slicer software’s settings with other 3D printer owners to find a good starting point for your tweaks. Keep an eye on your printing right at the start: Often oozing problems can be seen even in the first layer.
References
Ultimaker Support, How to fix stringing: https://support.ultimaker.com/hc/en-us/articles/360012016280-How-to-fix-stringing
Ultimaker Support, Travel settings: https://support.ultimaker.com/hc/en-us/articles/360012611299-Travel-settings
Wikipedia, Polylactic Acid: https://en.wikipedia.org/wiki/Polylactic_acid
Karl Johnson, The Calibration Generator: http://retractioncalibration.com/