Dealing with Over Extrusion in 3D Printing
Selecting the right filament settings, print temperature, and flow rate can help solve the common problem of over extrusion in FDM 3D printing.

Last updated on 10 Jan, 2024. 8 minutes read
Some of the symptoms of over extrusion are oozing layers, blobs, and stringing
If your 3D prints are coming off the print bed with oozing or drooping layers, blobs, or signs of stringing, there is a good chance you are dealing with over extrusion. Over extrusion is a common problem in fused deposition modeling (FDM) 3D printing that can have a negative impact on the structural integrity and quality of your prints. If left untreated, over extrusion can also eventually lead to 3D printer nozzle jams.
There are many things that can cause over extrusion in 3D printing—from thermoplastic filament settings and print temperature to flow rate parameters. Fortunately, there are also straightforward solutions to fix over extrusion. Keep reading this article to understand what over extrusion is, what causes it, and most importantly how to fix it.
What is Over Extrusion?
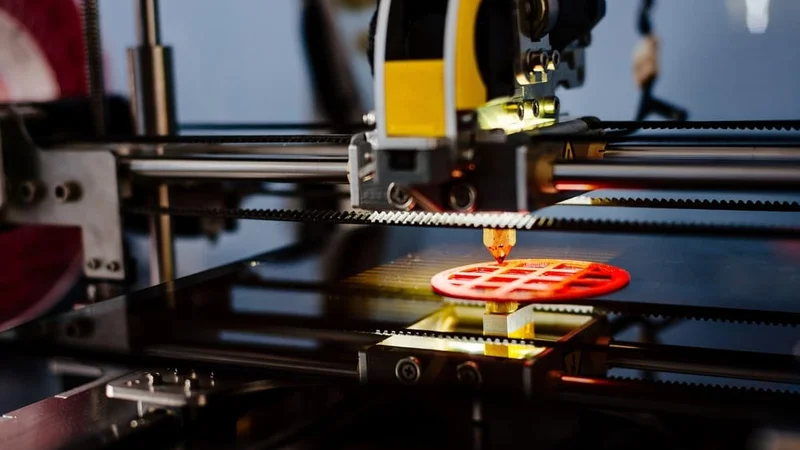
Over extrusion is simply the phenomenon of too much filament coming out of your 3D printer nozzle onto the build platform. The issue is related to your 3D printer extruder’s flow rate and can lead to many problems, like oozing, blobs, and stringing, as well as poor overall print quality.
Additionally, over extrusion can cause dimensional inaccuracies, as the surplus material can distort the shape and size of the printed object. This can be particularly problematic for prints that require high precision, such as mechanical parts or functional prototypes. Furthermore, over extrusion can lead to structural weaknesses in the printed object. The excess material can create internal stresses within the print, which can lead to cracks and fractures under load. Notably, over extrusion is not exclusively related to specific hardware or materials: it can happen with any FDM 3D printer and filament.
It is very important to identify when your 3D printer is over-extruding and to fix the problem as quickly as possible. This is not only because over extrusion can lead to wasted time and materials; it can also cause your 3D printer nozzle to become clogged. As you can imagine, this is a slightly tricker problem to tackle.
Recommended reading: How to Clean 3D Printer Nozzles and Prevent Clogs
What causes Over Extrusion?
When it comes to the cause of over extrusion, there are a few possible culprits, including print temperature, filament diameter inconsistencies, and incorrect flow rate calibration.
Print temperature
One of the most common reasons for over extrusion is that your 3D printer’s temperature settings are too high for the type of filament you are using. If the filament is melting too quickly, it is harder for the extruder to control the flow rate, which leads to over extrusion and dreaded oozing.
Filament diameter
Another contributing factor to over extrusion is filament diameter.[1] For example, if your filament is too narrow for the nozzle in question, the filament will flow through it too quickly. Similarly, if the filament diameter slicer settings are off, it can lead to incorrect flow rates and over extrusion.
Flow rate calibration
This leads us to our next cause of over extrusion: incorrect flow rate calibration. Flow rate indicates the amount of filament that is extruded per second and it is determined by a combination of factors, including printing speed, nozzle size, and layer height. You can control the flow rate in slicer programs, usually under “extrusion multiplier” settings. If the flow rate is too high (i.e. too much filament is being pushed through the nozzle) it can lead to over extrusion and poor print quality. Incorrect flow rates can also lead to under extrusion, another common problem in FDM 3D printing.
Recommended reading: How to fix under extrusion: Maintenance and print settings
How to fix Over Extrusion
If you are encountering over extrusion, the good news is that there are reliable ways to troubleshoot the problem. Let’s take a look:
Calibrate filament diameter
If you are seeing the signs of over extrusion in your 3D prints, the first step should be to calibrate your 3D printer flow rate with an accurate filament diameter. There are a few standard filament sizes available on the market: 1.75mm, 2.85 mm, and 3 mm. First, make sure that your print settings are set to the right filament size so that the default flow rate will be in a more accurate range. If you are still having flow rate problems, you may have to manually check the filament diameter.
Even though most filament suppliers specify the filament diameter, there can be discrepancies in the filament’s actual measurements. By using digital calipers, you can measure the diameter of a length of filament at various points (jot down at least five values along about 20 inches of filament). From there, calculate the average measurement and input it into your slicer settings under machine parameters or filament settings. For instance, while you might be using a 1.75 mm filament, the average diameter might be closer to 1.74 mm. Having an accurate filament size can make for a more accurate default flow setting.
Adjust extrusion multiplier settings
If extrusion issues persist after resetting your filament diameter settings, it might be a matter of tweaking your printer’s extrusion multiplier value. Extrusion multiplier settings control the flow rate for filament. Typically, the default extrusion multiplier value is set at 100%. Because over extrusion is a consequence of a high flow rate, you can try lowering the value by increments of between 2.5% and 5%.
This process might require a little bit of trial and error. In each test print, you’ll be looking for improved dimensional accuracy and print quality. You can also measure your filament to determine how much you need to adjust the extrusion multiplier settings. In one tutorial, Frank’s 3D Shop suggests measuring 120 mm along the filament from the top of the extruder. Mark the filament at the 120 mm line. Next, program the 3D printer to extrude 100 mm of filament. When that’s done, remeasure the filament from the top of the extruder to the marked line. If the 3D printer extruded 104 mm, you should lower the flow rate by 4%. [2]
It can also be helpful to use your calipers to measure features of your test prints—such as wall thickness—to determine how accurate your prints are. For example, if your wall thickness is set to 1 mm and the calipers report 1.5 mm, try lowering the extrusion multiplier value again. In its slicer software, Simplify3D suggests using an extrusion multiplier value of about 0.9 (90%) for PLA and a value nearer to 1.0 (100%) for ABS.[3] In Cura, the extrusion multiplier settings can be found under “Flow” parameters.

Lower the print temperature
Finding the right print temperature in FDM 3D printing is critical for many reasons, but the “right” temperature varies from filament to filament. For example, PLA filament prints at a much lower temperature than ABS filament. If you’re dealing with the over extrusion problem and it hasn’t been fixed by flow rate calibration, it is possible that your printing temperature is set too high.
An overheated hot end will melt the filament too quickly, which makes it harder for the 3D printer to control the rate of extrusion. To solve this issue, first ensure that the printing temperature corresponds with the type of filament. Printing temperatures for PLA should be in the range of 190°C and 220°C, while ABS prints within the range of 230°C and 260°C, and PETG prints within the range of about 210°C and 250°C. From there, simply reduce the printing temperature by intervals of no more than 5°C in the 3D printer menu. This should slow the rate of melting and help solve over extrusion. Be careful not to lower the printing temperature too much though, as that can lead to under extrusion.
Preventing Over Extrusion
Once you’ve fixed over extrusion, the next step is to prevent it from happening in the future. This involves a combination of regular 3D printer maintenance, proper printer setup, and the use of good-quality filaments. By taking these proactive measures, you can ensure that your 3D prints are consistently of high quality and free from over extrusion issues.
Regular maintenance
Regular maintenance of your 3D printer is key to preventing over extrusion. This includes cleaning the extruder nozzle, checking the extruder gear for wear and tear, and ensuring that the printer's belts and pulleys are properly tensioned and aligned. By performing regular maintenance, you can identify and address potential issues before they lead to over extrusion.
Proper printer setup
Properly setting up your 3D printer is another step in preventing over extrusion. This involves accurately inputting the filament diameter, setting the correct extrusion multiplier, and optimizing slicer settings such as layer height, print speed, and infill density before printing. By ensuring that your printer is set up correctly, you can minimize the risk of over extrusion and failed prints, which saves both time and material costs.
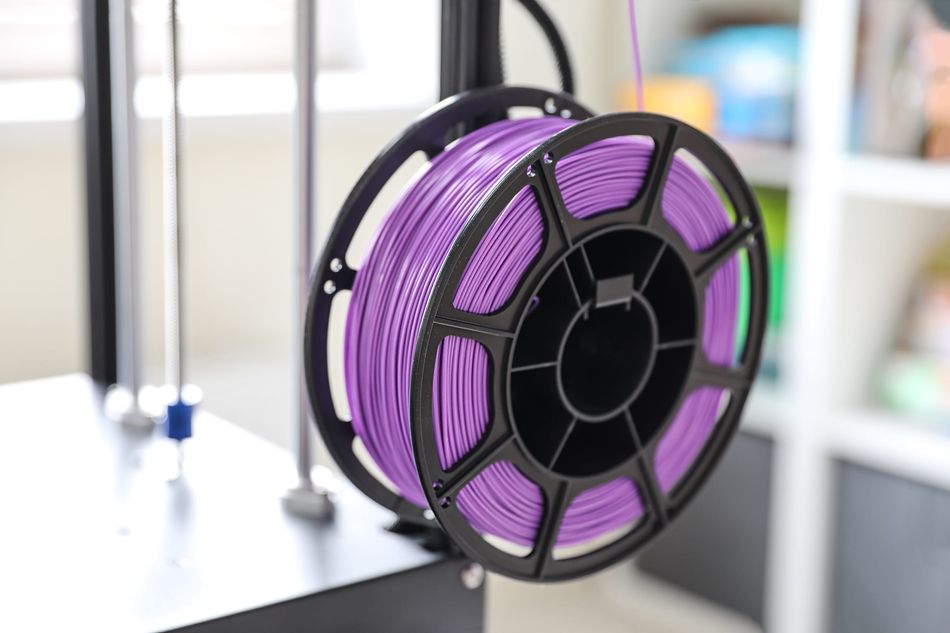
Good quality filaments
Using quality filaments can also help prevent over extrusion. High-quality filaments typically have more consistent diameters and material properties, which can reduce the likelihood of over extrusion. Additionally, using a high-quality extruder and hotend can ensure that the filament is extruded consistently and accurately, further reducing the risk of over extrusion.
By implementing these preventive measures, you can minimize the occurrence of over extrusion in your future prints, resulting in higher quality and more reliable 3D printed objects.

Conclusion
Now that you have the fundamentals to deal with over extrusion, it shouldn’t be a problem if it happens to you. By checking your filament settings (including filament type and diameter), print temperature, and flow rate settings, you can stop over extrusion in its tracks and ensure that your prints are of the highest quality. Other factors like printing speed and layer height can also influence the quality and accuracy of your prints. As a general rule, lower print speeds and smaller layer heights result in higher resolution prints. To prevent over extrusion from happening in the future, it’s essential to conduct regular 3D printer maintenance, use the correct print settings, and to use good quality filament.
If you’ve tried all these fixes for over extrusion but are still suffering from issues such as stringing, it could be due to other issues, like retraction settings or wet filament. We can help you through that too.
Recommended reading: 3D Printer Stringing: How To Fix It
Frequently Asked Questions (FAQs)
Q: What is over extrusion in 3D printing?
A: Over extrusion in 3D printing occurs when the printer extrudes more filament than necessary. This can lead to prints that lack detail and are affected by drooping and stringing. Over extrusion can be caused by a variety of factors, including incorrect temperature settings, improper filament diameter, and incorrect extrusion multiplier settings.
Q: What are the signs of over extrusion?
A: Signs of over extrusion include oozing, stringing, as well as prints that are droopy, uneven, and lack detail. You may also notice excess filament on the print bed or around the nozzle.
Q: How do I fix over extrusion?
A: Fixing over extrusion involves adjusting the filament diameter, correcting the extrusion multiplier, and optimizing slicer settings. If over extrusion continues to occur after these adjustments, it may be necessary to replace the hotend.
Q: How can I prevent over extrusion?
A: Preventing over extrusion involves a combination of proper printer setup and the use of high-quality filaments. Proper printer setup involves accurately inputting the filament diameter, setting the correct extrusion multiplier, and optimizing slicer settings. Using quality filaments can also help prevent over extrusion due to more consistent diameters.
References
[1] Cardona C, Curdes AH, Isaacs AJ. Effects of filament diameter tolerances in fused filament fabrication. IU Journal of Undergraduate Research. 2016 May 31;2(1):44-7. Available from: https://doi.org/10.14434/iujur.v2i1.20917
[2] Frank’s 3D Shop, October 17, 2017. “Extrusion Problems” [Internet] Available from: https://www.youtube.com/watch?v=lvTiOxRwEtc
[3] Simplify3D, 2022. “Under-Extrusion” [Internet] Available from: https://www.simplify3d.com/support/print-quality-troubleshooting/under-extrusion/