Ender 3 (V2, Pro, S1) Print Speed and How to Maximize It
According to manufacturer Creality, the Ender 3 print speed can reach an impressive 180 mm/s. But is it possible to successfully print at this high speed? If so, how?

Last updated on 25 Mar, 2024. 8 minutes read

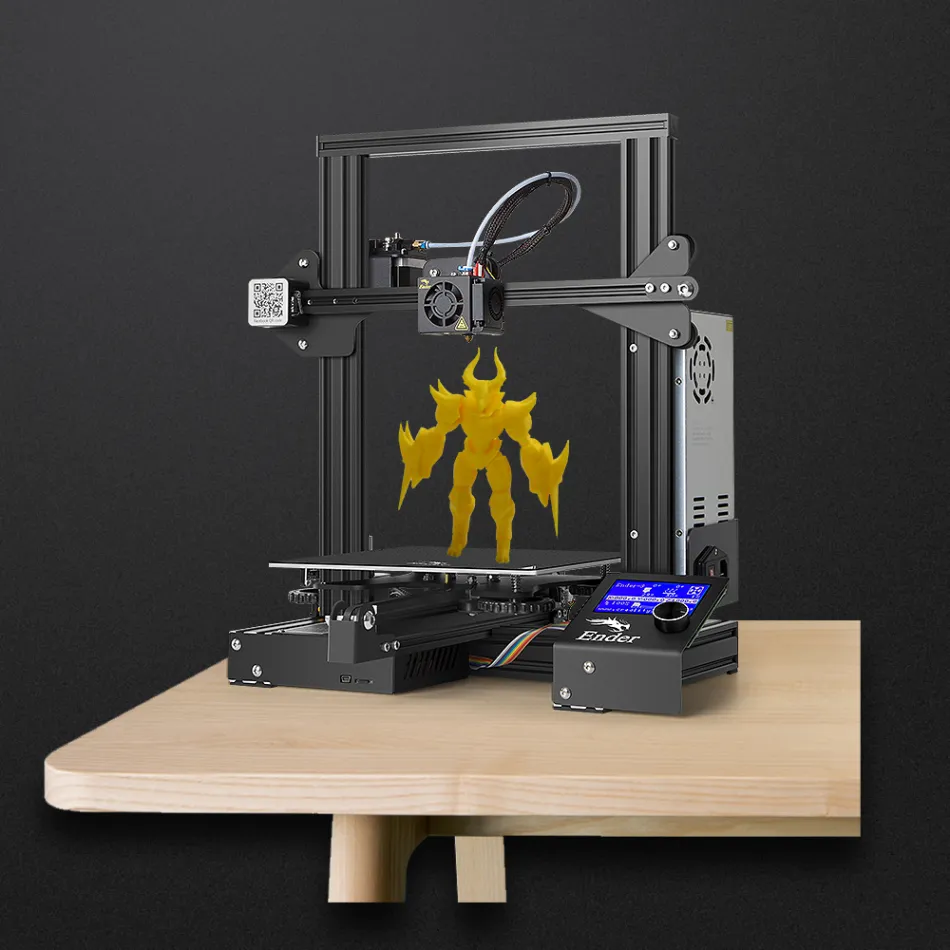
The Creality Ender 3
Print speed is an important but often misunderstood metric in 3D printing. Specified in millimeters per second, it refers to the speed at which the printhead moves while printing filament, and it can be adjusted in your slicing software.
But just as you might crash your car if you “floor it” on a winding road, your prints are likely to fail if you print at your printer’s maximum print speed all the time. This is because print speed is limited not just by how fast the printhead can move along the X and Y axes, but also by how quickly and evenly the extruder can push out material and by how that material behaves once it is printed. In general, the faster you print, the more likely you are to suffer problems like poor layer adhesion, ringing (ghosting), or nozzle jams.
This article provides an overview of how to push the printing speed of the Creality Ender 3, one of the most popular entry-level FDM printers, while maintaining good print quality. According to Creality, the Ender 3 has a top speed of 180 mm/s. But can you actually print this fast, or is it equivalent to hitting the gas in a residential neighborhood? Let’s find out.
The Ender 3: Machine and Myth
The Creality Ender 3 remains — for better or worse — the 3D printer of choice for hobbyists and beginners. As of Spring 2024, the printer is still shifting over 2,000 units per month on Amazon US, more than double the next most popular machine, the Flashforge ADVENTURER 5M.
Of course, there are other affordable FDM printers out there. And Creality has built plenty of similarly priced printers with better specs than the original Ender 3, which is now six years old. So why do buyers keep choosing the original Ender 3 over “better” models like the Ender 3 S1 or Ender 3 Pro? Truth be told, the Ender 3 continues to dominate entry-level 3D printing precisely because it always has: its consistent popularity has created a very large user base, many of whom are happy to share advice on print settings and maintenance through online communities.
Another reason for the popularity for the Ender 3 is how average it is. It’s a great starter printer because it has standard hardware, runs on standard Marlin firmware, and doesn’t have any major quirks or nonstandard features. Great, therefore, for learning the basics. Unfortunately, this also means it also offers average printing results. In line with this, the Ender 3 is capable of average print speeds. According to Creality, the “normal” print speed for the Ender 3 is 30–60 mm/s. However, the company also claims the printer is capable of reaching a maximum print speed of up to 180 mm/s. As we can see, that is roughly in line with other entry-level FDM machines:
3D printer | Max print speed (mm/s) |
Creality Ender 3 | 180 |
Original Prusa i3 MK3S+ | 200+ |
Anycubic Kobra | 180 |
In the following sections we’ll look at how to adjust the printer’s hardware, firmware, and slicer settings to successfully print at somewhere close to 180 mm/s without creating a hot mess.
Print Speed and Its Limits
You can increase the print speed of a build by adjusting the print speed setting in your slicer (Cura, Simplify3D, etc.). However, setting a high value is no guarantee that your model will print successfully. When printing fast, the printer needs to be extruding enough material to keep up, and each layer of material needs to bond and then cool fast enough to prevent issues like poor adhesion or sagging.[1] In other words, we may need to take several steps before cranking up the print speed, and even then there’s no guarantee that a speedy print will result in a satisfactory printed object. (Strangely, some researchers have found that fast printing speeds can actually improve the tensile strength of printed parts,[2] but don't take that as your starting point.)
Note that print speed is not the same as printing time — i.e. how long it takes to finish a print. While print time is determined to some extent by the print speed, it is also affected by other factors like travel speed, layer height, and infill density. (Think about it like this: small parts can have a very short printing time even when printed at slow speeds, simply because they are small!) Here we are looking at ways to get your Ender 3 extruding and depositing material at a fast rate, not just ways to shorten print times.
Recommended reading: 3D print speed: What it is and why it matters
Slicer Settings
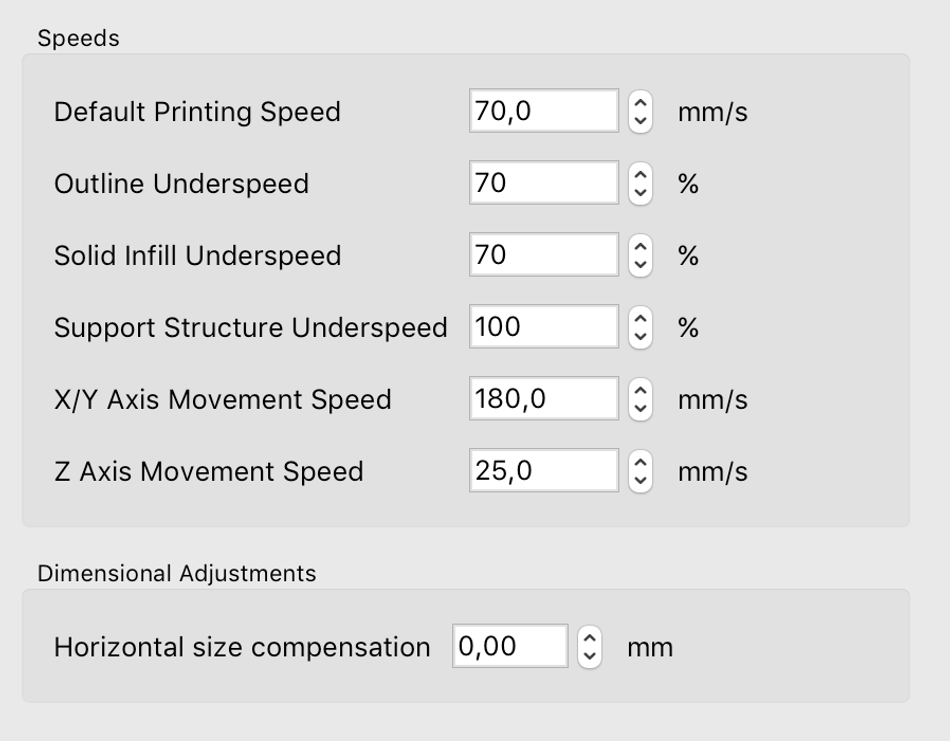
The most beginner-friendly way to speed up the Ender 3 is to tweak the settings in your chosen slicer, such as Cura. This doesn’t require any physical modification of the printer and is a good way to familiarize yourself with the Ender 3 and what it can do. Bear in mind that some slicer parameters are mutually dependent, so you’ll have to consider how changing one parameter will affect another.
While there are many settings that affect print speed, the two you should focus on are the default print speed and the acceleration. Note that the acceleration value will be relatively low by default, which means the specified "speed" is rarely reached. For an instant speed boost, crank up the acceleration and see what happens.
Parameter | Explanation | Possible Value |
Print speed | Determines how fast the printhead moves along the X and Y axes unless another parameter overrides it | Up to ~80 mm/s on stock components and firmware; up to ~180 mm/s with modifications and certain materials |
Acceleration | Determines how quickly the printhead reaches the print speed specified above | Set at 500 mm/s2 by default but can be changed to 2,000 mm/s2 or higher |
Section-specific speed settings | Determines how quickly the printhead moves on particular areas of the print (infill, walls, initial layers, etc.) | Dependent on various factors, but note that these settings will override default print speed |
Temperature | Determines the extrusion temperature | Material-dependent, but higher values are required for faster extrusion rates |
Hardware
In terms of the Ender 3’s hardware, there are two strategies for increasing print speed. One is to tweak and optimize the existing components; the other is to replace components with speed-friendly alternatives.
Maintenance
The simplest way to increase the speed capacity of the Ender 3 — albeit by very fine margins — is to perform general maintenance and calibration on the machine. This can include basic processes like bed leveling, cleaning the bed and moving parts, and cleaning the nozzle to ensure there are no blockages preventing fast material extrusion. While this won’t turn the Ender 3 into a Ferrari, it can slightly reduce the likelihood of speed-related issues like under-extrusion and ringing.
Recommended reading: Ender 3 Pro Bed Leveling: A Comprehensive Guide
Replacing the Extruder and Hot End
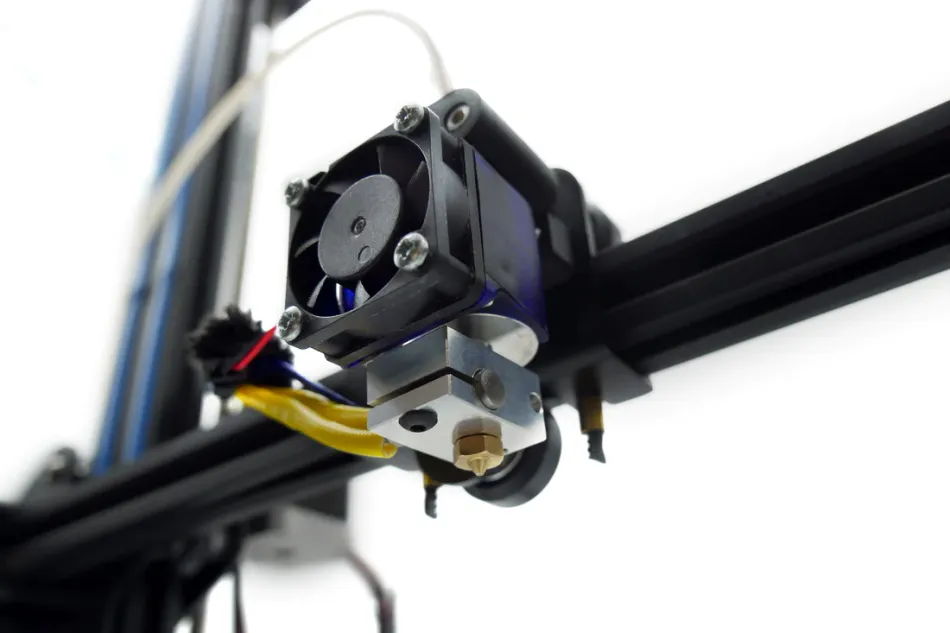
A much more effective way to speed up your Ender 3 is to replace the stock components with better ones. Some Ender 3 users have reported improved results by installing linear rails on their printer, which can improve the smoothness of the printer’s movements and reduce maintenance requirements. However, the main components to focus on for speed improvements are the hotend and extruder.
While the stock Ender 3 parts aren’t total junk, they won’t allow for ultrafast printing: many users have issues when approaching the 100 mm/s mark, as the hotend isn’t hot enough and the extruder doesn’t have adequate traction to move the filament along at rapid speeds. An E3D V6 all-metal hotend, on the other hand, is lightweight and offers better thermal properties than the stock component, enabling faster heating and cooling and reducing the time required for temperature changes during the printing process. Its optimized heat dissipation maintains stable temperature control, allowing for faster print speeds that won’t lead to failed prints.
Additionally, a new extruder like the Bondtech BMG, equipped with a dual-drive gear system, provides better filament grip and feeding performance. The dual-drive mechanism ensures consistent and reliable filament feed, preventing slippage even at higher speeds — something that isn’t really possible with the stock extruder. The improved grip allows for faster filament flow, which in turn allows for faster print speeds.
Overall, swapping out the stock Ender 3 hotend and extruder for a V6 hotend and BMG extruder (or equivalent) reduces the likelihood of various extrusion-related issues that can hinder print speeds. The V6 hotend's thermal performance minimizes the risk of clogs or jams, while the BMG extruder's reliable filament feeding and flexibility in handling different filament types ensure smooth and uninterrupted filament flow, even at higher speeds.
Material Selection
Material | Typical print speed (mm/s) |
PLA | 60 |
ABS | 60 |
PETG | 40 |
TPU | 20 |
If your primary goal is fast printing, you’ll need to find a filament that is up to the task. That essentially means a rigid material that won’t get stuck in the extruder, but also one that doesn’t need intense cooling, which ultimately slows the process down.
Though it has its limitations, ABS is a great 3D printing material for fast printing. It doesn’t easily get stuck in direct drive or Bowden extruders, and it cools down quickly, which makes parts less likely to warp or collapse mid-print. PLA is also a good material for printing quickly. In fact, of the three most common low-cost materials, only PETG should be avoided. (All soft materials like TPU should also be avoided as they cannot be extruded quickly.)
Some filament makers offer "high-speed" formulations of certain materials which have a higher melt flow index for faster extrusion.
Recommended reading: Comparison of PLA, ABS, and PETG Filaments for 3D Printing
Firmware
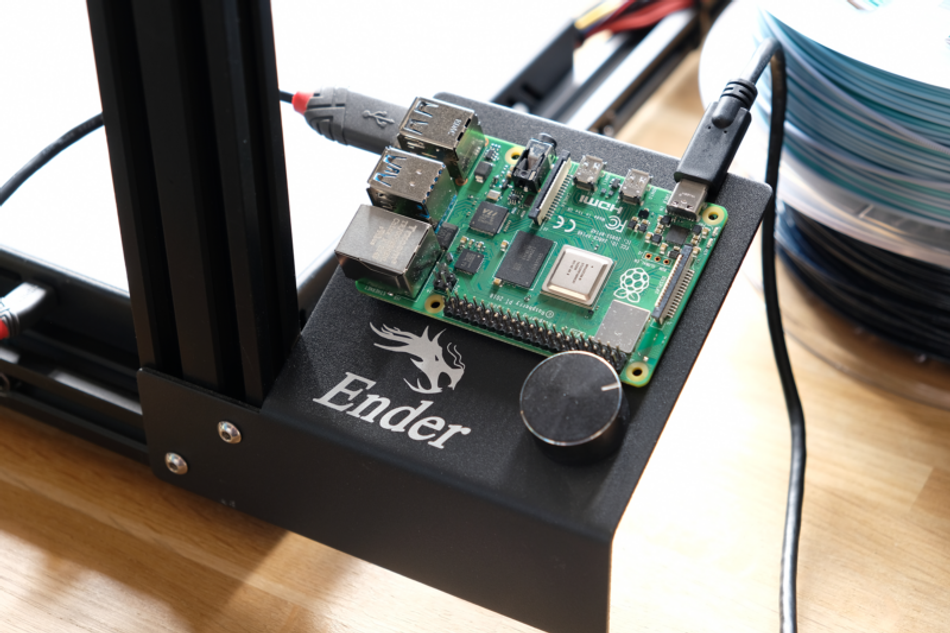
Another bottleneck on the Ender 3’s maximum print speed is its standard firmware, which is a version of Marlin. While this firmware does the job, it lacks some complex features that can help achieve better printing results at high speeds.
Many Ender 3 users find they can achieve faster printing speeds by replacing the printer’s default Marlin firmware with Klipper firmware. Klipper provides advanced motion kinematics and additional tools that can help Ender 3 users get faster speeds out of their hardware, such as improved control over acceleration.
Though it requires the use of a microcontroller such as a Raspberry Pi, one of the main benefits of using Klipper is its input shaping ability. Input shaping is a process by which the printer anticipates and compensates for vibrations caused by its own movement. By doing so, it reduces the chances of creating ringing and other defects that commonly occur at high speeds.
Instructions for installing Klipper on a Raspberry Pi can be found here.
Conclusion
The Ender 3 is not a world-beating 3D printer, but it is capable of achieving good results at relatively fast speeds. Beginners who want to achieve faster prints should start by tweaking their slicer settings, focusing on increasing accelerating to a level that doesn't compromise print quality. However, more advanced users should consider updating the printer's firmware and swapping the stock extruder and hotend for speedier alternatives.
References
[1] Abeykoon C, Sri-Amphorn P, Fernando A. Optimization of fused deposition modeling parameters for improved PLA and ABS 3D printed structures. International Journal of Lightweight Materials and Manufacture. 2020 Sep 1;3(3):284-97.
[2] Ansari AA, Kamil M. Effect of print speed and extrusion temperature on properties of 3D printed PLA using fused deposition modeling process. Materials Today: Proceedings. 2021 Jan 1;45:5462-8.