How to Use a 3D Printer: Quick-Start Guide for Engineers
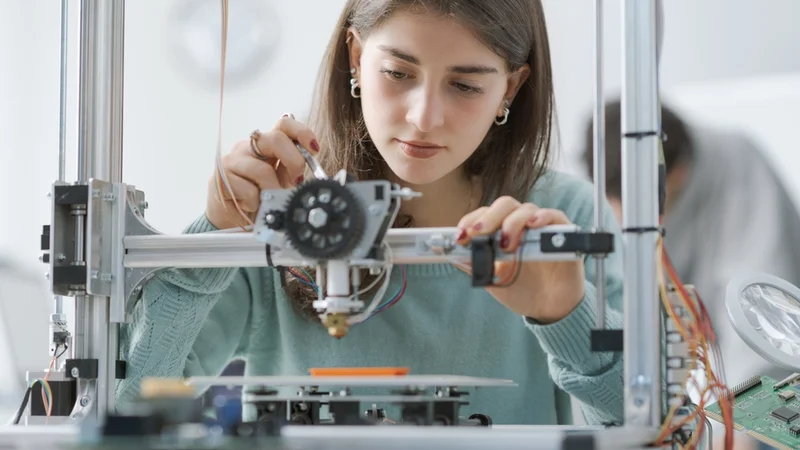
Harness the potential of additive manufacturing by learning how to use a 3D printer. This guide provides the basics for digital design engineers, hardware engineers, and electronics students.

02 Mar, 2026. 12 minutes read
Additive manufacturing (AM), more commonly called 3D printing, is now widely accessible, but getting started can still feel confusing. This quick-start guide focuses on the practical side of how to use a 3D printer, showing you what to set up, what to print first, and how to move from a digital file to a finished part with minimal friction. Rather than diving into complex theory, it concentrates on the core actions that help you begin printing quickly and avoid common beginner mistakes.
Adoption of 3D printing continues to grow across prototyping, education, and small-scale production.[1] That means more users than ever need clear, hands-on instruction. This article is written for engineers, students, and first-time users who want to start printing right away. It covers essential hardware setup, material selection, slicer basics, and a simple first-print workflow in clear, practical language. Think of it as a guide you can follow immediately, with useful defaults and just enough context to begin printing with confidence.
What Makes Additive Manufacturing Different?
Readers who want to jump straight to the practical part can skip ahead to the Step-by-Step Workflow section.
This guide keeps theory brief and focuses mainly on FDM, the most common and accessible technology for beginners. The purpose here is not to provide an exhaustive technical deep dive, but to support a clear, practical explanation of how to use a 3D printer, especially in a typical desktop FDM setup.
Additive manufacturing (AM) encompasses a family of processes that create objects by adding material layer by layer. Unlike subtractive processes (milling, CNC machining) that remove material, AM technologies “successively join material to create physical objects as specified by 3D model data.”[2]
This approach offers several practical advantages:
Complex geometries: AM enables internal cavities, lattice structures, and consolidated assemblies that are difficult or impossible to machine.
Material efficiency: Only the material required for the part is used. In powder-based systems, unused material can often be recycled.
Rapid iteration: Digital files can be modified and reprinted quickly, making design changes fast and cost-effective.
Distributed production: Digital inventories reduce reliance on centralized manufacturing and long supply chains.
However, AM also introduces considerations such as anisotropic strength, visible layer lines, support structures, and limited material choices. In FDM printing, layer adhesion and print orientation are especially important.
Major 3D Printing Technologies
Dozens of AM processes exist, but three technologies dominate plastic 3D printing. This article will focus primarily on FDM, since it is the most practical starting point for learning how to use a 3D printer.
Fused Deposition Modeling (FDM)
Mechanism & Materials: Thermoplastic filament (PLA, ABS, PETG, nylon) is melted and extruded through a heated nozzle, depositing layers on a build plate.
Strengths: Low-cost hardware, simple material handling, widely available materials; ideal for functional prototypes, enclosures, and general-purpose parts.
Limitations: Visible layer lines, anisotropic strength, and the need for supports on overhangs.
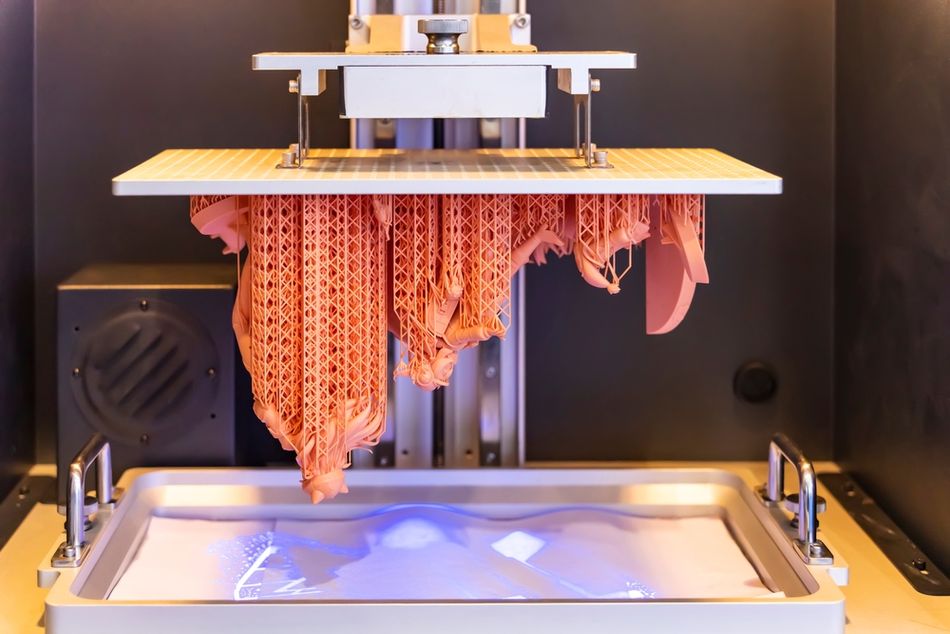
Stereolithography (SLA)
Mechanism & Materials: Liquid photopolymer resin is cured by UV light to form solid layers.
Strengths: High resolution, smooth surfaces, and fine detail.
Limitations: Requires PPE and ventilation; parts are typically more brittle; post-curing is necessary.
Selective Laser Sintering (SLS)
Mechanism & Materials: A laser fuses powdered nylon layer by layer in a powder bed.
Strengths: Strong, functional parts with more isotropic properties; no support structures required.
Limitations: Higher equipment cost and more complex material handling.
Other processes include metal powder-bed fusion (DMLS/SLM), binder jetting, material jetting, and continuous fiber reinforcement systems. Selection depends on strength, precision, budget, and material requirements.
Recommended reading: FDM Printer Meaning Explained: Theory, Technology, Terminology
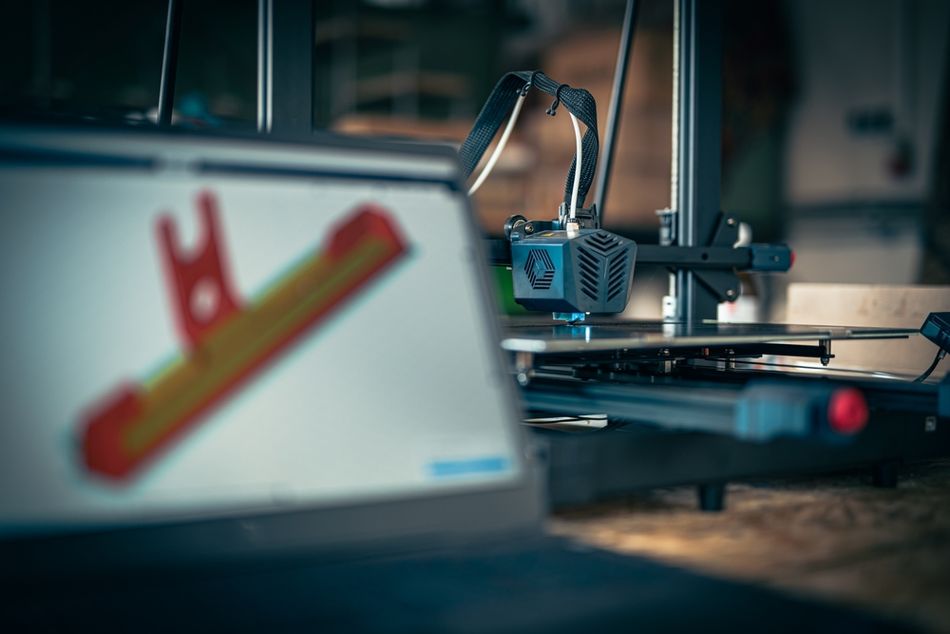
3D Printer Hardware Overview
If you are learning how to use a 3D printer, especially an FDM machine, you only need to understand a few core hardware systems. Most desktop printers share the same basic components, and once you know what each part does, setup and troubleshooting become much easier.
Unboxing Your 3D Printer
When you open the box, your FDM printer may be fully assembled or require a small amount of setup. Inside, you will typically find the main printer frame, power cable, spool holder, a sample of filament, and a small toolkit with hex keys, a scraper, and spare parts. Many printers also include an SD card or USB drive with test files and basic software.[3]
After removing packaging, identify the main visible components: the build plate, nozzle and hot end, filament path, motion rails, and control screen. This quick visual check helps you understand what you are looking at before turning anything on.
Before powering up, remove all shipping clips, zip ties, and foam blocks that lock moving parts in place. If minor assembly is required, it usually involves attaching the gantry, mounting the spool holder, and plugging in clearly labeled cables. Once powered on, the printer’s screen will guide you through basic setup such as loading filament and leveling the bed.
Motion System and Build Platform
In FDM printers, the motion system moves the print head in the X and Y directions while the build plate (or gantry) moves along the Z axis. Most consumer machines use Cartesian or CoreXY layouts, powered by stepper motors, belts, and linear rails.
The build platform is usually heated to help thermoplastic materials like PLA, ABS, and PETG stick during printing. Surfaces may be glass, aluminum, PEI-coated spring steel, or other removable flexible plates. For beginners, proper bed leveling and clean build surfaces matter more than high-speed performance specs.
SLA and SLS printers use very different mechanical systems (resin vats or powder beds), but since this guide focuses on FDM, those processes are mentioned only for context.
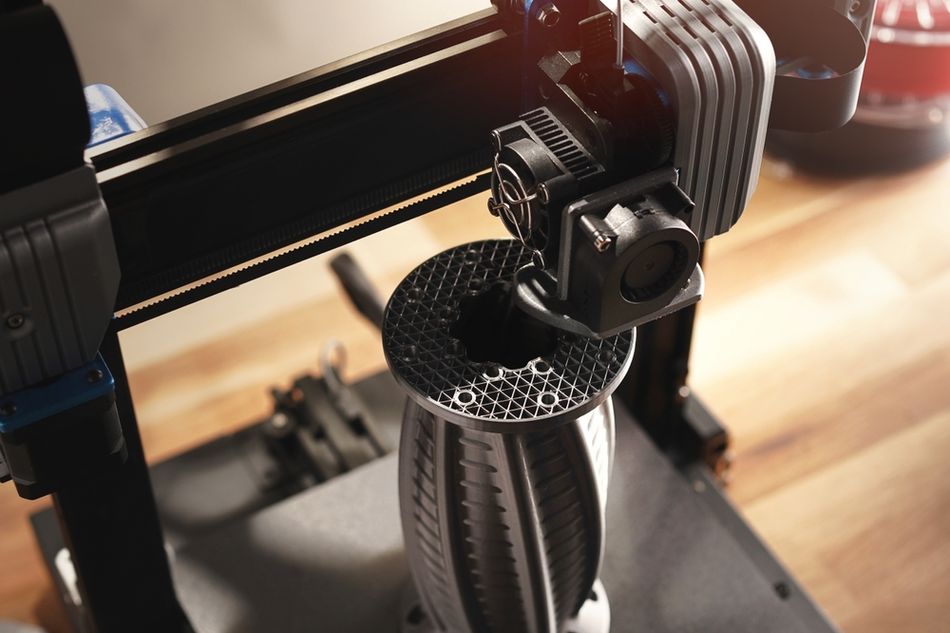
Extrusion System (FDM)
The extrusion system is the heart of an FDM printer. It includes:
Extruder motor and drive gear: Pushes filament forward.
Hot end: Contains the heater block, temperature sensor, and nozzle.
Nozzle: Melts and deposits filament layer by layer.
Filament is fed from a spool into the extruder, heated to a set temperature, and deposited onto the build plate in thin lines. Some printers support dual extrusion for multi-color prints or soluble supports, but most beginners use a single nozzle setup.
Modern FDM printers may also include filament run-out sensors, automatic bed leveling probes, and improved temperature control, but the core principle remains the same: controlled melting and precise positioning.
Control Electronics and Firmware
The printer’s control board coordinates movement, heating, and sensor input. Firmware such as Marlin, Klipper, or manufacturer-specific systems controls motor steps, nozzle temperature, and bed temperature.
For someone focused on how to use a 3D printer, the key takeaway is simple: the electronics manage motion and heat automatically based on your slicer settings. Your job is to select the correct material profile, ensure proper calibration, and monitor the first few layers of the print.
Step-by-Step Workflow
This section walks through the full beginner workflow in order. If you have never printed before, follow these steps once from start to finish. After a few prints, the process becomes routine, and the sequence (prepare file, slice, print, and adjust) becomes second nature.
1. Get the Right Software
Before you can print anything, you need two types of software: a CAD program to create or edit 3D models, and a slicer to prepare files for your printer. Most beginners can start with free tools. Fusion 360 (free for hobby use), Tinkercad, or FreeCAD are good CAD options, while Cura, PrusaSlicer, and OrcaSlicer are widely used slicers.
Install both programs and confirm your printer profile exists in the slicer. Most popular printers are already included. If you want the fastest path to your first successful print, download a ready-made model (STL or 3MF) from sites like Printables or Thingiverse instead of designing one from scratch.
2. Create or Download a 3D Model
You can either design a simple part in CAD or download one. For a first print, choose something small and flat, such as a calibration cube, bracket, or tool holder. These shapes print reliably and help you learn basic settings.
If designing your own part, keep the geometry simple and forgiving. Avoid very thin walls, sharp corners, and large unsupported overhangs. You do not need to worry about advanced design-for-additive rules yet; the goal is simply to produce a clean, printable model and understand the workflow.
Export the finished model as STL or 3MF. 3MF is preferred when available because it preserves units and reduces scaling mistakes between programs.
3. Open the File in the Slicer
Open your slicer and import the model. The slicer converts the model into machine instructions that tell the printer where to move and how much material to extrude. Most beginners can rely heavily on default settings at this stage.
Select printer and material: choose your printer model and filament type (PLA is the easiest starting material).
Orient the part: place the flattest side on the build plate and rotate to minimize supports and improve stability.
Choose basic settings: start with defaults such as 0.2 mm layer height, 2–3 walls, and 15–25% infill.
Check adhesion settings: add a brim if the part has small contact areas or sharp corners that may lift.
Preview the print: confirm size, supports, and first-layer coverage in the slicer preview before exporting.
Once everything looks correct, export the file (usually G-code) to an SD card, USB drive, or send it directly to the printer.
4. Prepare the Printer
Good setup is critical for a successful print, especially the first layer. Take a few minutes to prepare the machine before starting.
Level the build plate: run auto-leveling if available or manually adjust the bed so the nozzle distance is consistent across the surface.
Set the Z-offset: ensure the nozzle sits close enough to lightly press the first layer into the bed without scraping.
Load filament: heat the nozzle, insert filament, and feed it until melted plastic flows smoothly.
Preheat the printer: use recommended temperatures for your filament, with PLA as the simplest starting point.
Clean the bed: remove dust, grease, or leftover plastic to improve adhesion.
These steps may feel repetitive, but they prevent most beginner failures. Taking time here usually saves time later.
5. Start the Print
Begin the print and watch the first few minutes closely. Nearly all printing problems show up in the first layer, so this is the best time to catch issues early.
Check first-layer adhesion: lines should stick firmly and look slightly squished.
Watch for gaps or dragging: stop early if lines are not sticking or the nozzle is scraping.
Confirm smooth extrusion: filament should flow consistently without clicking or skipping.
If the first layer looks correct, the rest of the print usually proceeds smoothly. For longer prints, check periodically but you do not need to monitor constantly once the base layers are stable.
6. Remove and Clean the Part
When the print finishes, let the build plate cool before removing the part. Most parts release more easily once the surface temperature drops.
Remove the part gently using the flexible plate or scraper.
Remove supports with pliers or cutters if present.
Sand rough areas or support marks if needed.
Test fit the part if it will be assembled with other components.
This stage is also where you begin to understand how orientation and supports affect surface finish.
7. Evaluate and Adjust
Look at the finished part and decide what to improve. Printing is an iterative process, and small adjustments lead to better results. Check whether the part adhered properly, whether the dimensions and surface quality meet your needs, and whether any areas need stronger walls, more infill, or a different orientation. If something is off, change one setting at a time and print again. Over time, the workflow becomes straightforward: open the model, slice it, prepare the printer, start the print, remove the part, and refine as needed.
Designing Strong and Accurate FDM Parts
Once you can reliably print basic models, the next step is refining those starter designs so they are stronger, more accurate, and easier to assemble. FDM is great for functional parts, jigs, enclosures, and low-volume production, but small design choices make a big difference in print quality and durability.
Wall Thickness
Wall thickness is one of the simplest ways to improve strength. Very thin walls can warp, crack, or print inconsistently, while overly thick walls waste time and material.
Use about 1.2 mm minimum for light-duty or cosmetic parts.
Use 2–3 mm walls for functional parts that need strength.
A few extra perimeters usually improve strength more efficiently than simply increasing infill.
Infill
Infill supports the interior of the part and affects both weight and strength.
15–25% infill works for visual or light-duty parts.
30–50% infill suits most functional prints.
60%+ infill is useful only for heavily loaded parts.
Patterns like gyroid or grid provide balanced strength without using too much material. Remember that thicker walls plus moderate infill often work better than very high infill alone.
Fillets, Chamfers, and Corners
Sharp corners concentrate stress and can cause cracks between layers. Small design tweaks improve durability and printability.
Add fillets (rounded corners) where parts experience stress.
Use chamfers to help parts fit together and reduce support marks.
Smooth transitions between features improve reliability.
These small changes often matter more than increasing infill.
Holes, Fits, and Tolerances
FDM prints rarely match CAD dimensions perfectly, especially for holes. Most holes print slightly undersized.
Oversize holes by about 0.2–0.5 mm for accurate fits.
Drill or ream holes if precision matters.
Add clearance for mating parts and inserts.
Testing a small sample part before printing a full assembly saves time.
Overhangs and Bridging
Designing for fewer supports improves surface quality and reduces cleanup.
Try to keep overhangs below 45° when possible.
Short bridges (under ~10 mm) usually print fine without support.
Split complex parts into multiple pieces if needed.
Reducing supports also shortens print time and improves surface finish.
Layer Height
Layer height affects both detail and speed.
0.2 mm is a good default for most prints.
0.1–0.15 mm improves detail but prints slower.
For most beginners, 0.2 mm layers work well for everyday parts when using a 0.4 mm nozzle.
Orientation
Part orientation strongly affects strength because FDM layers bond less strongly in the Z direction.
Align parts so major loads run across layers, not between them.
Rotate parts so holes and brackets resist force in the XY plane.
Reorienting a part often improves strength more than increasing infill.
For example, rotating a bracket so its mounting holes print flat rather than vertical can prevent layer splitting.
Designing for FDM is mostly about iteration. Print a basic version, test it, and adjust thickness, orientation, or clearances. After a few cycles, you will naturally start designing parts that print cleanly and perform reliably without needing major adjustments.
Selecting 3D Printing Materials
After you can print basic parts reliably, the next step is choosing the right material. For most beginners using FDM printers, the material affects print difficulty, strength, surface finish, and heat resistance more than any single slicer setting.
Start with easy materials, then move to stronger or more heat-resistant options once your setup is consistent. PLA is usually the best first choice, followed by PETG for tougher functional parts.
Material | Ease of Printing | Strength & Durability | Heat Resistance | Typical Uses |
PLA | Very easy | Moderate, somewhat brittle | Low | Prototypes, models, light-duty parts |
PETG | Easy | Good strength and impact resistance | Medium | Functional parts, enclosures, brackets |
ABS | Moderate (needs enclosure) | Tough and durable | Higher than PLA/PETG | Automotive parts, housings, fixtures |
Nylon | Harder (moisture sensitive) | Very strong and flexible | High | Gears, hinges, snap-fit parts |
TPU (flexible) | Moderate (slow speeds needed) | Flexible and impact resistant | Medium | Gaskets, phone cases, vibration-damping parts |
Carbon-fiber blends | Moderate | Very stiff and strong | Medium–high | Structural parts, tools, jigs |
High-temp (PEEK/Ultem) | Advanced printers only | Extremely strong | Very high | Aerospace, tooling, industrial use |
Recommended reading: What Material Is Used for 3D Printing? A Guide to Polymer FDM Filaments
Operational Considerations
Once your printer is up and running, a few routine checks and habits will make prints more reliable. You do not need to perform every calibration constantly, but knowing what to adjust (and when) helps you refine print quality and avoid common failures.
Calibration Tips
Most calibration tasks focus on getting the first layer right and ensuring the printer extrudes material consistently.
Bed leveling: Use manual screws, assisted sensors, or auto mesh leveling to ensure the build surface is flat and evenly spaced from the nozzle. Poor leveling is the most common cause of adhesion issues and warped parts.
Extrusion calibration: Check that the extruder feeds the correct amount of filament. If walls look too thin or too thick, adjust E-steps or flow rate.
Temperature tuning: Use a temperature tower or small test print to find the best nozzle temperature for each filament. This improves strength and reduces stringing.
Flow and retraction tuning: Adjust extrusion multiplier and retraction settings if you see gaps, blobs, or stringing between features.
You do not need to run every test for every print. Start with defaults, then calibrate only when you notice a consistent problem.
Maintenance Practices
Basic maintenance keeps prints consistent and extends the life of the machine. Most tasks take only a few minutes and can be done periodically.
Keep the nozzle clean and free of burnt plastic to prevent clogs.
Check belts and pulleys occasionally and tighten if they feel loose.
Lightly lubricate rails or lead screws to keep motion smooth.
Store filament in sealed containers with desiccant to prevent moisture absorption, especially for nylon, PETG, and TPU.
Resin and powder printers require additional upkeep, but for most FDM users, keeping the nozzle clean and motion system smooth covers the essentials.
Safety Precautions
Desktop printers are generally safe, but basic precautions are still important. Operate printers in a well-ventilated area, especially when using materials like ABS. Avoid touching the hot end or heated bed during operation, and keep flammable items away from the machine. Use printers with thermal runaway protection and avoid leaving long prints unattended until you trust the setup.
If you later work with resins or powders, additional PPE and ventilation become necessary, but most FDM users can start safely with simple awareness of heat, fumes, and moving parts.
Conclusion
At this point, you should have a clear, practical sense of how to use a 3D printer from start to finish: install basic software, prepare or download a model, slice it with sensible defaults, set up the printer, and run a first successful print. From there, the process becomes iterative. Small adjustments to orientation, wall thickness, material choice, and calibration quickly improve strength, accuracy, and surface quality.
As you gain confidence, printing becomes less about following instructions and more about refining designs and settings. Reliable first layers, consistent filament storage, occasional calibration, and simple maintenance go a long way. Once those basics are in place, you can experiment with stronger materials, tighter tolerances, and more demanding parts. Whether you are prototyping, building fixtures, or learning design skills, the same workflow applies: start simple, print often, evaluate results, and improve with each repetition.
Frequently Asked Questions (FAQ)
What is the easiest way to start 3D printing?
Follow a beginner-friendly, step-by-step workflow: download a model, slice it, level the print bed, and start printing. Most hobbyists begin with FFF/FDM printers because they are simple to use and widely supported.
Do I need to know CAD or 3D design first?
Not immediately. You can download models from sites like Thingiverse and print them right away. Over time, learning basic CAD software (computer-aided design) helps you create custom parts.
What does slicing software actually do?
The slicer converts your model into G-code, which tells the printer how to move, heat, and extrude material during the printing process. It is the link between your design and the physical part.
How do I get high-quality prints?
Focus on first-layer adhesion, correct print bed leveling, and using the right material settings. Good setup matters more than advanced tweaks when aiming for consistent, high-quality results.
What software can I use to design my own parts?
Beginner-friendly options include Tinkercad or simple tools in Blender, while more advanced users may choose full CAD software like Fusion 360 for precise 3D design.
Do all printers work the same way?
Most beginner machines use FFF technology, but there are other types of 3D printing like resin and powder-based systems. The core workflow is similar, even if the materials and hardware differ.
References
[1] Wohlers Associates. Wohlers Report 2025: 3D Printing and Additive Manufacturing State of the Industry. Fort Collins (CO): Wohlers Associates; 2025.
[2] ISO/ASTM 52900:2021. Additive manufacturing — General principles — Terminology. Geneva: International Organization for Standardization; 2021.
[3] Creality. Ender-5 Max 3D printer unbox & setup [Internet]. Shenzhen: Creality; 2024 [cited 2026 Feb 23].
in this article
1. What Makes Additive Manufacturing Different?2. Major 3D Printing Technologies3. 3D Printer Hardware Overview4. Step-by-Step Workflow5. Designing Strong and Accurate FDM Parts6. Selecting 3D Printing Materials7. Operational Considerations8. Conclusion9. Frequently Asked Questions (FAQ)10. References