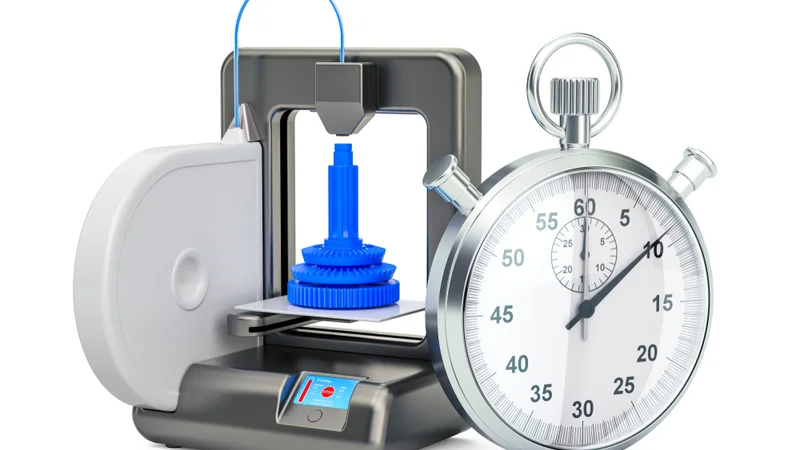
How Long Does a 3D Printer Take to Print Something? A Quick Guide for FDM Users
How long does a 3D printer take to print a typical plastic part? This article looks at the theory and practice behind 3D print time.

12 Sep, 2025. 9 minutes read
When planning a prototype or a custom fixture, digital-design and hardware engineers almost always ask, “How long does a 3D printer take to print something?” The answer isn’t simple. Depending on the part and the process, a print might be ready in under an hour or it might take a couple of days. Fast prints can keep design work moving, while long ones risk slowing projects, tying up machines, and driving up costs.
That’s why it helps to understand what actually drives print time. Factors like part size, layer height, infill density, and the printer’s own hardware all play a role. Some of these choices are in the designer’s control—like orienting the part or choosing coarser layers—while others come down to the limitations of the machine or material. Knowing where time is spent makes it easier to balance speed against quality.
This guide looks at the basics of how print time is determined and how different FDM machines handle the job. It also covers practical ways to estimate how long a print will take and what adjustments can make the biggest difference. With a clear view of these levers, designers can set realistic schedules, speed up iteration, and get more out of their printers.
What Really Determines Print Speed?
3D printing builds parts layer by layer. Print time depends on how long each layer takes to deposit or cure, along with the additional movements and heating required during the process. The main influences are technology type, part geometry, print settings, material, and the machine’s hardware limits.
Printing Technology and Hardware
Different additive manufacturing technologies vary widely in throughput. Within the polymer 3D printing sphere, FDM (Fused Deposition Modeling) is common and inexpensive but slower, since a nozzle must trace every contour. SLA (Stereolithography) and PolyJet offer high detail but take time on large builds. By contrast, mSLA/DLP printers project entire layers at once, making them faster for individual prints. Powder-bed systems like SLS/MJF achieve efficiency by printing many parts in one batch. This article focuses mainly on FDM, the most common 3D printing technology.
Hardware strongly affects printing speeds. For FDM printers, rigid frames and motion systems (CoreXY, delta) handle higher acceleration without introducing vibration. High-flow hotends and larger nozzles increase volumetric throughput, while direct-drive extruders improve control at higher speeds. Enhanced part-cooling fans allow faster deposition without defects. In practice, slicer speed settings must respect these mechanical and thermal limits: budget FDM machines often run at 30–60 mm/s, while tuned high-end printers may sustain 150–200 mm/s with advanced firmware like Klipper.
Geometry, Size, and Orientation
Bigger parts naturally take longer, but height matters more than overall volume. A tall column requires many more layers than a short, wide object of similar volume. Reorienting a part can drastically shorten print duration—for example, laying a model flat may cut hours compared to printing it upright.[1]
Complex geometries add time in multiple ways: longer toolpaths, intricate internal channels, and overhangs that require supports. Every support adds to both print time and post-processing. Minimizing support through careful orientation is one of the most effective strategies for faster builds.
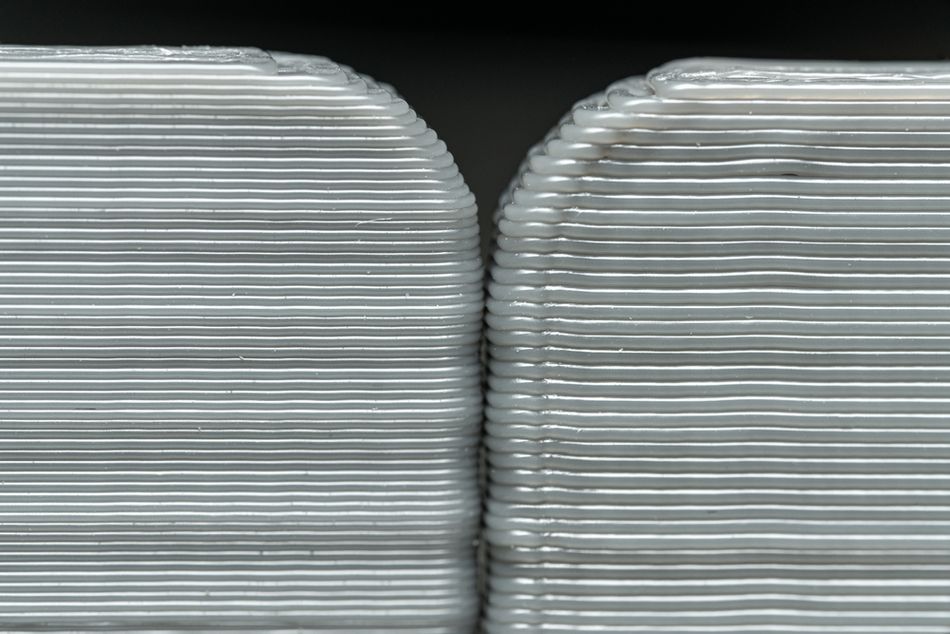
Layer Height, Nozzle Size, and Print Settings
Layer height sets the vertical resolution. A 60 mm part at 0.1 mm requires 600 layers, while at 0.3 mm only 200 layers are needed. Coarser layers shorten print time but reduce surface quality. Nozzle size also matters: a 0.6 mm nozzle deposits more material per pass than a 0.4 mm, supporting thicker layers, but sacrifices fine detail. As a rule of thumb, layer height should not exceed ~80% of the nozzle diameter.
Other slicer settings also influence time. Infill percentage determines how dense the internal structure is: decorative parts may use 10–20% infill, while structural components require 50% or more. Each additional wall, top, or bottom layer adds strength but extends duration. Supports, printed slowly for removability, can increase time by 50% or more depending on geometry.
Material and Thermal Properties
Different materials tolerate different speeds. PLA prints quickly because it melts at low temperatures and cools fast. ABS, PETG, and ASA need higher temperatures and slightly slower speeds to prevent warping. Flexible TPU is among the slowest, often limited to 20–40 mm/s to avoid extrusion problems. High-performance polymers like PC, nylon, and PEEK require elevated temperatures and enclosures, restricting speed further.
Recommended reading: PLA Print Speed: Best Print Speed Settings and More
How Long Does a 3D Printer Take to Print a Benchy?
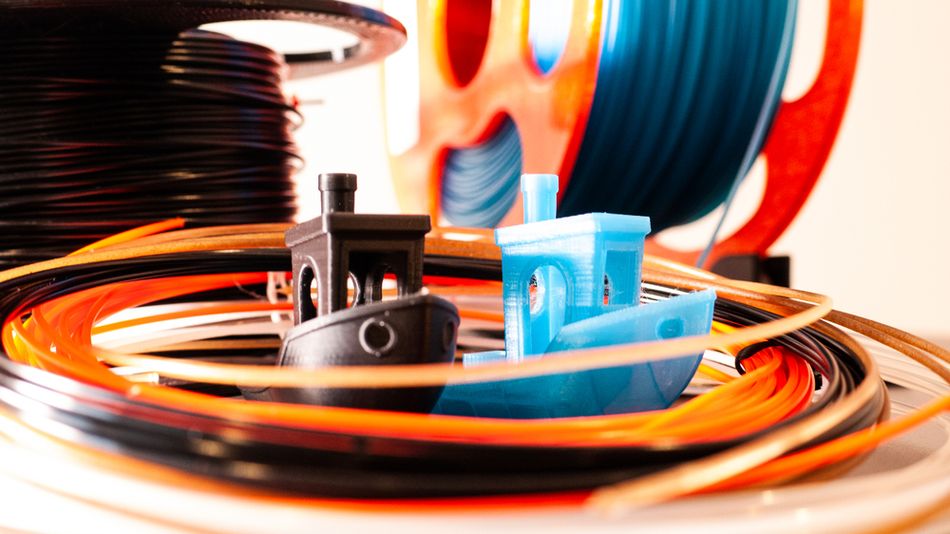
When people talk about 3D printing speed, they often reference the same model: 3DBenchy. Designed in 2015 by the Swedish company Creative Tools, this small tugboat was created as a calibration benchmark—hence the nickname “Benchy.” The idea was to produce a playful, recognizable print that could quickly reveal how well a printer handles common challenges: dimensional accuracy, bridging, overhangs, circular holes, fine details, and smooth curved surfaces.
The standard Benchy model measures 60 mm long, 31 mm wide, and 48 mm tall, with a hull designed to sit flat on the print bed. At this size it’s large enough to test accuracy and cooling but compact enough to serve as a speed benchmark. It has since become one of the most downloaded STL files in the world, functioning both as a stress test and an informal “speedrun” model.
Because Benchy is compact and moderately complex, manufacturers often use it to showcase their machines. A simple cube is too easy; a big functional part takes too long. Benchy hits the middle ground: short enough to print in under an hour (or even minutes on high-speed systems), but tricky enough to demonstrate quality at those speeds. That makes it a natural benchmark for time comparisons across printers.
Vendor Claims and Demonstrations
Prusa Research (Original Prusa MK4, 2023) publicized its MK4 launch by printing a Benchy in about 19 minutes using input shaping and pressure advance.[2] Earlier Prusa models often took closer to an hour with default profiles.
Bambu Lab (P1S, 2023) markets its CoreXY machines as capable of a Benchy in roughly 18 minutes, thanks to accelerations up to 20,000 mm/s² and high-flow hot ends.[3] Many user tests confirm results in the 18–25 minute range.
Creality (K1, 2023) advertised that its K1 can complete a Benchy in 13 minutes—compared with 1 hour 30 minutes on a typical budget FDM printer.[4]
Anycubic (Kobra 2 Pro, 2023) published an official demonstration of a 14 min 56 s Benchy, positioning it as a “speed printing” machine in the sub-$300 range.[5]
Note: These manufacturer claims do not prove that one machine is faster than another. Unsurprisingly, Bambu Lab made its 18-minute Benchy claims after Prusa set the bar at 19 minutes, and the other two companies made their claims after Bambu Lab.
Independent Benchmarks
While vendor claims are eye-catching, independent tests provide context. Review sites like Tom’s Hardware and many community YouTubers often report “fast Benchy” times clustering between 20 and 25 minutes for modern CoreXY and tuned bedslinger printers. These results suggest that marketing numbers usually represent best-case scenarios, achieved with aggressive settings that may sacrifice some surface finish.
Why These Times Matter
The difference between 13 minutes and 1.5 hours for the same 60 × 31 × 48 mm model illustrates how far consumer printers have come in just a few years. Benchy times give users a practical reference point for “everyday” print speeds. They’re not perfect predictors, but they help calibrate expectations: if your printer takes 60 minutes for Benchy, something larger or more complex like a phone stand might take 3–5 hours; if it takes 20 minutes, you can expect to slice those times nearly in half.
Recommended reading: Ender 3 (V2, Pro, S1) Print Speed and How to Maximize It
Calculating Print Time
One of the most common questions before starting a 3D print is, “How long does a 3D printer take to finish this part?” But print time is not fixed; it depends on geometry, slicer settings, materials, and machine performance. While real-world results may vary, engineers and hobbyists have a few practical ways to estimate duration with reasonable accuracy.
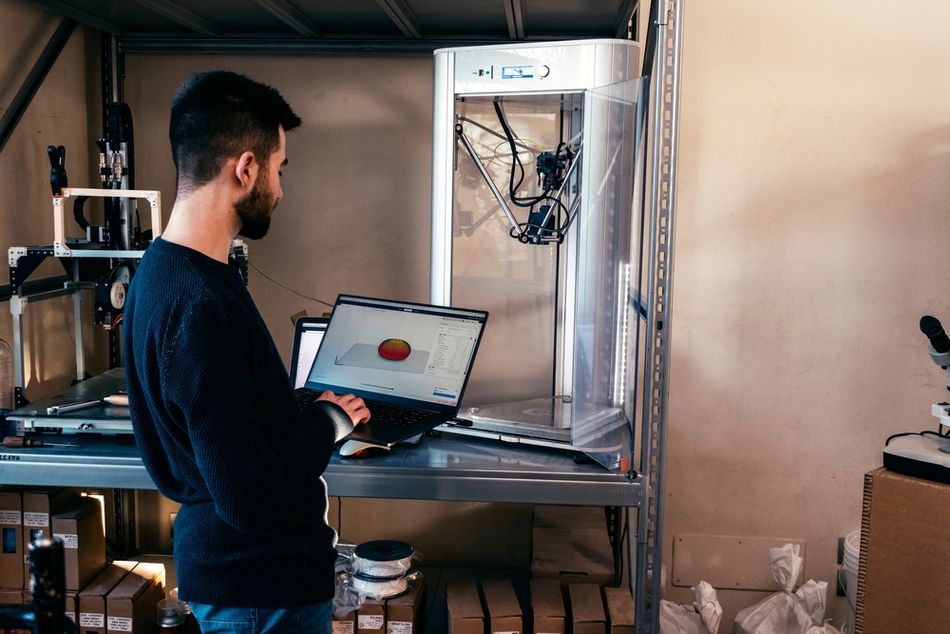
Using Slicer Estimation Tools
The most reliable method is to use modern slicing software such as Ultimaker Cura, PrusaSlicer, or Simplify3D. These programs analyze the 3D model, layer height, infill density, support requirements, and printer settings to generate a predicted print time. Most slicers account not only for extrusion paths but also for travel moves, acceleration limits, and cooling pauses. With well-tuned profiles, slicer predictions are typically accurate within about 10–15% of the actual duration.
However, accuracy depends on the slicer settings matching the printer’s firmware limits. If acceleration or maximum flow rates are set higher in software than the hardware can actually sustain, the print will run longer than predicted. For this reason, it’s good practice to compare slicer estimates with actual print times and adjust profiles accordingly.
Manual Approximation
When slicer tools aren’t available, a few rules of thumb can help answer the question, “how long does a 3D printer take for a given part?”
Volume-Based: A common heuristic is that about 1 cubic inch of material takes up to an hour to print at standard FDM settings. This is rough but provides a quick ballpark.
Layer Count: Divide the model’s height by the chosen layer height to calculate the number of layers. Multiply this by the average time per layer (30–60 seconds for typical FDM printing). For example, a 50 mm-tall object sliced at 0.2 mm layer height produces 250 layers. At 40 seconds per layer, the estimated print time is about 2.8 hours, before adding warmup and setup.
These rules can’t replace slicer predictions, but they are useful for feasibility checks in design or quoting scenarios.
Online Calculators
For quick estimates, several free online calculators let you enter key parameters such as part dimensions, layer height, nozzle size, and infill percentage. Some require the upload of an STL file for automatic calculation. While convenient, these tools lack machine-specific data like acceleration tuning or cooling limits.
As with manual rules, results should be cross-checked against slicer predictions or small test prints for higher confidence. In practice, combining slicer predictions with a few tried-and-true heuristics gives the best balance between accuracy and speed of estimation.
10-Point Checklist for Faster 3D Printing
For many users, the biggest frustration with FDM printing is the waiting time. Even small, palm-sized objects can take several hours, and larger builds often stretch overnight or longer. While speed has improved with newer machines, most printers still balance throughput against quality. The good news is that you don’t need to buy a new printer to cut hours off your jobs—many time savings come from simple setting adjustments.
The key to faster printing is understanding which factors matter most. Print time is influenced by how much plastic must be laid down (volume, infill, perimeters) and how quickly the printer can handle it (layer height, nozzle size, motion, cooling). Some optimizations are as easy as changing a slicer setting, while others require hardware upgrades or firmware tuning. The list below moves from the simplest tweaks to more advanced modifications.
Lower Infill Density – Reduce infill to the minimum needed for function (e.g., 10–15%).
Reduce Perimeter Walls – Use 2 walls instead of 3–4 when high strength isn’t required.
Increase Layer Height – Switch to 0.24–0.3 mm layers for faster prints with less detail.
Use Draft or Speed Profiles – Select faster preset profiles in your slicer to cut time.
Orient for Lower Height – Rotate parts to minimize Z-axis layers and reduce build time.
Print Multiple Parts Together – Batch small items in a single print to avoid repeated heat-up and cooldown cycles.
Use a Larger Nozzle – Swap to 0.6 mm or 0.8 mm to deposit more material per pass.
Boost Cooling – Upgrade or add stronger fans for faster solidification at higher speeds.
Enable Speed-Optimized Firmware – Install and tune features like input shaping or pressure advance (e.g., Klipper).
Upgrade to a High-Flow Hotend – Install a hotend designed for higher volumetric flow to sustain faster extrusion.
Conclusion
For anyone working with FDM, the question “how long does it take?” still depends on design choices, machine setup, and printing materials. Compared with CNC machining, the 3D printing process offers more freedom of shape but also takes variable amounts of time depending on orientation, layer height, and the printer’s speed. Even simple changes—such as lowering infill or using higher infill only where strength is essential—can help balance turnaround with durability.
Optimization often starts at the print head. A larger nozzle or high-flow hotend allows more material to be deposited in less time, while careful tuning ensures that print quality doesn’t suffer. Choice of filament also matters, since different plastics tolerate different speeds, cooling rates, and geometries. For beginners, experimenting with these variables builds confidence and makes it easier to plan the amount of time a job will realistically take.
Looking forward, improvements in motion systems, smarter slicers, and advanced print head designs promise faster results without compromising high-quality output. As these tools spread beyond industrial labs, the question of how long 3D printing takes will shift toward ever-shorter cycles, making rapid iteration and same-day prototyping accessible to anyone, from hobbyists to engineers.
Frequently Asked Questions (FAQ)
How long does a 3D printer take to finish a part?
Anywhere from under an hour for small models to more than a day for large, detailed prints. The exact time depends on geometry, slicer settings, and printer hardware.
What settings most affect print speed in FDM?
Layer height, nozzle diameter, and infill density are the biggest factors. Reducing Z-height by reorienting a model can also cut hours off a job.
How accurate are slicer time estimates?
Modern slicers are usually within 10–15% if profiles match the printer’s real limits. However, tall or cooling-limited parts may take longer than predicted.
Can hardware upgrades really make a big difference?
Yes—high-flow hotends, stronger cooling, and faster motion systems can significantly reduce print times. Firmware features like input shaping further improve speed without sacrificing quality.
What simple changes save the most time without new hardware?
Increase layer height, use a larger nozzle, and lower infill for non-structural parts. Draft or speed profiles in slicers are quick wins.
What does the future look like for FDM print speeds?
Emerging features like adaptive flow, multi-gantry printers, and smarter slicers point toward faster cycles. Waiting overnight for common prints may soon be a thing of the past.
References
[1] Hällgren S, Pejryd L, Ekengren J. Additive manufacturing and its effect on part orientation and support structures. Procedia CIRP. 2016;50:164-9.
[2] Prusa Research. Announcing Original Prusa MK4 [Internet]. 2023 Mar 29 [cited 2025 Sep 9].
[3] Bambu Lab. P1S Product Page [Internet]. 2023 Jul 13 [cited 2025 Sep 9].
[4] Creality. Lightning-Fast 3D Printing: Creality K1 Blog [Internet]. 2023 Jun 15 [cited 2025 Sep 9].
[5] Anycubic. Fastest Consumer 3D Printer: A Comprehensive Guide [Internet]. 2023 Sep 15 [cited 2025 Sep 9].