9 Tips to Improve PETG Bed Adhesion
From temperature settings, to print speed, to build surface, here are our suggestions for improving bed adhesion when 3D printing PETG.

Last updated on 10 Jan, 2025. 12 minutes read
Poor bed adhesion can lead to issues such as shrinking and warping.
It’s a problem that happens all too often: you’ve painstakingly prepared a 3D model for printing and patiently waited while your 3D printer brings the model to life only to find that your 3D print has come unstuck from the print bed and warped. Not only does this waste time, it also wastes filament—and consequently money. Fortunately, poor bed adhesion and the problems it causes, such as warping, can be tackled in many ways.
In this article, we’ll be looking specifically at how to improve PETG bed adhesion to reduce the risk of warping and improve print consistency and quality. While many of the general solutions for ensuring print bed adhesion are similar across different types of filament (i.e. adjusting the print bed temperature), the specifics vary depending on the type of filament. For example, here’s what to do if your PLA 3D print isn’t sticking.
What is PETG plastic?
Before we dive into how to get your PETG filament to adhere to the print bed, let’s first look at what PETG is. PETG, or polyethylene terephthalate glycol, is a thermoplastic polyester adapted from PET, one of the most commonly used plastics in the world. You’ve likely encountered PET in your everyday life: it is used in the production of textiles and clothing (polyester) as well as in food packaging, such as water bottles.
Despite sharing many properties with PET, PETG differs from its base material in a few ways: the addition of glycol increases the plastic’s strength and resistance to impact and heat.[1] This has made PETG a more suitable material for fused deposition modeling (FDM) 3D printing. In fact, along with PLA and ABS, PETG is one of the most common types of filament used today.
PETG filament is known for its affordability, as well as good impact resistance, chemical resistance, and durability. The material is also easy to process, providing good layer adhesion as well as a low level of shrinkage. Compared to ABS, 3D printing PETG also results in less vapor and odor.
When it comes to first layer adhesion, PETG typically has fewer problems than other filaments, such as ABS, and does not necessarily require a heated print bed. That being said, adhesion problems can come up, so it is helpful to understand what is causing them and how to fix them.
Recommended reading: PETG print settings: Adjusting temperature, speed & retraction to improve printing
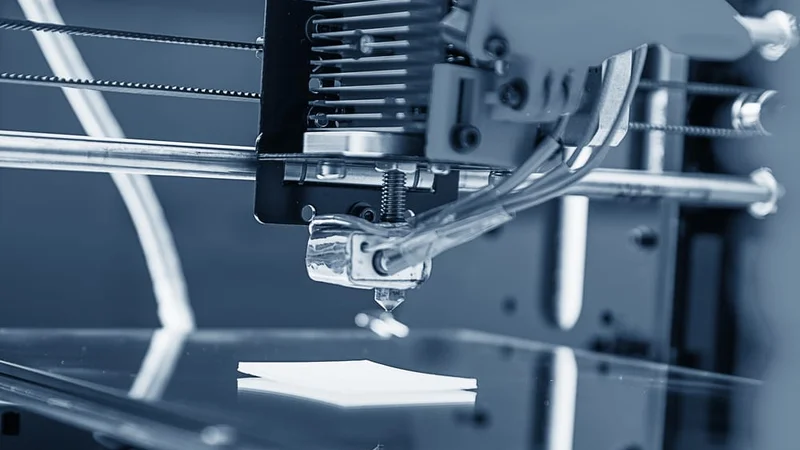
What to do if PETG isn’t sticking to the print bed
If you are facing adhesion problems, there are many potential causes. Don’t worry though, this also means there are many potential fixes. Below are some of the printing parameters and processes you should consider when addressing poor adhesion.
1. Adjust print bed temperature
While PETG does not require a heated print bed as much as other more warp-prone materials like ABS, it can still benefit from one. In FDM 3D printing, a heated bed helps to regulate the overall print temperature and slow the cooling process. This reduces the risk of shrinkage caused by plastic cooling too quickly, which itself causes filament to peel up from the print bed.
For the best results 3D printing PETG, heat your 3D printer’s bed to between 65–90 °C. It is also a good idea to check the instructions provided by your PETG filament provider, as the optimal temperature can vary by brand. When setting your heated bed temperature, the important thing is to not exceed the material’s glass transition temperature too much.[3] PETG has a glass transition temperature of 85°C, which is why we recommend a maximum of 90 °C for the print bed.
If your 3D printer does not have a heated bed, don’t worry. You can also improve first layer adhesion with PETG by using the right build plate or an adhesive aid. We’ll get into these options further down.
2. Adjust nozzle temperature
Finding the right nozzle temperature when you are 3D printing is essential. If the nozzle is too hot, it can cause the filament to melt too quickly and ooze out unpredictably. Over time, it can also lead to burning, which can lead to nozzle blockages. If your nozzle temperature is too low, the filament will not flow smoothly onto the print bed, leading to nozzle jams and under-extrusion, which can influence bed adhesion and inter-layer bonding.
In general, the right nozzle temperature is dependent on the material’s melting point. PETG has a melting point of about 260°C but starts to liquify at about 230°C.[2] Your 3D printer nozzle should therefore be heated to a temperature in a similar range (220°C to 260°C). Again, check the material data sheet and instructions that accompany your brand of PETG filament, they can provide a more specific range. The right nozzle temperature will ensure that your filament is the right viscosity when it is extruded, which can improve adhesion to the print bed as well as between layers.
3. Change cooling settings
The highest quality 3D prints are the result of not one but several right decisions when it comes to temperature. As we saw, nozzle and print bed temperature are vital to ensuring good adhesion, but cooling is also a critical factor. When it comes to PETG, finding the optimal cooling is all about balance. In the early stages of the printing process, when the first layers are being deposited, it is important to keep the temperature elevated so that the layers form a strong bond—both to the print surface and to each other. As the print continues, however, cooling is needed so that the filament can solidify properly. If the PETG doesn’t cool properly, the soft filament can start to buckle under the weight of upper layers and warp.
We therefore recommend starting your print with the fan off or on the lowest setting. Once the first few layers are laid down, turn the 3D printer’s cooling fan on to between 30-60%. A lower fan speed will encourage a better bond between layers, contributing to a stronger final print. A higher fan speed, on the other hand, will usually result in a better surface finish and visual quality.
4. Adjust your print speed
When we talk about print speed here, we are specifically referring to the 3D printer setting that controls how quickly the printhead moves in both the X and Y axes as it deposits material. Print speed influences the overall quality of a 3D print, including how well it sticks to the print bed. If the print speed is too fast, it can cause a slew of problems, including poor inter-layer and bed adhesion, under-extrusion, and ringing or ghosting. The effects of printing too slowly are less serious and are mostly related to the risk of the nozzle overheating the filament and causing oozing and blobs.
PETG is best printed at a relatively slow print speed of about 60 mm/s, but can be printed up to about 100 mm/s. The slower print speed encourages good adhesion between layers and will usually result in a higher quality model. It is also possible to set variable printing speeds, choosing a slower printing speed (20-30 mm/s) for the first layers and a faster printing speed for less critical elements like infill. Another speed setting to take note of is travel speed. This is the speed at which the hotend moves when it is not extruding material. Make sure the travel speed is significantly higher than the print speed with PETG (around 120 mm/s) to minimize other 3D printing issues like stringing.
Recommended reading: 3D print speed: What it is and why it matters
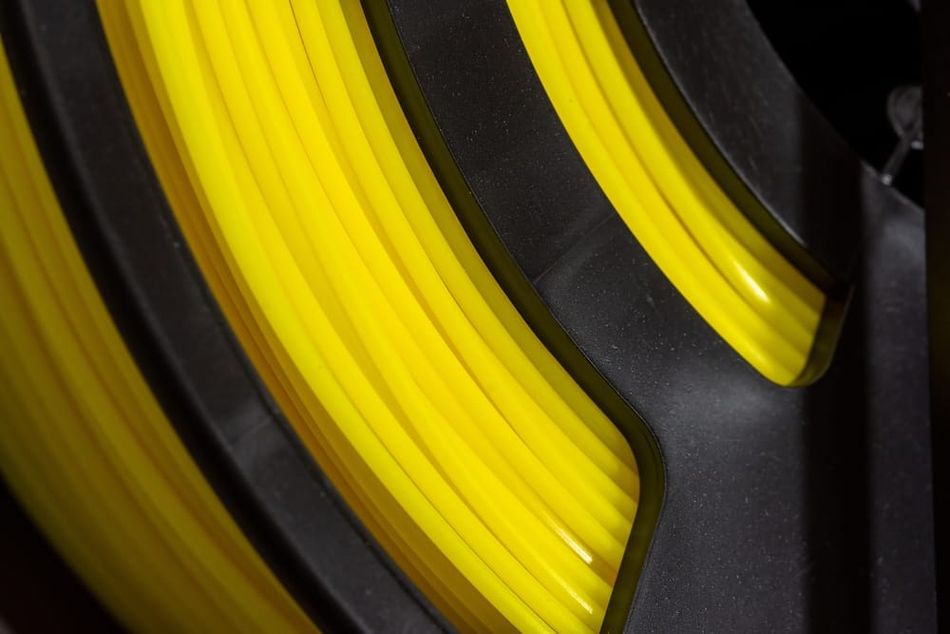
5. Dry your filament
If you’ve adjusted your print speed and print temperature settings and are still having difficulty with bed adhesion and overall print quality, the culprit could be the filament itself. Filaments like PETG are hygroscopic, meaning that they absorb moisture from the air. The water molecules inside the polymer chains can cause several problems when printing, including bubbles (as the water evaporates as the filament is heated), as well as make the filament weaker.
It is therefore important to store your PETG filament in a moisture-protected space, such as a dry box. Dry boxes can be made at home and consist of a sealable container containing desiccant packets. Another option for long-term filament storage is vacuum sealed bags. If your filament may have already absorbed moisture, you can dry it out using a dedicated filament dryer, a food dehydrator, or your oven. PETG should be dried at between 60°C-65°C, below its glass transition temperature. Depending on the amount of filament, it can take between 4-6 hours to dry out a spool of filament in an oven.
Recommended reading: How to Dry Filament
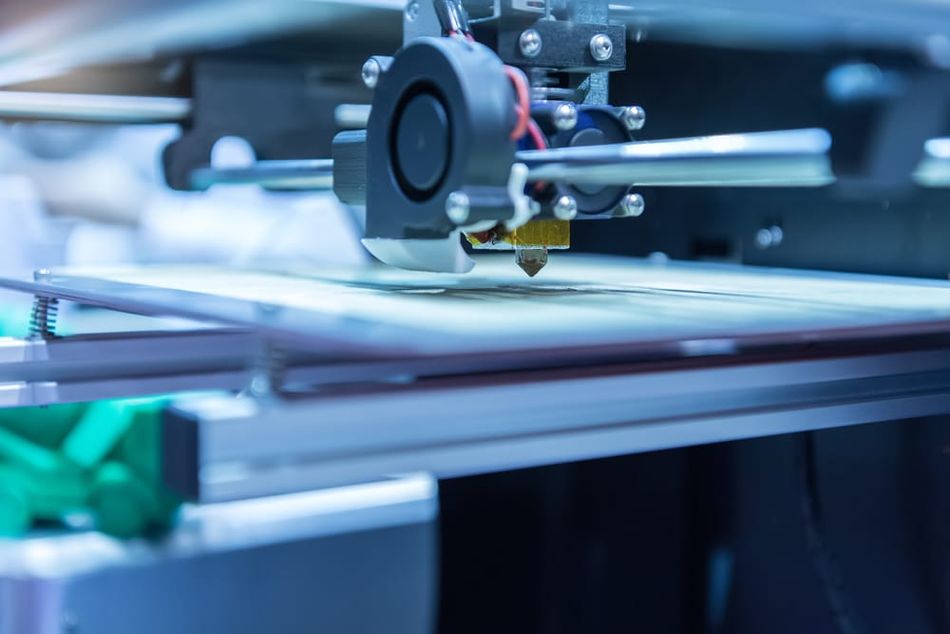
6. Level and clean your build surface
Your build plate could be contributing to the quality of first layer adhesion, so it is important to ensure that the print bed is level and clean before printing. Bed leveling is important because it ensures that the build surface is even and will be at a consistent distance from the print head. This in turn promotes even filament deposition which helps with print bed adhesion. Some 3D printers have automatic calibration and bed leveling, while others require manual leveling.
It is also important that your build plate is clean before printing. Any grease or leftover 3D printing filament stuck to the bed can hinder good bed adhesion and create an uneven print surface. If possible, remove the build plate and gently scrape any plastic residue off with a dry scraper. If you have a glass bed or borosilicate glass plate, use water and soap or window cleaner to remove any grease. You can also use isopropyl alcohol (IPA) to clean glass as well as PEI build plates. In terms of print surface, PETG prints best on a glass or PEI build plate (or PEI sheet).
7. Use a build plate adhesive
Many people also find success by applying an adhesive coating to their print bed. There are dedicated 3D printer adhesives on the market, such as Magigoo, but there are also more DIY options, including glue stick or hairspray. Any of these will help to create a first layer bond between PETG and the build surface. Another option preferred by some people is using blue painter’s tape. The slightly abrasive texture of the tape, which is easy to peel up from the build plate, encourages bonding with the first layers of melted filament, ensuring that the print stays flat.
Recommended reading: 3D Print Not Sticking to Print Bed? Here's the Solution
8. Adjust nozzle distance
Nozzle distance, also known as Z-offset, refers to the original distance between the nozzle and the build plate. If the nozzle is set too close to the 3D printer build surface, the first layer of the print will be squished and the layer height you set may not be accurate. If the gap between the build surface and the nozzle is too large, the melted filament might not bond to the platform properly, which can lead to bad first layer adhesion.
Unlike PLA, which benefits from a smaller Z-offset value, PETG actually prints better with a slightly bigger gap. Generally though, it is most important to change the Z-offset value in slicer software when you are using a substrate or a different type of build plate. For instance, if you apply a PEI sheet to your printer’s bed, it is vital to adjust the Z-offset to ensure that the nozzle isn’t touching the build surface, which will be slightly higher. If you are adjusting the nozzle distance, it is also imperative that the 3D printer bed is level. For a more thorough guide to Z-offset, see our article below.
Recommended reading: Z offset: What it is and how to adjust it
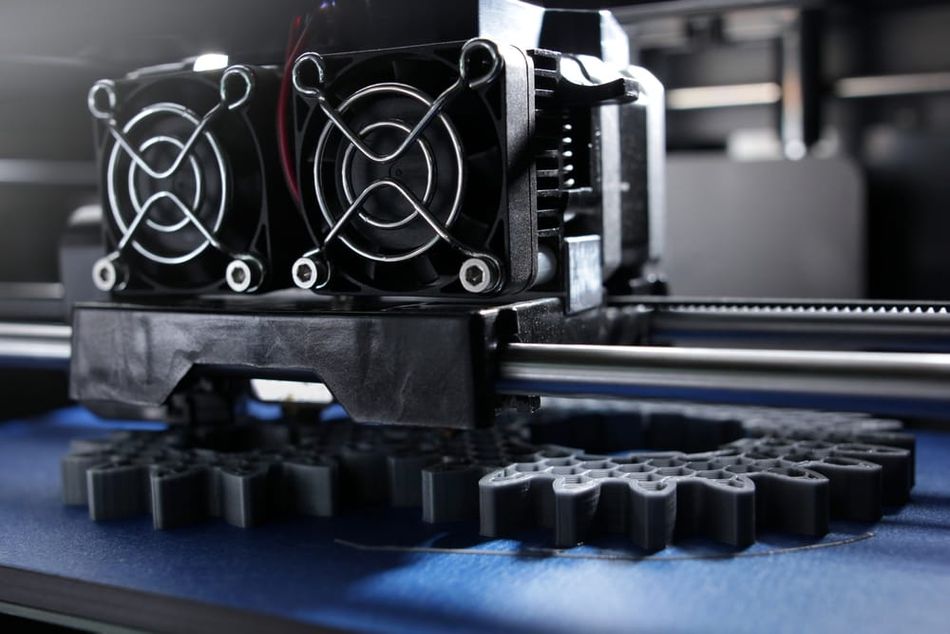
9. Use a brim
Using a 3D printed brim is an effective way to improve bed adhesion when printing with PETG. The brim acts as a thin border of extra material printed around the first few layers of the object, increasing its surface contact with the print bed. This added surface area provides better adhesion, helping to prevent issues like warping or corner lifting that can occur during the print process.
In short, the brim helps to anchor the print in place during the initial layers, ensuring a more stable and reliable start. Additionally, it helps mitigate the risk of uneven extrusion, which can cause poor first-layer quality. After the print is completed, the brim can be easily removed (often by hand) without leaving any noticeable marks on the model, offering a simple, efficient solution to improve print quality and consistency with PETG.
Rafts can also be used to improve adhesion, especially when you are working with a 3D printer that does not have a heated print bed. A raft can also be used to create a level base for your printed model if your print bed is uneven or damaged. The only real downsides to using a raft is that it consumes more material than a brim and can be more difficult to remove.
What to do if PETG sticks too much to the print bed?
In some cases, PETG prints can adhere too well to the print bed, making it difficult to remove parts without scratching or damaging the build plate. This is particularly common when using a glass build plate. If this is the adhesion predicament you are facing, there are some ways to help remove the stuck print and to prevent the over-adhesion from happening in the future.
One way to remove a stuck 3D print, is to carefully insert a spatula or thin blade between the print and the bed. Work slowly and gently to avoid damaging the print or the print surface. If the print is particularly stubborn, applying light heat to the bed or using gentle prying motions can help loosen it without causing damage.
Dental floss is another useful, and easily available tool for removing a stuck PETG 3D print. All you have to do is gently slide the floss under the print’s base, using a sawing motion to loosen it from the bed. This technique minimizes the risk of damaging the print or the bed surface.
Finally, while makers use blue painter’s tape to help improve adhesion, it can also be a solution for solving PETG’s sometimes too-strong bed adhesion. Using painter’s tape or an adhesive not only makes it easier to remove the print, it will also protect build surfaces, particularly glass ones that are prone to strong PETG bonds.
Recommended reading: 3D Print Stuck to Bed: What to do?
Conclusion
In the end, if you’re having trouble with bed adhesion and PETG, the problem likely stems from one or a combination of factors, including print settings (like temperature and speed), filament quality, and build surface. We encourage you to try our suggestions and play around with different combinations of settings to get the best results. To save on filament when finding the right settings for PETG, opt for small test prints.
Frequently Asked Questions (FAQs)
Q: What is the ideal print bed temperature for PETG to ensure proper adhesion?
A: For optimal adhesion when printing with PETG, set your 3D printer’s bed temperature between 65°C and 90°C. A heated bed helps regulate the print temperature and prevents rapid cooling, which can minimize the risk of warping.
Q: How does 3D printer nozzle temperature affect PETG print adhesion?
A: The nozzle temperature for PETG should be set between 220°C and 260°C. Particularly is the nozzle is too cold, the filament will not extrude smoothly and may under-extrude affecting bed adhesion. Proper nozzle temperature ensures smooth extrusion, improving first-layer adhesion and inter-layer bonding.
Q: What cooling settings can improve PETG print bed adhesion?
A: Start printing with the cooling fan off or on low to ensure strong layer bonding for the first layers. After a few layers, increase the fan speed to 30-60% for better surface finish and solidification, but avoid excessive cooling early on to prevent warping.
Q: What print speed is best for PETG to ensure good adhesion?
A: For optimal PETG adhesion, print at a slower speed of around 60 mm/s. Slower speeds improve layer bonding and overall print quality. You can also adjust speeds for different sections, such as much slower speeds (20-30 mm/s) for the first layers and faster speeds for infill, ensuring strong adhesion and a smooth finish.
Q: Should I dry PETG filament before 3D printing?
A: PETG filament absorbs moisture from the air, which can cause print defects like bubbling, weak layers, and poor adhesion. Either store your filament away from moisture or dry your filament to remove moisture before printing, ensuring smoother extrusion and better print quality, especially for bed adhesion.
Q: How do I prepare my build surface for better PETG adhesion?
A: Ensure your print bed is level and clean to improve first-layer adhesion. Leveling ensures consistent distance between the nozzle and bed, while cleaning removes grease or filament residue. A clean surface helps PETG bond more effectively. You can also use a build adhesive for extra hold.
Q: What should I do if PETG is sticking too much to the print bed?
A: If PETG adheres too strongly to the bed, making it difficult to remove, try using a spatula, blade, or dental floss to gently pry it loose. Applying light heat can also help. Additionally, using painter’s tape or a release adhesive can reduce adhesion strength and make removal easier while protecting your build surface.
References
[1] What is PETG? (Everything You Need To Know) [Internet]. TWI Global, 2025. https://www.twi-global.com/technical-knowledge/faqs/what-is-petg
[2] Everything you need to know about PETG 3D Printing [Internet]. MakerBot, 2023. https://www.makerbot.com/stories/everything-you-need-to-know-about-petg-3d-printing/
[3] Spoerk M, Gonzalez-Gutierrez J, Sapkota J, Schuschnigg S, Holzer C. Effect of the printing bed temperature on the adhesion of parts produced by fused filament fabrication. Plastics, Rubber and Composites. 2018 Feb;47(1):17-24.