Production Control in the Casting Industry: Ensuring Component Geometries
Portable 3D scanner relieves measuring room workload and reduces downtime in production
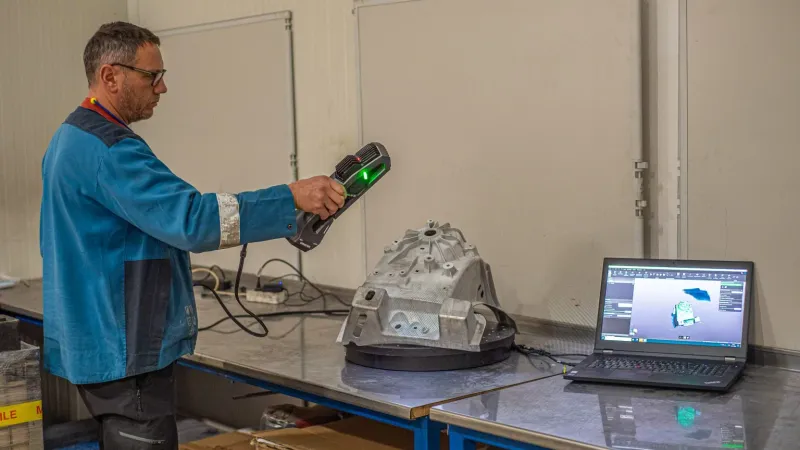
Go!SCAN SPARK scanning a casting. The acquired data is displayed in real time in the 3D metrology software.
This article was first published on
www.creaform3d.comGF Casting Solutions Altenmarkt GmbH & Co KG is one of the leading solution providers for lightweight components in the mobility and energy sector and operates, among other things, a light metal foundry for automotive components, structural parts and powertrain parts that are manufactured using the aluminum and magnesium die-cast process. One of three divisions of Georg Fischer AG, the company draws on 200 years of expertise and has 13 locations in Germany, Austria, Romania, Switzerland and China.
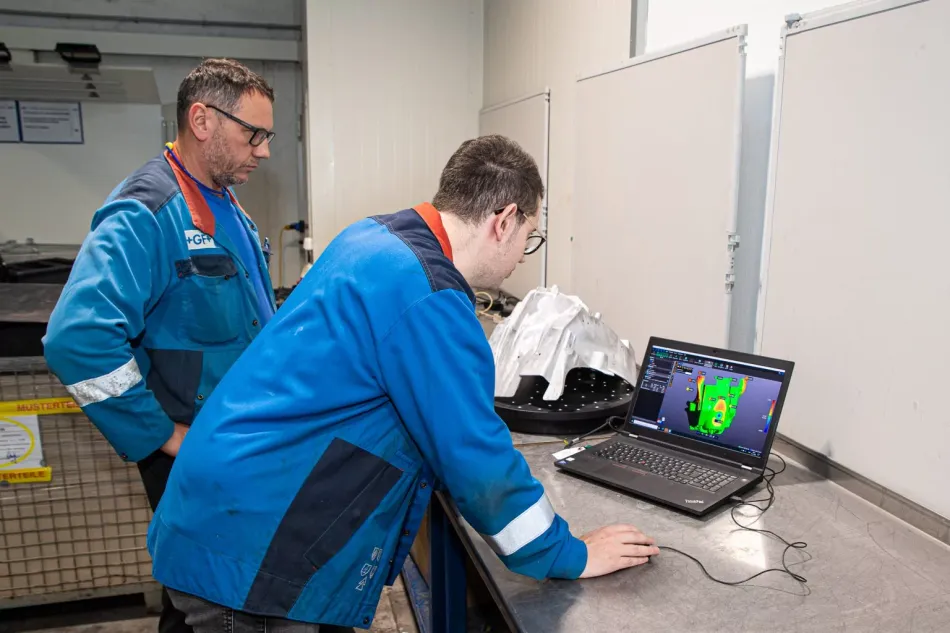
With these products becoming more and more complex and versatile, the GF Castings Production Control Department in Austria is tasked with checking repairs during ongoing production – as best as possible and in the shortest possible time.
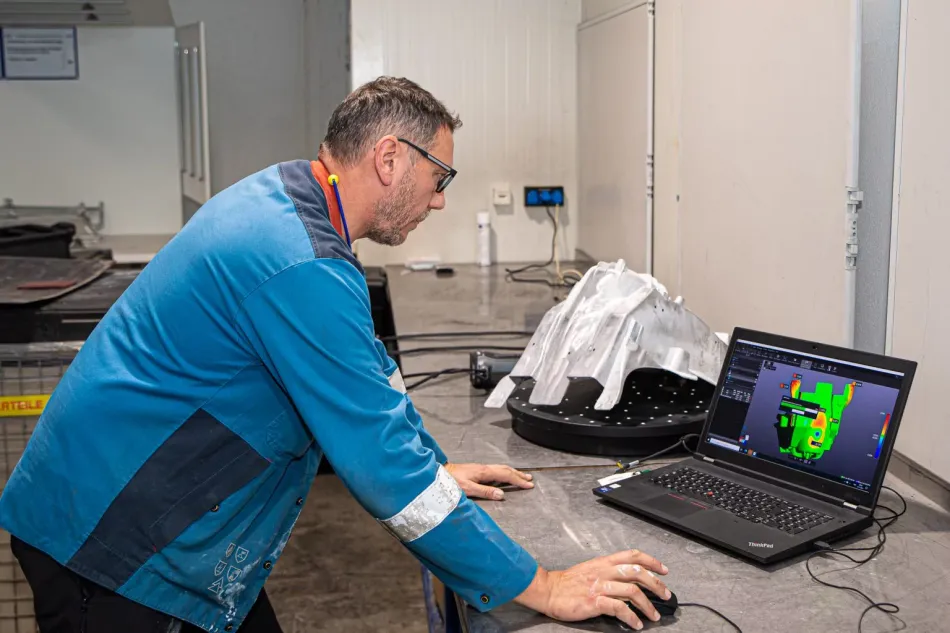
Previously, measurements were carried out in the measuring room using a GOM system. However, since the measuring room was often busy, it sometimes meant that they needed to wait several hours for their turn, and thus for the result of measurements. This led to the decision to purchase a 3D hand scanner for Production Control. The aim was also to expand the field of activity of employees in Production Control to include measurement technology tasks. The choice fell on the Go!SCAN Spark from Creaform.
The scanner was easy to implement and employee acceptance was high. A total of 4 colleagues from the Production Control team were trained to operate the 3D scanner and evaluate the acquired data.
Where is the Go!SCAN 3D used?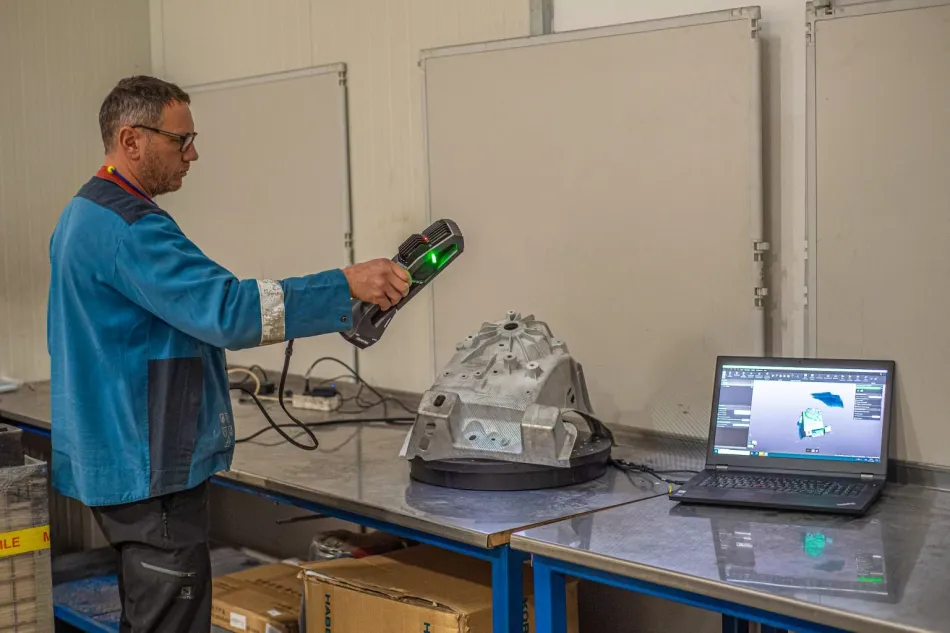 Go!SCAN SPARK scanning a casting. The acquired data is displayed in real time in the 3D metrology software.

At GF Casting Solutions, the Go!SCAN SPARK in combination with the VXinspect Elite 3D metrology software is used directly in production. Its areas of application are:
- Measurement of repaired mold breakouts in ongoing manufacturing.
- Quick analysis measurements where there are deformations.
- Analysis measurements in the course of key projects (e-machine).
- Scanning from and return to CAD of simple components.
GF believes that using the 3D scanner in Production Control helps reduce the costs associated with rejects, to produce higher quality parts while at the same time minimizing inspection time.
According to GF, the Creaform software platform also offers a distinct advantage:
“The VXinspect Elite Module of the VXelements Suite is the only software that can do everything from scans to reports. It is easy to use and there is no need to switch between different applications. This not only saves time, but also makes the application intuitive, since all the control elements look the same in all the modules. The VXinspect Elite module is also a NIST-certified inspection software and has all the necessary functions required by ISO and ASME for first-sample testing, quality control and quality assurance during the manufacturing process.”
Christoph Forster, Quality Engineer / AL Production Control at GF Castings Solutions, explains: “The Go!SCAN SPARK can scan immediately without any prior setup and offers excellent geometry and texture acquisition. Most objects can be scanned in minutes and a comparison can be made with the existing CAD model. No preparations such as spraying the components or sticking on reference marks are required. I can personally really recommend the Creaform system because of its easy operation and the highly intuitive software that includes many options – and Creaform’s support is also very good and competent.”
