Initiating Your First Test with the APSX-PIM Injection Molding Machine
Upon securing the machine in its designated location, you may proceed with the utilization of the APSX-PIM injection molding machine.
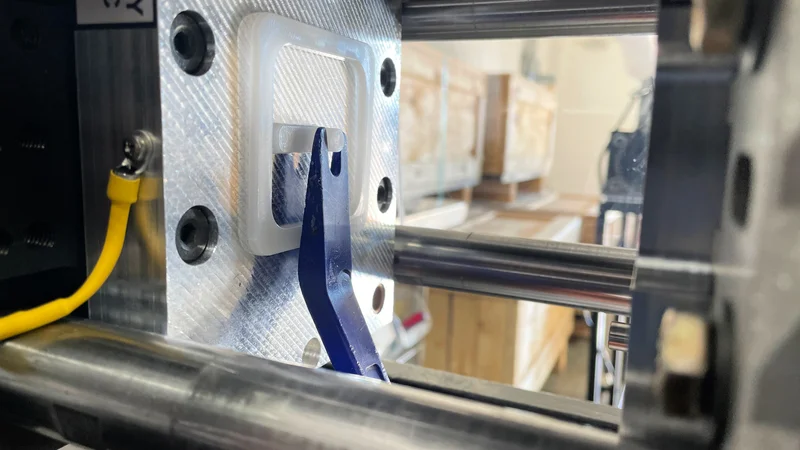
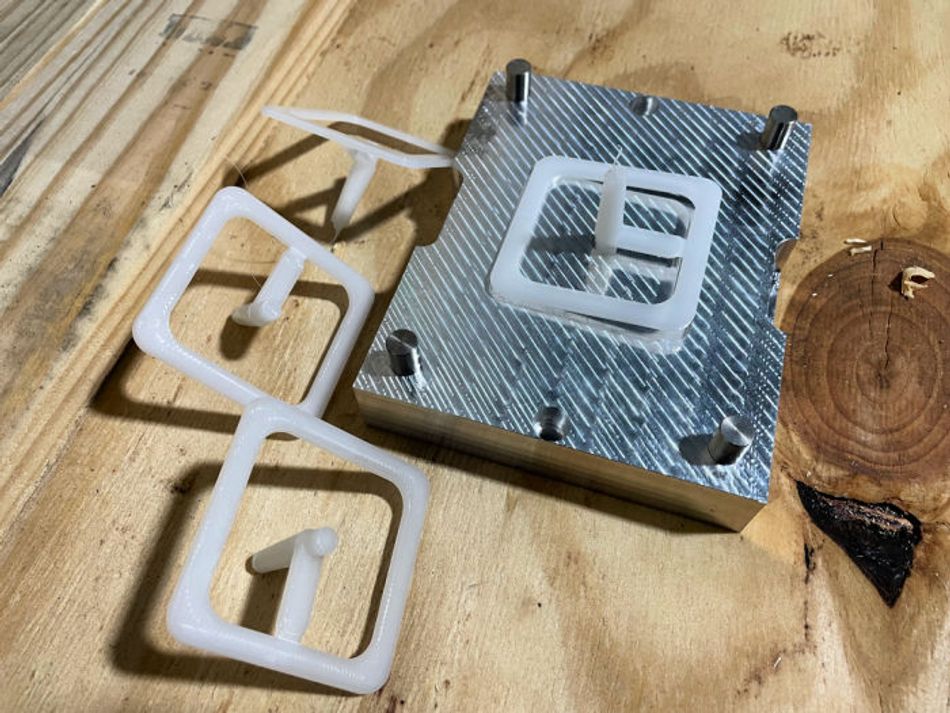
APSX-PIM Test Mold
Upon securing the machine in its designated location, you may proceed with the utilization of the APSX-PIM injection molding machine, alongside the "test mold" affixed to it. The purpose of the test mold is to facilitate experimentation with the machine's functionalities and to acquaint oneself with the available settings. It is noteworthy that the APSX-PIM operates exclusively on electrical power, drawing power from a standard 115VAC outlet, devoid of any reliance on hydraulic or pneumatic components.
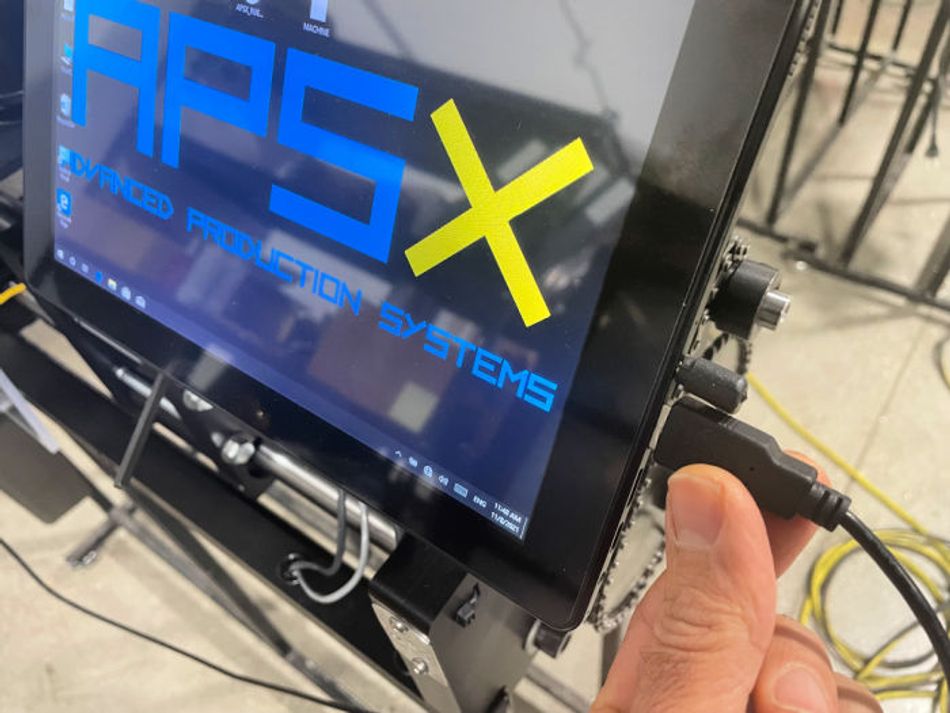
Prior to engaging with the machine, ensure that the USB cable remains unconnected to the Tablet PC until you plug the power cord into a conventional wall outlet equipped with a 20-ampere fuse. Wait the audible confirmation of the motor's activation. If you opt to utilize the provided Kill-A-Watt tool, it grants you the capability to monitor both voltage and power consumption. Typically, the machine exhibits an average power consumption rate of 750W, with peak usage peaking at 1400W.
Should the need arise to employ a power extension cable, it is imperative to select one of substantial gauge, specifically 12 AWG, and keep its length to a minimum, not exceeding 10 feet.

Ensure that the USB cable is connected to the Tablet PC and await the notification sound. The focal point here is the vigilance directed towards the swiftly changing numerical values in the bottom-right corner of the software interface, colloquially referred to as the "heartbeat."
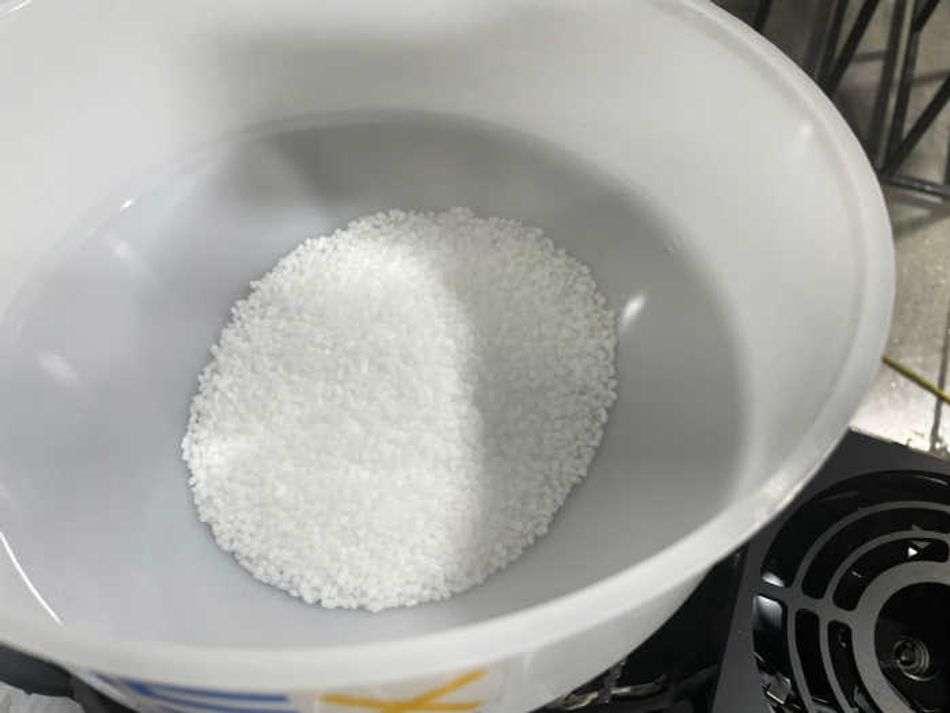
Additionally, ascertain that the hopper contains an adequate quantity of plastic pellets. For this initial testing phase, it is recommended to utilize the supplied 2 lbs of natural PP (polypropylene). It is important to note that the test mold is expressly designed for use with PP, PE (polyethylene), TPO (thermoplastic olefin), and TPE (thermoplastic elastomer), and its performance may not be optimal with other materials.
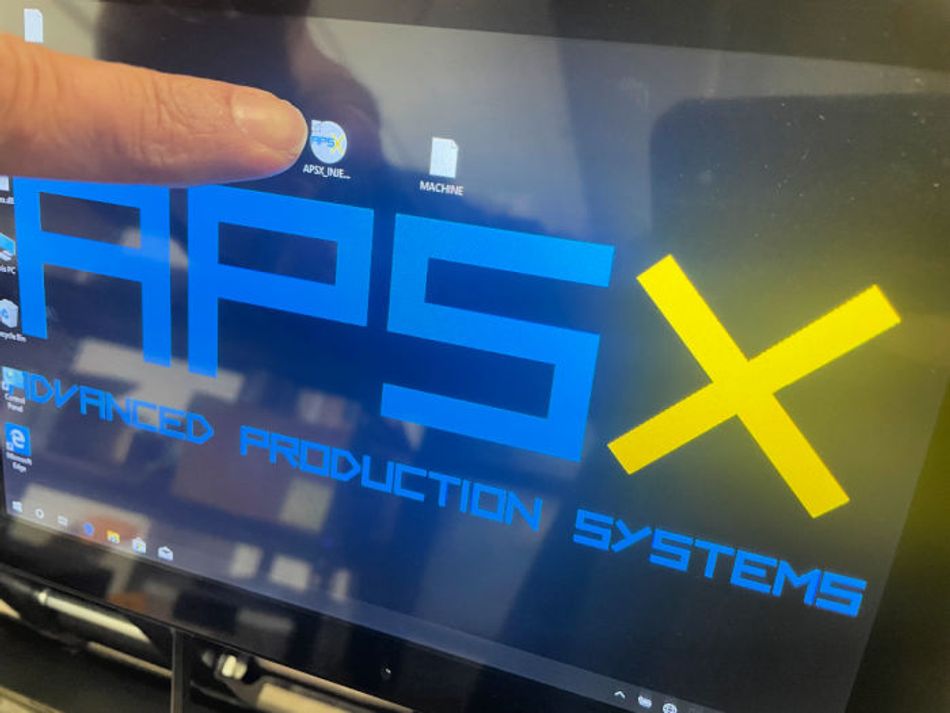
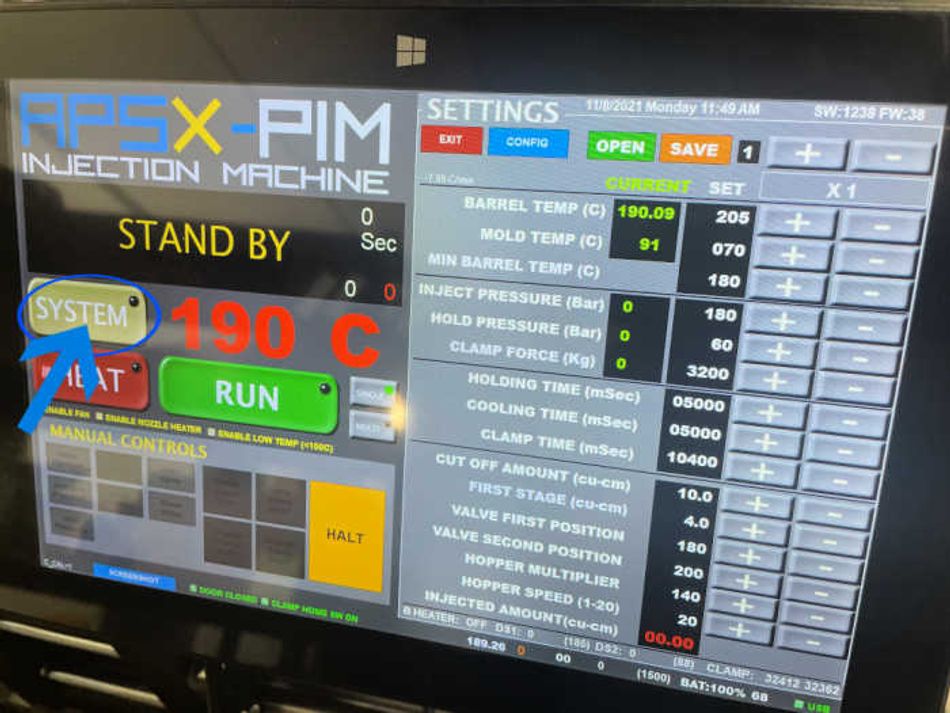
If the software is not already running, initiate it by clicking on the "APSX_INJECTION" icon located on the desktop.
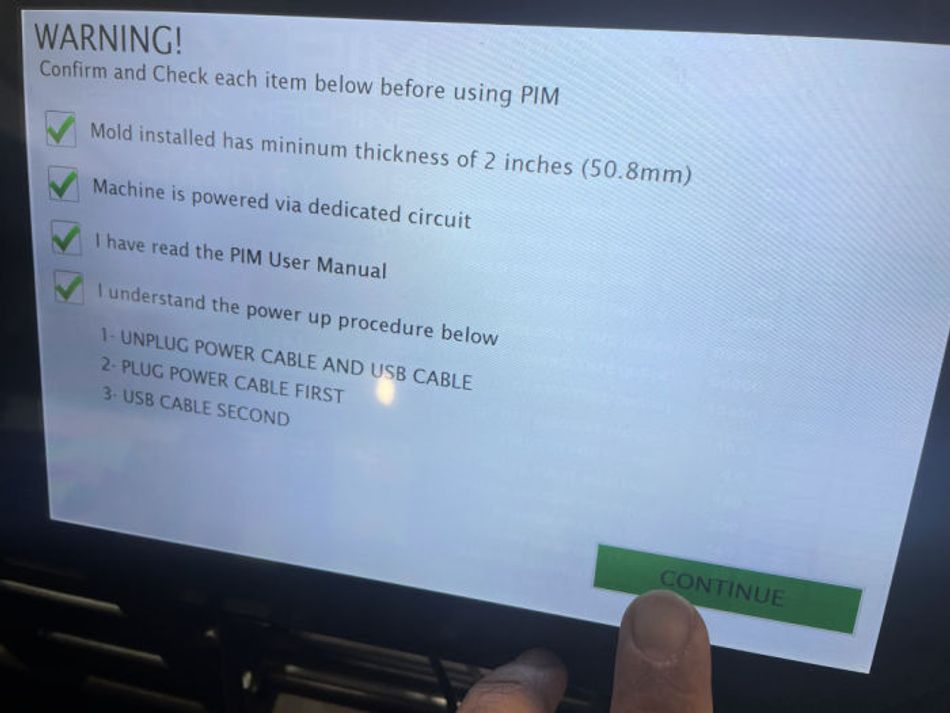
Upon launching the software, proceed by pressing the system button and acknowledging any accompanying warning messages presented as pop-up windows.
Thoroughly inspect and ensure the activation of all checkboxes to confirm your settings.
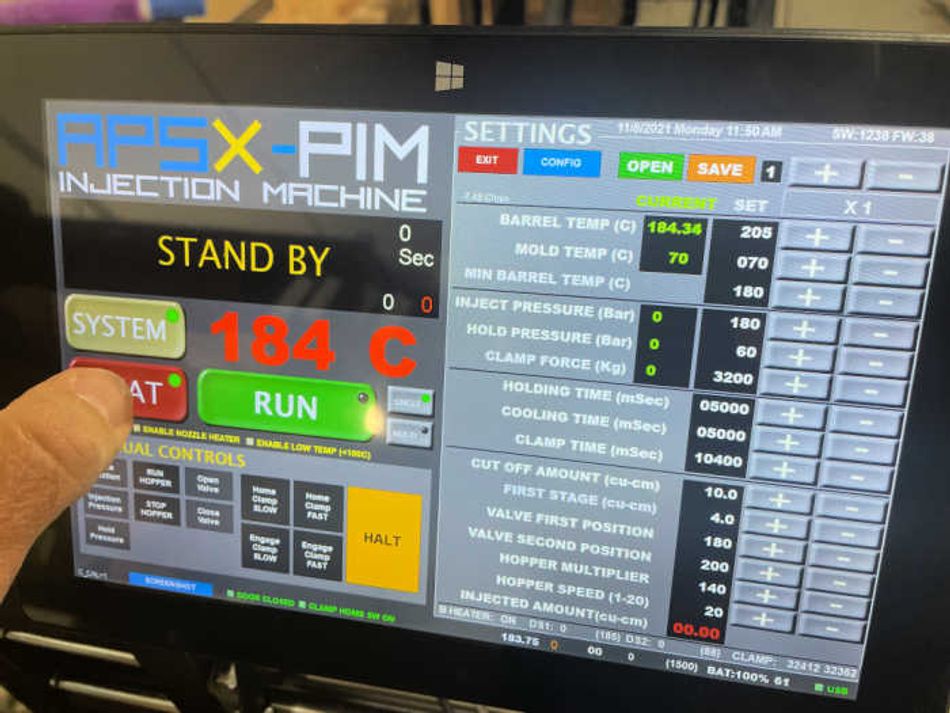
To commence the heating process, press the "HEAT" button. It is important to allow a duration of approximately 15-20 minutes for the temperature to rise from ambient room temperature to 200°C.
Take a moment to initiate the homing process by engaging the "HOME CLAMP" and "HOME INJECTION" buttons. Within the barrel, you will find a quantity of natural PP plastic provided for the purpose of testing the machine. If the barrel is devoid of any plastic, initiate the priming process by pressing the "RUN HOPPER" button.
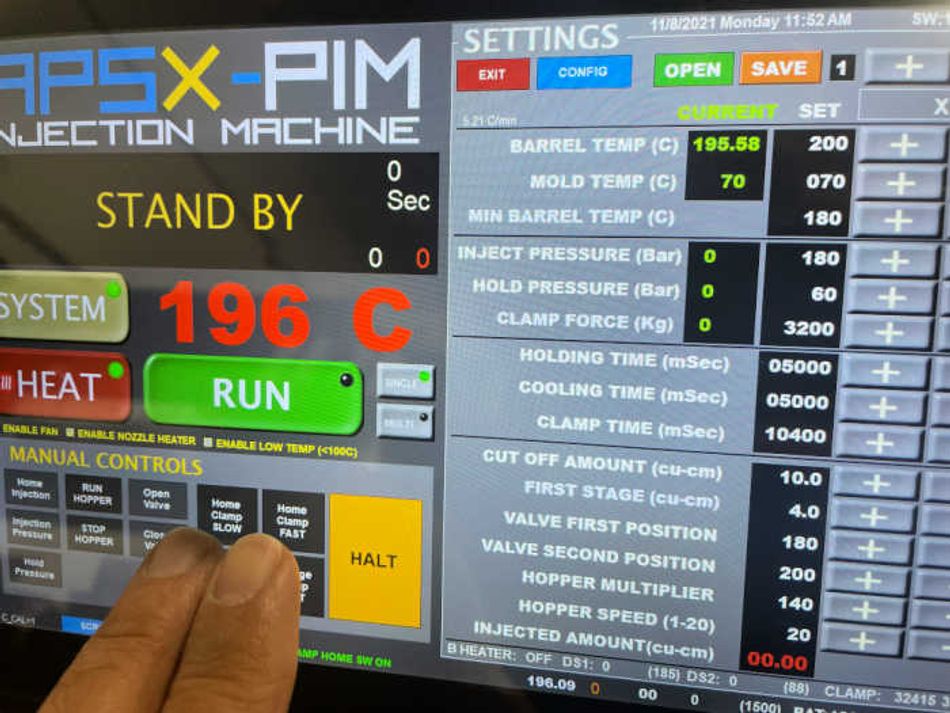
With preparations complete, and without leaving the machine idle under heating conditions for more than 5 minutes, initiate the cycle (single) by pressing the "RUN" button. It is noteworthy that the heating system will automatically deactivate after a 5-minute period of inactivity to prevent material degradation.
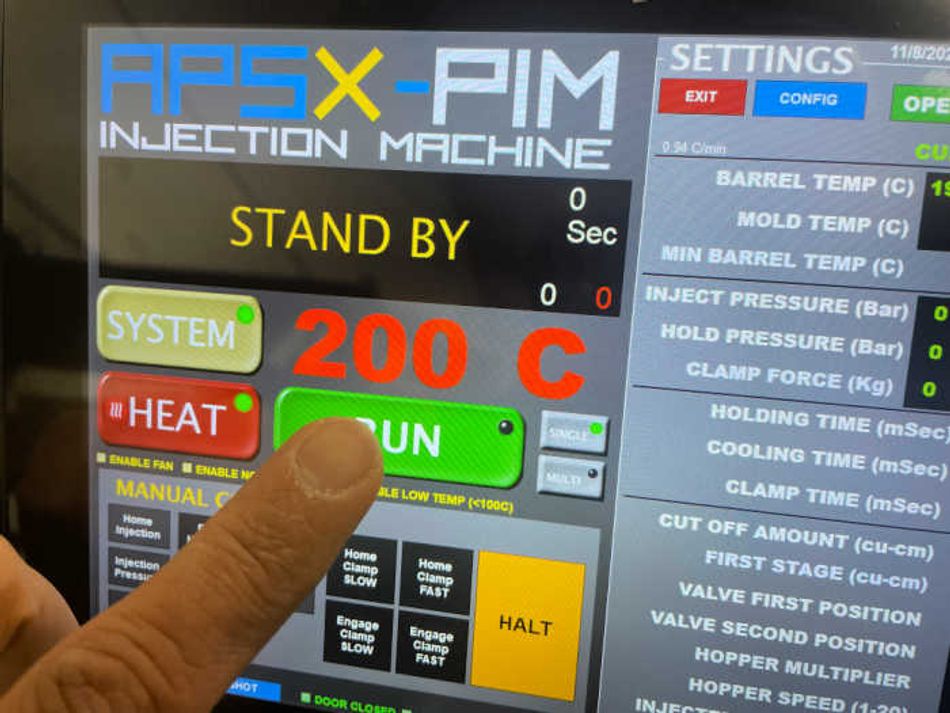
The entire cycle typically takes approximately one minute to conclude. You can closely monitor the machine's progress through the user interface, which indicates the stages of operation: Clamping, Injecting, Holding, Cooling, Homing, and Completed.
Upon the cycle's completion, employ the provided plastic picker tool to extract the molded part from the mold. Exercise caution and avoid any direct contact with the mold, as it will be at an elevated temperature.

For a more comprehensive understanding of injection molding principles, feel free to experiment with various parameters to observe their influence on the plastic part during the molding process.
Embark on your journey of learning and experimentation with the APSX-PIM injection molding machine, and leverage this initial testing phase as an opportunity to gain valuable insights into the art and science of injection molding.