ABS Smoothing: Acetone Vapor Baths & Other Ways to Remove Layer Lines
One of the biggest advantages of ABS is its ability to be smoothed with acetone, an organic solvent. But how does the smoothing process work and how can you do it safely?

Last updated on 16 May, 2024. 12 minutes read
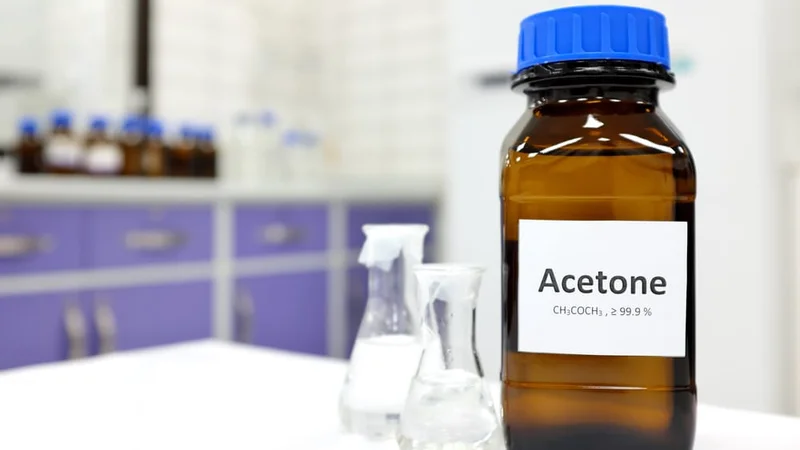
ABS smoothing can be achieved using acetone
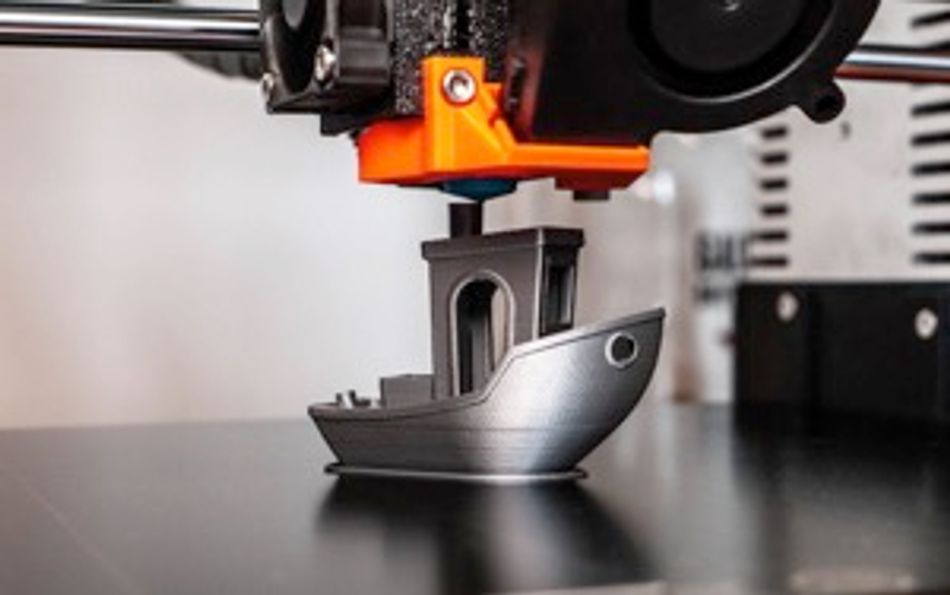
As a low-cost 3D printing material, ABS is one of the most popular filaments among FDM 3D printer users, beginners and experts alike. Although it has its disadvantages — such as a strong smell when printing and a dependence on heated print beds — it creates durable parts that are resistant to fairly high temperatures.
For many casual 3D printing users, the decision often comes down to PLA, PETG, or ABS filament. PLA has a low melting point and environmental credentials, while PETG is highly impact-resistant. But ABS has one unique advantage over its low-cost competitors: it can be easily dissolved with acetone, which means printed objects can be post-processed to give them an exceptionally smooth surface. While other thermoplastics can be dissolved with other solvents, no combination is quite as effective as acetone on ABS.
That being said, smoothing 3D printed parts made of ABS requires a certain level of skill. Acetone is highly flammable and an irritant to the skin and eyes, so it must be handled with extreme caution. Fortunately, this guide explains exactly how you can safely carry out ABS acetone smoothing, as well as part smoothing via other post-processing methods like sanding and polishing.
Why Should You Smooth Your ABS Prints?
One of the major disadvantages of FDM 3D printing is that it produces visible layer lines — ridges on the surface of a part — as a result of moving from one layer to the next along the Z axis. Layer lines are especially pronounced when using a greater layer height (lower Z-axis resolution) and when printing curved parts.
Smoothing your ABS parts is a way to eliminate the appearance of visible layer lines and change the surface texture of the part from matte to glossy. The process is generally carried out for cosmetic reasons, but it can also have functional benefits: smooth, frictionless parts may be required for mechanical reasons or to facilitate the assembly of multiple components.
You should smooth your ABS prints if you want to maximize the aesthetic quality. However, you should exercise caution when smoothing if the part needs to meet strict dimensional tolerances; this is because smoothing takes away a small amount of surface material and consequently alters the dimensions of the part.
Recommended reading: ABS print temperature considerations: Nozzle, bed, enclosure
Smoothing ABS Prints With Acetone
If you’re looking to eliminate the appearance of layer lines on your ABS parts, your best bet is to invest in some acetone. This section explains how acetone smoothing works and examines four common methods of applying the solvent to printed parts.
How does smoothing with acetone work?
Acrylonitrile butadiene styrene (ABS) is a thermoplastic polymer made by polymerizing styrene and acrylonitrile in the presence of polybutadiene. As with all polymers, ABS is resistant to certain substances and vulnerable to others.
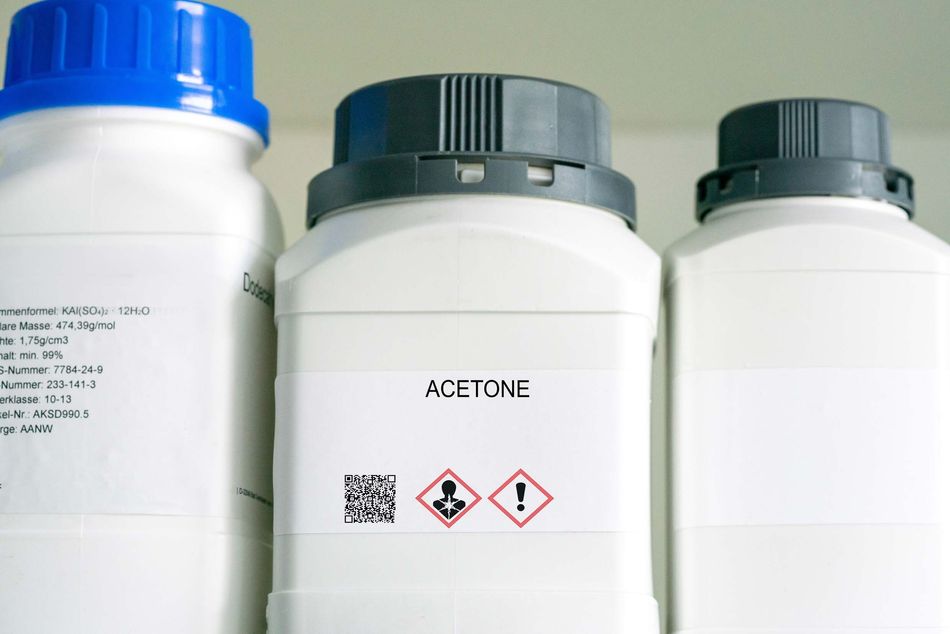
When it comes to smoothing, the most relevant fact about the chemical makeup of ABS is its solubility in esters, chloroform, ethylene dichloride, and various ketones, of which acetone is one. Substances like chloroform and ethylene dichloride are toxic and require extensive safety precautions, but acetone is milder and much easier to handle in non-controlled environments. It is an active ingredient in nail polish remover, for instance.
So, chemically speaking, why does acetone dissolve ABS? The short answer is that because ABS is soluble in ketones, the presence of acetone causes the ABS (the solute) to dissolve into the acetone (the solvent), forming a sort of soup or slurry (the solution) on the surface of the plastic.
This means that when you apply a small amount of acetone to a 3D printed ABS part, the surface of the part will dissolve. When this is done in a controlled manner, it is possible to dissolve just enough ABS to eliminate imperfections like layer lines, leaving behind a smoother (and fractionally smaller) version of the part. Some researchers have even suggested that acetone smoothing can improve the strength of ABS parts by increasing interlayer adhesion.[1]
So what is the best way to smooth ABS with acetone? There are different methods for applying acetone to ABS parts in a controlled manner, and we will explore four of them here, noting which ones we recommend and which we don’t.
Safety measures
Acetone is a highly flammable substance that can irritate the skin and eyes, so it must be handled with extreme care. The following safety precautions should be followed with all acetone application methods:
Always store acetone in a cool, well-ventilated area away from direct light, fire, and any other potential ignition sources
Only open your acetone container in a well-ventilated area, wearing a protective mask to avoid inhalation of fumes
It is recommended to wear eye protection and non-nitrile gloves to prevent potential eye and skin irritation
Method 1: Brush application
The simplest way to achieve a fairly smooth finish on ABS parts is to apply liquid acetone to a 3D printed part with a brush. Deposit a small amount of liquid acetone into a shallow container, then dip the brush into it and apply a very thin coating over the surface of the part.
This method is not highly recommended as it uses a large amount of acetone and produces uneven results: the surface may appear streaked or unevenly smoothed. By applying acetone with a brush, it is also easy to apply too much of the solvent, potentially causing permanent deformation to the part or fully dissolving thin walls.
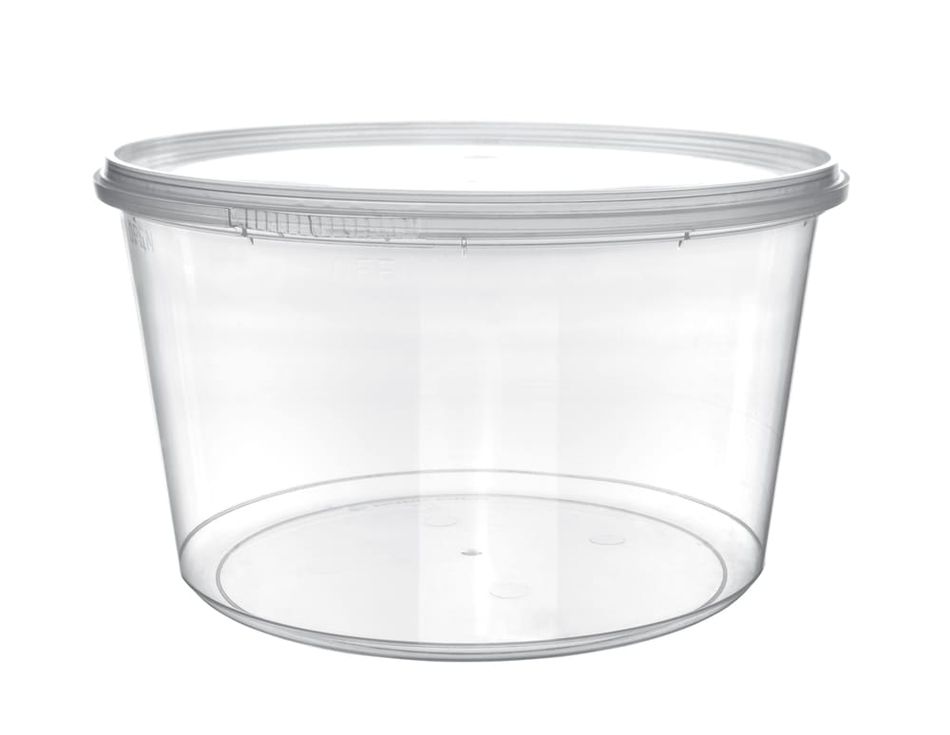
Method 2: Acetone bath
Another way to achieve a smooth surface finish on ABS parts is to create an acetone bath. This method involves fully submerging the part in a polypropylene (PP) container of liquid acetone for a short period of time, allowing the entire surface of the ABS part to come into contact with the solvent.
This method is not recommended as it requires a very large amount of acetone and can excessively dissolve the ABS part or cause it to warp and twist. Furthermore, removing the part from the acetone requires one of two difficult procedures: either removing the part from the bath (and therefore touching it, potentially causing surface deformations) or draining the liquid into a container underneath (requiring a more complex, multi-container setup).
The biggest advantage of the ABS acetone bathing technique is speed. Researchers have found that just one minute in an acetone bath can reduce the roughness of ABS prints by 97 percent.[2]
Method 3 (best): Acetone vapor smoothing
A much more effective means of ABS smoothing is the creation of an acetone steam bath or acetone vapor bath. This method does not involve the direct application of liquid acetone to the ABS part, but instead allows acetone fumes to slowly penetrate the surface of the part. This can be achieved by keeping the part and the acetone within a container.
This is the most highly recommended method, both for its safety and effectiveness, and we will explain how to do it with step-by-step instructions.
Create a smoothing box
The vapor smoothing method requires a partially enclosed container to keep the acetone fumes close to the printed part and prevent them from escaping into the room (though the container should not be airtight).
For small ABS 3D prints, you could use a glass container such as a glass jar. For larger parts, or to smooth several parts at once, it is better to use a transparent polypropylene (PP) storage container; these are cheap, available in various sizes, and will not dissolve upon contact with the acetone.
Place a raised platform in the box
Your ABS parts should not touch the bottom of the smoothing box. You will therefore need a small raised platform on which to place your ABS parts. This platform should not be made from a material that is soluble in acetone, or it will dissolve. Metal works best, and a regular plate coated in aluminum foil is one option.
Soak tissue paper in acetone
Instead of pouring liquid acetone directly into the smoothing box, you need only soak some tissue or paper towels in the solvent before adding the paper to the edges of the smoothing box, either by pressing them firmly against the walls of the container or attaching them with magnets (one inside and one outside the box).
Leave at least a small window of uncovered wall surface so you can see the part while it is being smoothed.
Close up the smoothing box
The vapor smoothing will only work if the smoothing box is closed off, as this prevents the acetone fumes from escaping. If you are using a jar or a storage container with a snap-on lid, lay the lid gently on top of the container without sealing it, and make a few small holes in the lid.
It is critical that the smoothing box is not fully sealed, as this can cause a dangerous amount of pressure buildup.
Let the vapor smoothing take place
The ideal amount of vapor smoothing could take between 10 minutes and an hour. We therefore recommend observing the process through the transparent smoothing box, at least until you have an idea of how long you will need for future prints.
Once the desired smoothness has been attained, you can remove the lid from the box and safely dispose of the acetone-soaked paper. Leave the parts untouched for as long as possible, as their surface will still be soft from the acetone.
Add heat and air circulation (optional)
Once you are comfortable with the basic vapor smoothing process, you can improve its efficacy in two ways: by placing the smoothing box on a warm (not hot) surface or by putting a small fan within the box. However, be careful with electronics, as an errant spark could ignite the acetone and cause a fire.
Method 4: Automated acetone vapor smoothing

A much safer and more consistent method of vapor smoothing can be carried out when using a dedicated post-processing machine such as the Zortrax Apoller. Such machines distribute the solvent fumes evenly while maintaining constant air circulation and gentle heat, resulting in the best possible surface finish and meeting strict safety requirements.
Unfortunately, these machines are much more expensive than the DIY method outlined above. Also note that the popular Polymaker Polysher device will not work with ABS and acetone, as it is only compatible with the company’s proprietary smoothable filaments and solvents.
Acetone smoothing techniques at a glance
Advantages | Disadvantages | |
Brushing | Requires minimal equipment | Uneven application Uses more acetone than necessary Easy to damage printed parts |
Bath | Even application | Uses more acetone than necessary Least safe method Easy to damage printed parts |
Vapor smoothing | Even application Uses small amount of acetone | Hard to maintain even smoothing with larger parts |
Auto vapor smoothing | Most even application | Expensive |
ABS slurry and other uses for acetone
Once you have obtained acetone for ABS smoothing, you can also use the solvent to help with ABS bed adhesion issues and part assembly. This is possible with concoctions known as ABS slurry, ABS glue, and ABS juice.
All of these can be made by dissolving small quantities of scrap ABS in acetone. The difference between them is the amount of ABS and the resulting viscosity of the mixture.
ABS Juice: This is a mixture of ABS filament dissolved in acetone. It creates a runny liquid that can be applied to the print bed to enhance adhesion. To make ABS juice, dissolve about 5 g of scrap natural ABS (cut into small pieces) into 50 ml of acetone.
ABS Glue: This is essentially a thicker version of ABS juice, with more ABS filament dissolved in acetone. It is used to securely bond ABS parts together and works even better than super glue. To make ABS glue, dissolve about 10 g of ABS into 50 ml of acetone.
ABS Slurry: Also known as ABS paste, this is the thickest mixture, made by dissolving a significant amount of ABS in acetone until it reaches a paste-like consistency. It is used for filling gaps, reinforcing weak spots, or smoothing surfaces on ABS prints. It requires about 20 g of ABS in 50 ml of acetone.
Smoothing ABS in Other Ways
Sanding
The most common method for smoothing 3D printed parts, sanding, does not require the use of chemicals. Sandpaper is applied manually to the part, and its rough surface removes a small amount of material from the part surface.
When sanding ABS parts, start with coarse sandpaper (80-grit, for example), then gradually move to finer grit (120 and 240). Finally, use a very fine-grit sandpaper (1000) with water to make the parts as smooth as possible. Try to apply even coverage right across the surface of the part. Note that while powered sanders can rapidly speed up the sanding process, the heat generated by these machines can adversely affect printed parts. If you have time, we recommend manually sanding ABS parts.
Sanding is safe and easy to do, but it can be difficult to reach deep crevices in the part and to apply an even amount of pressure over the entire surface.
Polishing
If you don’t want to deal with a strong solvent like acetone, it is possible to create a high-shine finish for your ABS parts by applying a liquid polish (Brasso, for example) with a piece of cloth. This should be done after sanding, when the surface of the parts is already fairly smooth.
Apply the polish-soaked cloth firmly, making circular motions over the surface of the part until it is fully glossy.
Coating
Not all ABS smoothing techniques involve removing material from the surface of the part. An alternative is to cover the part in a liquid coating and let it dry, creating a smooth shell around the ABS interior that disguises layer lines and blemishes instead of destroying them.
Several products exist for this specific type of ABS post-processing. For example, Smooth-On XTC-3D can be manually painted onto 3D printed parts (made from ABS and other materials) to create a glossy coating.
The thickness of the coating will affect the degree of smoothing achieved. A very thin coat may not completely hide the appearance of layer lines, especially if the part is printed with thick layers. Also note that thick coatings will affect the dimensions of the part, which can be an issue with tight-tolerance features, interlocking parts, etc.
Methods to avoid
Some smoothing methods that work for other thermoplastic filaments won’t work with ABS. For example, isopropyl alcohol (IPA) works just like acetone when printing PVB, but won’t cut through the surface of your ABS parts. Another common smoothing agent is d-lemonene, but this only works for HIPS 3D printed parts. We would also advise against using very strong chemicals like chloroform as a solvent, since acetone is less toxic and just as effective.[3]
Surface melting techniques that use heat application are also not ideally suited to ABS parts, as a high level of heat is required and it can be difficult to create even coverage across the surface of the part. Use of a hairdryer or heat gun is, however, a good way to smooth PLA parts, as PLA can be melted at lower temperatures.
Recommended reading: Smoothing PLA 3D prints with sandpaper, solvents, and more
Conclusion
After support removal, smoothing is possibly the most important post-processing technique for FDM 3D printed parts. Smoothing removes unsightly layer lines, giving printed parts the appearance of high-quality injection moldings, and the process can be carried out on a small budget.
Of all common 3D printing materials, ABS is perhaps the best suited to smoothing. Its solubility in acetone provides printer users with an easy route to smooth and glossy parts, making it a highly suitable filament for cosmetic parts such as display prototypes, models, and figurines. In fact, smoothed ABS parts more closely resemble molded or stereolithography parts than as-printed FDM parts.
However, as we have mentioned, acetone smoothing should be carried out with caution. Although less dangerous than other smoothing agents like chloroform, acetone poses risks to human safety, the most significant of which are its flammability and its potential to irritate the skin and eyes. Newcomers to the acetone smoothing process should familiarize themselves with the necessary precautions, investing in a mask and gloves and only carrying out the process in a well-ventilated area.
If these safety precautions are followed, printer users will find acetone smoothing to be a highly effective means of improving the visual quality of their ABS parts.
Frequently Asked Questions (FAQs)
What is the best way to smooth ABS parts?
Most 3D printer users smooth their ABS prints with the acetone vapor smoothing method. While this may seem a little more complex than sanding, it delivers excellent results that are more consistent than manual application methods.
Will smoothing damage my ABS printed parts?
Smoothing methods involve removing some of the outer layer of material. This slightly alters the dimensions of the part and, if not performed in a controlled manner, can deform the part or weaken its structure. All smoothing techniques should therefore be performed with care.
Why smooth ABS parts at all?
Smoothing is not always necessary, but it can help to reduce the appearance of unsightly layer lines, resulting in a more professional finish.
What about acetone PLA smoothing?
Acetone cannot be used to smooth PLA, as it does not break down the surface of the plastic. PLA works better with heat-based or manual smoothing methods.
How expensive are ABS smoothing machines?
One of the most popular automated ABS smoothing machines, the Zortrax Apoller, currently sells for $5,990. It is therefore marketed at businesses rather than consumers.
References
[1] Gao H, Kaweesa DV, Moore J, Meisel NA. Investigating the impact of acetone vapor smoothing on the strength and elongation of printed ABS parts. Jom. 2017 Mar;69(3):580-5.
[2] Riva L, Fiorentino A, Ceretti E. Characterization of the chemical finishing process with a cold acetone bath of ABS parts fabricated by FFF. Selected Topics in Manufacturing: AITeM Young Researcher Award 2021. 2022:77-89.
[3] Joshi DR, Adhikari N. An overview on common organic solvents and their toxicity. J. Pharm. Res. Int. 2019 Jun;28(3):1-8.