How Landing Gears are Made... and Inspected
A fascinating must-see for anyone who’s ever been interested in the making of complex, highly-sensitive systems: Safran, the French world leader in aerospace landing gear systems, just released a video titled Birth of a Landing Gear.

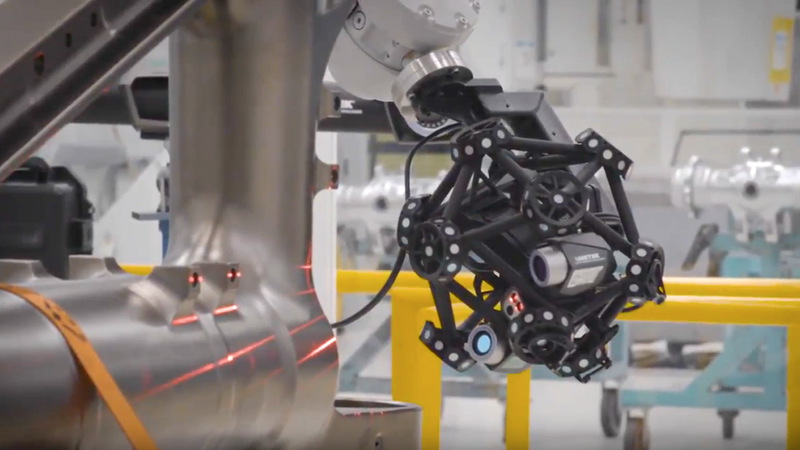
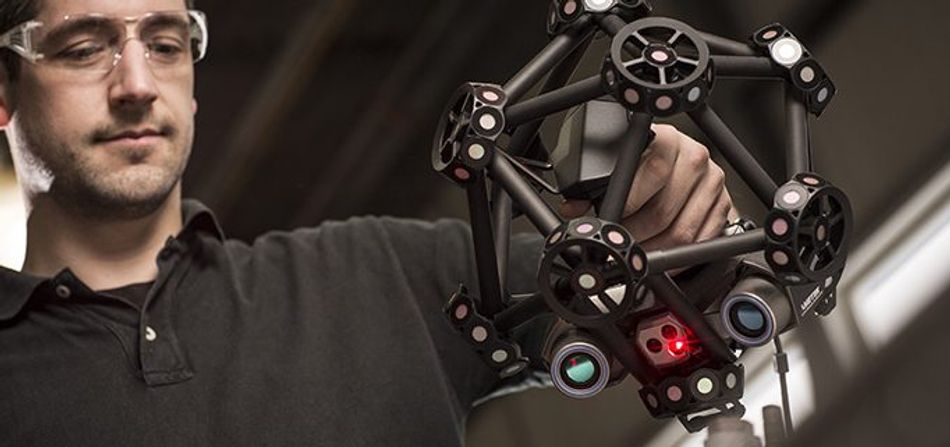
The MetraSCAN 3D R-Series is a robot mounted 3D laser CMM to inspect directly on the production line
This article was first published on
www.creaform3d.comA fascinating must-see for anyone who’s ever been interested in the making of complex, highly-sensitive systems: Safran, the French world leader in aerospace landing gear systems, just released a video titled Birth of a Landing Gear. It presents the whole process required to deliver such a sophisticated system, from engineering to the final customers’ assembly line.
The crucial quality check step, starting at 1:43, features the Creaform MetraSCAN 3D performing industrial quality control tests. As with any manufactured parts and especially with components as fundamental as aircraft landing gears, multiple inspection steps must be carried throughout the production process.

This ensures full compliance of the part. So precision is key: measurement deviations as small as a single millimeter could result in disastrous consequences. Manufacturers need to avoid delayed production and important monetary losses for them but also to end-customers and other suppliers alike.
Perks of a fully integrated inspection solution
As shown in the video, manufacturing leaders need their metrology equipment to be located directly in the production environment. This makes it possible for them to closely follow the industrial cycle and detect any potential defects early in the process.
Other important requirements are for their metrology solutions to be highly accurate, independent of user skills and automated as much as possible. Optical CMM scanners such as the MetraSCAN 3D R-Series is the key to optimize industrial quality control.
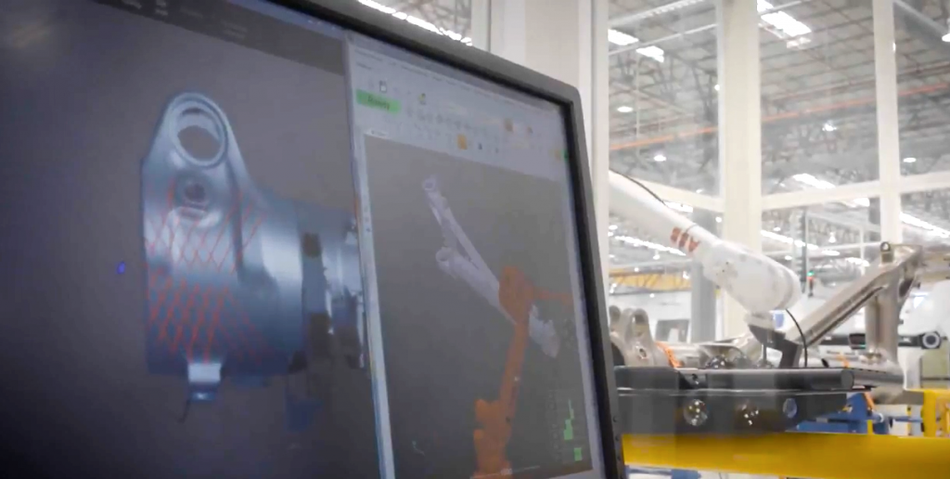
A powerful robot-mounted optical CMM 3D scanner can definitely save time, without compromising accuracy. Along with an operating interface that minimizes human intervention as well as a robust 3D inspection software. This not only increases productivity but additionally helps manufacturers deliver parts that fully comply with quality standards. Parts with complex shapes such as landing gears do not affect the inspection process.
An automated quality control solution such as an optical CMM is a great addition to any industrial production environment. It helps manufacturers ensure that their product delivers its expected performance while integrating seamlessly with the processes in place.
