11 Steps: Troubleshooting Pneumatic Systems
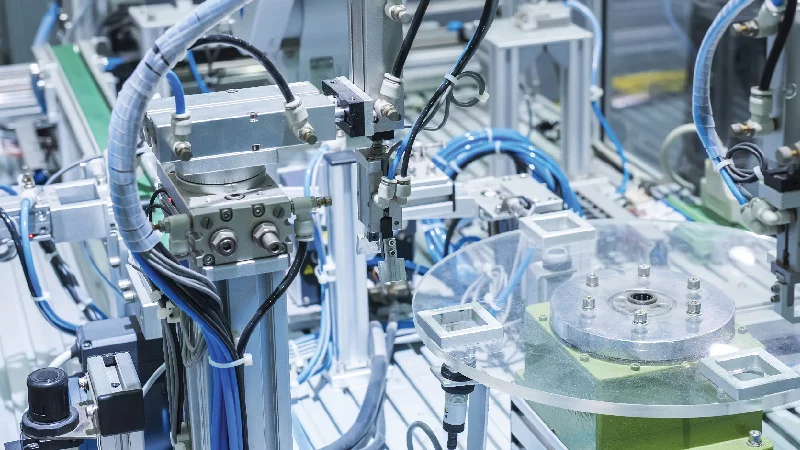
Pneumatic systems comprise a number of complex and interlinked components, which need comprehensive and careful tuning to run at their optimal performance. Needless to say, optimal performance is not always the norm.
11 Steps: Troubleshooting Pneumatic Systems
This article was first published on
www.rowse.co.ukFrequent adjustments need to be made to achieve it, as well as regular checks for leakage, faulty connections and other contributory problems. It's also not infrequent that your system just isn't working properly and you don't know why – and that's where troubleshooting comes in.
The following is a list of 11 steps for troubleshooting pneumatic systems which should get you up and running:
- Safety first
- What, when & where
- Understand your system
- Visual inspection
- Run the system
- Another visual inspection
- Isolate sub-systems
- List & test possibilities in sub-system
- Repair or replace
- Test
- Conclude troubleshooting
1. Safety first
Before beginning any troubleshooting procedures, you should first take care to secure the system so it's completely safe. Compressed air can be very dangerous, and an exploding air tank could inflict severe personal injuries, as well as damage to equipment and property. It is therefore imperative before undertaking any repairs to relieve the pressure in the storage tank. Any loads that are not mechanically locked down should also be secured before servicing, so they don't fall on people or drift.
Make sure the power supply is disconnected so that there's no danger of electrical activity that might cause injury. In the case of solenoid valves that require electricity to operate, such as directional control valves, these very often have a manual override that you can use to operate the system during troubleshooting. Your pneumatic system should also be fitted with lockout valves that prevent any accidental operation of the system.
2. What, when & where
Whenever your system suffers a breakdown, the first step in troubleshooting is to ask yourself the following three 'W' questions.
- What is or isn't happening in the functions of the system?
- When did this start? Was the failure sudden or gradual?
- Where is the problem happening in the machine cycle? Is it on first starting up or somewhere mid-cycle?
The system operator is the best person to identify what is or isn't happening. The most common problems are likely to be a slow-moving or drifting actuator, insufficient pressure, issues with valves or the filtration unit. You can learn more about pneumatic systems and some of the most common issues here.
Finding out when the problem started, and how suddenly, can determine what troubleshooting steps to take. Sudden malfunctions or breakdowns are likely to indicate catastrophic failures, such as ruptures in lines, broken components and possible mechanical issues. Gradual failures are more likely to suggest leaks or worn components such as seals, or contaminants in the system.
Determining where the problem occurs in the machine cycle can also help distinguish between a one-off breakdown or a recurring condition. Check your maintenance records to see whether any recurrent problem is listed, to give you a starting point. It should also give you food for thought as to why the problem keeps recurring, and what to do about it.
3. Understand Your System
Before trying to run a pneumatic system or effect repairs, it's essential to understand how all the components and subsystems on the machine interrelate. All pneumatic systems when supplied by the manufacturer should come with two types of documentation: the schematic drawings and the service manual. Study of these diagnostic tools will greatly assist you in the troubleshooting process.
The schematic drawing is a road map of the pneumatic circuit which explains how its various components function. It contains a lot of useful information, including:
- cylinder stroke lengths;
- flow rates;
- pressure test points;
- pressure settings for regulators and valves;
- air motor speeds;
- a bill of materials or product structure.
Studying this kind of information can help you determine whether the system is functioning within its design parameters. The service manual and any update bulletins may also contain information about potential issues – this will help you to diagnose problems and effect repairs. You should also consult with machine operators, who may be more familiar with the system's functions and components.
4. Visual Inspection
Having familiarised yourself with the schematics, you should also take time to locate and identify them visually. Walking around the equipment will often identify basic problems like frayed, leaking or burst hoses, worn or extruded seals, and loose or broken components.
Check the pressure regulator valve to make sure there's sufficient pressure, and the flow control valve in case you've got too much choke. You might need to replace the filter if it's clogged up, and clean out contaminants. You should also look for pinches in the hoses, and check for air or fluid leaks.
5. Run The System
Once you've read the documentation and looked the machine over, start it up (if you can) and run it so you can watch the system working and see the malfunction at first hand. Is the reported malfunction still happening? Seeing the machine in action may make the problem obvious and greatly reduce your troubleshooting time.
Look out for:
- excessive air leakage;
- system pressures not matching the levels specified in the documentation;
- manual controls (if any) that are too stiff or too loose;
- moving components which are moving erratically.
6. Another Visual Inspection
Once you've run the machine you'll have to go through all your safety checks again (see 1 above), to make sure power is disconnected and stored pressure vented.
7. Isolate subsystems
All parts of the machine are interrelated, so a malfunction in one subsystem, e.g. the air preparation subsystem, can lead to a related malfunction in a different subsystem. It helps if you isolate the subsystems so as to focus on them one at a time. This will reduce the diagnostic area, but extra precautions should be taken while operating the machine. Caution and safety are paramount in this diagnostic step.
Any disconnected lines and any ports opened in the isolation of a subsystem should be properly plugged to prevent contamination and unnecessary air leakage. Pressures within the system should also be closely monitored while it's running, so as not to exceed maximum allowable pressures.
8. List & Test Possibilities In Subsystem
The immediate problem may make itself apparent in the preceding step, but in troubleshooting, the root cause may not always be the obvious one. You may have a problem that manifests as a slow actuator, for example, but this could be caused by an underlying problem such as a faulty lubricator or valve seals. Having a thorough understanding of the operating principles of the system, and all its components, is essential if you’re going to match the problem accurately to its root cause.
Make a list of potential underlying causes, then check each one and eliminate it, without returning to previously covered ground. This will also reduce your troubleshooting time, and can avoid the trial and error method of exchanging parts.
9. Test
After narrowing down the possible causes of the malfunction, you now have to decide which one of those remaining is the most probable. The conclusion may seem difficult at first, but this step is effectively your starting point for getting to the actual repair. So far in the troubleshooting process, you've evaluated the system. Now you have to test your conclusions. This might merely mean adding lubricant or adjusting its drip rate. Other tests can help eliminate the items on your list until you've accurately identified the cause:
- check actuator alignment;
- check pressures with an accurate gauge;
- check flow rates with a flow meter;
- check air system temperature.
10. Repair Or Replace
Testing your conclusions should find the fault, and then you must decide whether to repair or replace. If you choose to repair parts for immediate reinstallation, your downtime and consequent costs will increase. If you choose to replace them with new or refurbished parts, your downtime will be less but your inventory cost will be greater. Your decision will also depend on whether replacement parts are readily available, and/or whether you can effect repairs in-house.
11. Conclude Troubleshooting
The last step in troubleshooting pneumatic systems is reporting your findings. Paperwork is a tiresome but vital element of the procedure, but maintaining a record of problems, solutions, and changes to individual machines is helpful for future troubleshooting. Schematics should also be regularly updated to keep them accurate.
Test, Deduce, Act
Asking the first three 'W' questions takes some of the guesswork out of troubleshooting, and can significantly reduce costs and downtime. The mechanics of the process are clarified by studying the schematics, and conducting a visual inspection of the machine. Testing and logical deduction should eliminate the factors that aren’t contributing to your problem, until you are left with the unavoidable truth. Then it's up to you to determine the best course of remedial action.
This article was originally posted at: 11 Steps: Troubleshooting Pneumatic Systems